Made and counted by Wren —

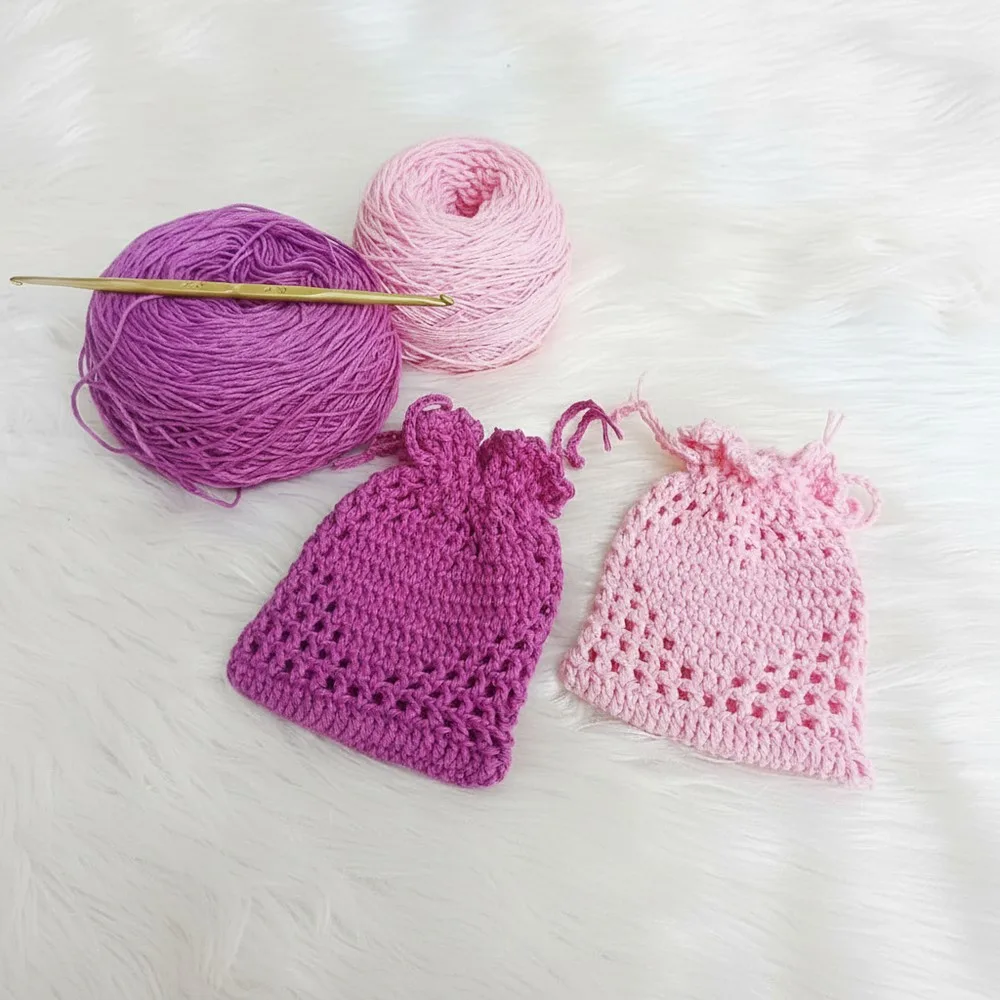
Personalized Crochet Heart Pouch: A Sweet Lace Drawstring Bag Pattern

Learn to crochet a personalized heart pouch with lace edging and drawstring closure using cotton thread—a customizable, giftable project for any occasion.

Personalized Crochet Heart Pouch: A Sweet Lace Drawstring Bag Pattern
IntermediateLevel
3-5 HoursTime
2.5 mmHook
Lace/ThreadYarn
Jump to the pattern

At a glance

Start by crocheting the Base round to form the flat foundation circle for your pouch.

Work the Main Pattern round directly on top, building evenly sized clusters around the base.

Add the first rounds of the Lace Body of the Pouch to begin shaping the sides upward.

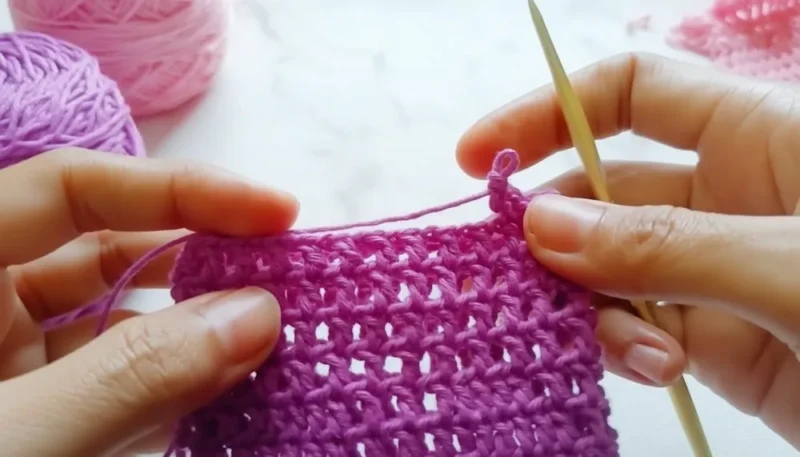
Continue with the Mesh Pattern, skipping just one stitch per repeat to keep the lace aligned.

Work the two Lace Edging rounds to create the delicate scalloped border at the pouch opening.

Weave in all loose ends neatly using a yarn needle before adding any closures.

Thread your drawstring through the lace edging openings evenly around the entire opening.

Gently pull the drawstring closed to cinch the pouch and finish your personalized heart pouch.

About this pattern

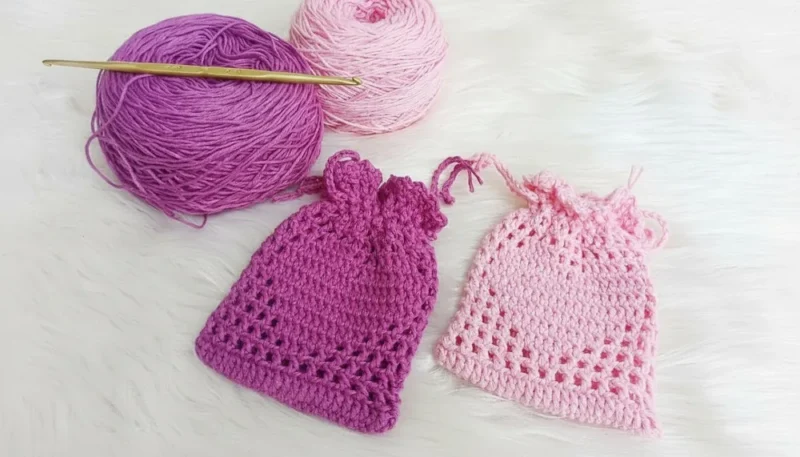
This Personalized Crochet Heart Pouch is a dainty, lace-edged bag built up from a simple base into a delicate mesh body finished with a drawstring closure. What makes it special is how customizable it is—you can adjust the stitch and row count to make it bigger, smaller, or shaped exactly how you like. It's perfect for crocheters who love thread work and want to make a keepsake pouch for jewelry, trinkets, or a thoughtful handmade gift.

The pattern uses cotton thread with a small 2.5mm hook, so you'll get practice with tight, even tension, cluster stitches, and a mesh pattern that skips just one stitch per repeat to keep the lace aligned. It's rated intermediate because of the cluster consistency and lace shaping involved, but the repetitive rounds make it approachable once you find your rhythm. Expect to spend around 3-5 hours from base to finished drawstring pouch.

The finished pouch has a soft, romantic lace texture with a heart-inspired charm, light enough to tuck into a purse or hang as a decorative accent. Its small scale and delicate mesh body make it a lovely handmade gift for a friend, a bridesmaid, or anyone who appreciates fine thread crochet. Personalize the size or colorway and it becomes a one-of-a-kind present every time.
Variations

I love this pattern because it takes something as simple as a base and a few rounds of mesh and turns it into a genuinely elegant little pouch. Working the Lace Edging rounds after the Main Pattern round gives you that satisfying moment where flat stitches suddenly transform into a delicate, scalloped lace texture. The Mesh Pattern rounds—where you skip just one stitch to keep everything aligned—are meditative once you get the rhythm down, and watching the clusters build evenly row after row is deeply satisfying for anyone who likes precise, tidy work. I also love that the whole thing is customizable by stitch and row count, so no two pouches have to look alike. The drawstring closure at the end feels like the perfect finishing touch, cinching the lace body into a real, usable little bag. It's a project that rewards patience and consistent tension, and the payoff is a pouch that looks far more intricate than the actual stitch count would suggest. It's the kind of make that keeps your hands busy and your hook happy for a cozy afternoon.

Common mistakes

  • Inconsistent cluster sizes when workingCount your stitches or yarn-overs for each cluster carefully and keep tension even throughout; uneven clusters distort the lace skirt, so pause and recheck every few clusters until it becomes automatic.
  • Skipping more than one stitch in the Mesh Pattern rounds.Skip exactly 1 stitch as instructed—skipping extra stitches creates uneven gaps and throws off the alignment of the entire Lace Body of the Pouch, so mark your skipped stitch if you tend to lose count.
  • Losing track of the beginningPlace a stitch marker at the start of every round from the very first Base round onward, since this pattern is worked in continuous rounds with no visible seam to guide you.
  • Working with inconsistent tension across the lace rounds.Since this is fine cotton thread on a small 2.5mm hook, small tension shifts show immediately; practice a swatch first and keep your grip relaxed but even so the lace edging lies flat rather than curling.
  • Forgetting to adjust stitch countsIf you change the Base round stitch count, make sure it's still divisible by your Main Pattern's cluster repeat, otherwise the Lace Edging rounds won't align evenly around the pouch.
  • Threading the drawstring through the wrong lace holes.Weave the drawstring consistently through the same row of mesh openings in the Lace Edging so the pouch gathers evenly and closes smoothly without twisting.

The pattern

Written out round by round

Materials

Yarn

  • Cotton thread (lightweight; preferred for a neat lace texture).

Hook Size

  • 4/0 (2.5mm).

Optional Items

  • Stitch marker (to mark the beginning of rounds).
  • Yarn needle for weaving in ends.
  • Scissors.

Abbreviations

  • ch = Chain
  • sc = Single Crochet
  • dc = Double Crochet
  • sl st = Slip Stitch
  • st(s) = Stitch(es)
  • sp = Space

Skill Level

Intermediate to Advanced

Base

Begin with a slip knot on the hook.

Ch 24 , followed by ch 3 (acts as the turning chain and counts as the first dc).

  1. Round 1Starting in the 4th chain from the hook , make 1 dc . Work 1 dc in each ch across until the last ch.In the last ch: 2 dc (increase to shape the base).Rotate work to crochet along the opposite side of the foundation ch , making 1 dc in each ch .In the last ch: 2 dc (increase).Join the round with a sl st to the top of the 3rd chain from the start.

Main Pattern

  1. Round 2Ch 4 (counts as 1 dc + 1 ch). Skip 1 st , make 1 dc in the next st. Ch 1 , skip 1 st , 1 dc in the next st .Repeat this mesh pattern ( ch 1, skip 1 st, 1 dc ) around the row.Join with a sl st to the 3rd chain of the starting ch 4.

Lace Body of the Pouch

  1. Round 3Ch 4 , make 1 dc in the next dc below . Ch 1, work 1 dc in each dc (skipping sts as done previously).For the decorative “V-pattern” , crochet the following across the designated area: Work 5 dc in each dc below , forming clusters.Continue with the mesh pattern ( ch 1, 1 dc in each dc ) around.
  2. Round 4Continue alternating between mesh pattern and increasing 7 dc clusters in designated spaces.

Focus on centered spacing when placing clusters for symmetry and flow.

Increasing the Lace Width

For Row 5 onward: Increase by 4 dc or more in the clusters to expand the lace pattern.

Keep alternating mesh pattern and cluster groupings , forming the skirt of the pouch.

Rows 6-13 : Maintain the pattern until reaching the desired height.

Lace Edging

After completing Row 13, begin the lace edging .

  1. Round 1(Lace Start): Ch 1 , make a sc in the same st . Ch 2 , work a dc in the same st .Move to the next dc , and repeat: sc, ch 2, dc .
  2. Round 2Repeat the pattern across the top edge to finish the lace. Finish and sl st into the starting ch 1 to close the round.

Drawstring Closure

To make the drawstring: Ch 65 (or adjust to desired length).

Fasten off and weave the string through the mesh section of the pouch body , skipping every few stitches.

Optional: Add beads or embellishments to the end of the string for a decorative touch.

Conclusion

You now have a beautiful crocheted lace pouch complete with a delicate edge and functional drawstring. With its intricate details, this pouch makes for a classy gift or personal accessory. Adjust yarn colors and decorative finishes to personalize it further!

Use a smaller hook if you prefer a tighter lace effect for the pouch.

Block the finished pouch lightly to enhance the lace details.

Use a stitch marker when transitioning from mesh to lace patterns for added ease.

Important notes

💡 Use a 4/0 (2.5mm) hook with lightweight cotton thread exactly as specified—this size combination is what gives the lace its crisp, neat texture, so avoid sizing up unless you're intentionally making a larger pouch.

💡 Place your stitch marker at the very start of the Base round and move it up every round, since the entire pouch is worked in continuous rounds with no natural stopping point.

💡 Keep your cluster stitches in the Main Pattern round as uniform as possible in height and stitch count, since even small inconsistencies will show clearly in the finished lace skirt.

💡 When working the Mesh Pattern, always skip exactly 1 stitch per repeat—resist the urge to skip more even if it seems to speed things up, as it will create uneven mesh alignment.

💡 If customizing the pouch size, adjust your Base round stitch count in multiples of your cluster repeat so the Lace Edging and Lace Body rounds stay symmetrical all the way around.

💡 Weave in all ends securely with a yarn needle before adding the drawstring closure, since loose ends can tangle with the cord and make the pouch harder to cinch smoothly.

More photos

Personalized Crochet Heart Pouch: A Sweet Lace Drawstring Bag Pattern — photo 2
Personalized Crochet Heart Pouch: A Sweet Lace Drawstring Bag Pattern — photo 3
FAQs

Frequently asked questions

What weight thread and hook size does this pouch use?

This pattern uses lightweight cotton thread with a 4/0 (2.5mm) hook for a neat, tight lace texture. Sizing up the hook will make a looser, larger pouch, while a smaller hook gives an even finer, more delicate result.

Can I make this pouch bigger or smaller?

Yes, the pattern is designed to be customizable based on your stitch and row count. Just be sure to adjust your Base round stitch count in multiples of your Main Pattern's cluster repeat so the lace rounds stay aligned.

How do I keep the mesh pattern looking even?

The key is skipping exactly 1 stitch in each Mesh Pattern repeat—skipping more creates uneven gaps in the lace. Consistent tension throughout also helps the mesh lie flat and symmetrical.

What's the best way to attach the drawstring closure?

Weave your drawstring through the same row of openings in the Lace Edging, going all the way around in one consistent path. This ensures the pouch gathers evenly when you pull the cord closed.

Is this pattern good for a beginner to lace crochet?

It's rated intermediate because of the cluster and mesh shaping, so some prior comfort with basic stitches and reading rounds will help. That said, the techniques repeat often enough that a motivated beginner can learn a lot by working through it slowly.

One at a time —

Get the next pattern

Tested round by round before it is sent. No spam.