Made and counted by Wren —

Crochet Pumpkin Beanie Hat Pattern | Cozy Fall DIY Project

Crochet a cozy pumpkin beanie hat with this fun fall pattern! Simple rounds, a cute stem, and endless color options for a festive handmade hat.

IntermediateLevel
3-5 HoursTime
5 mmHook
WorstedYarn
Jump to the pattern

About this pattern

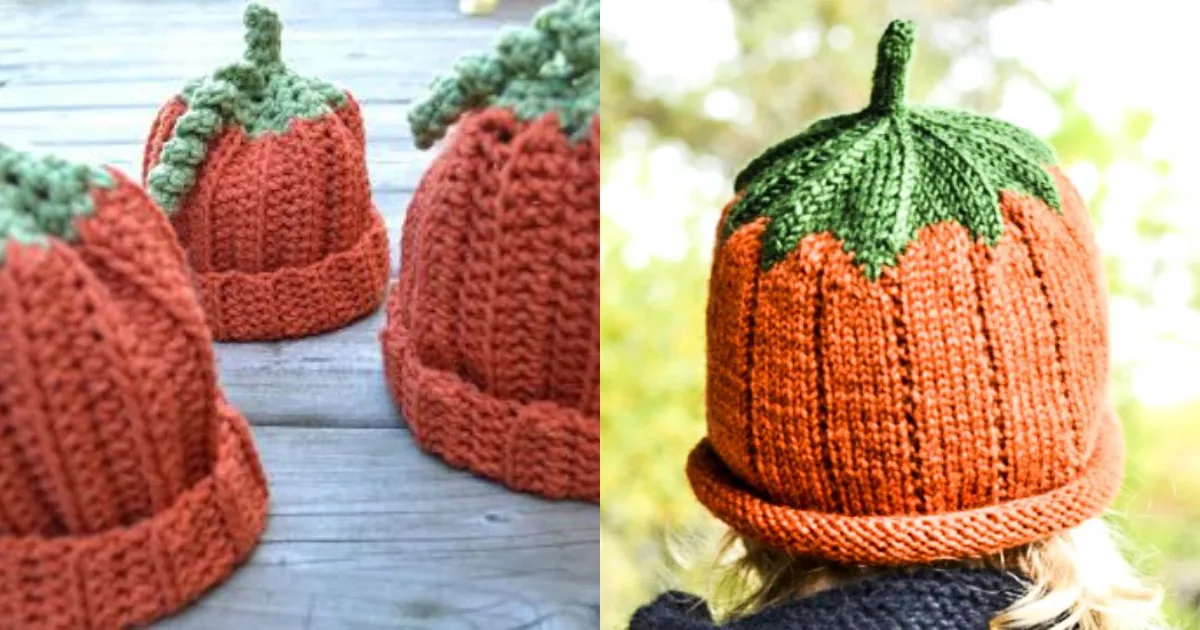
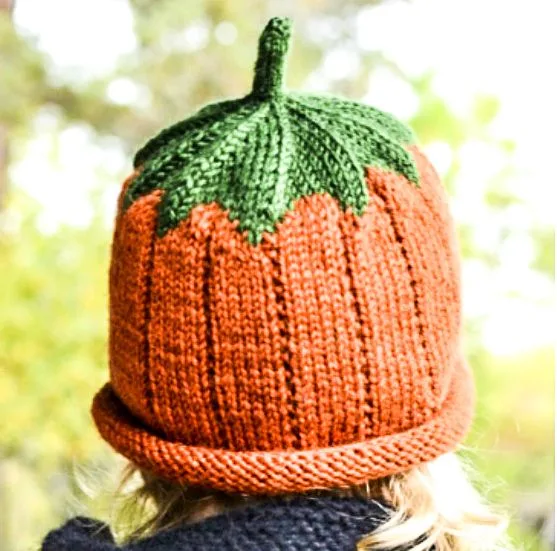
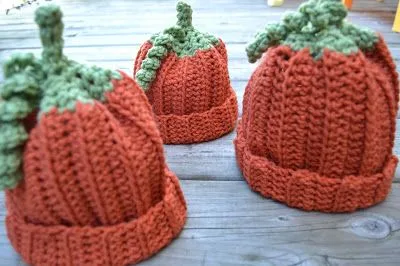
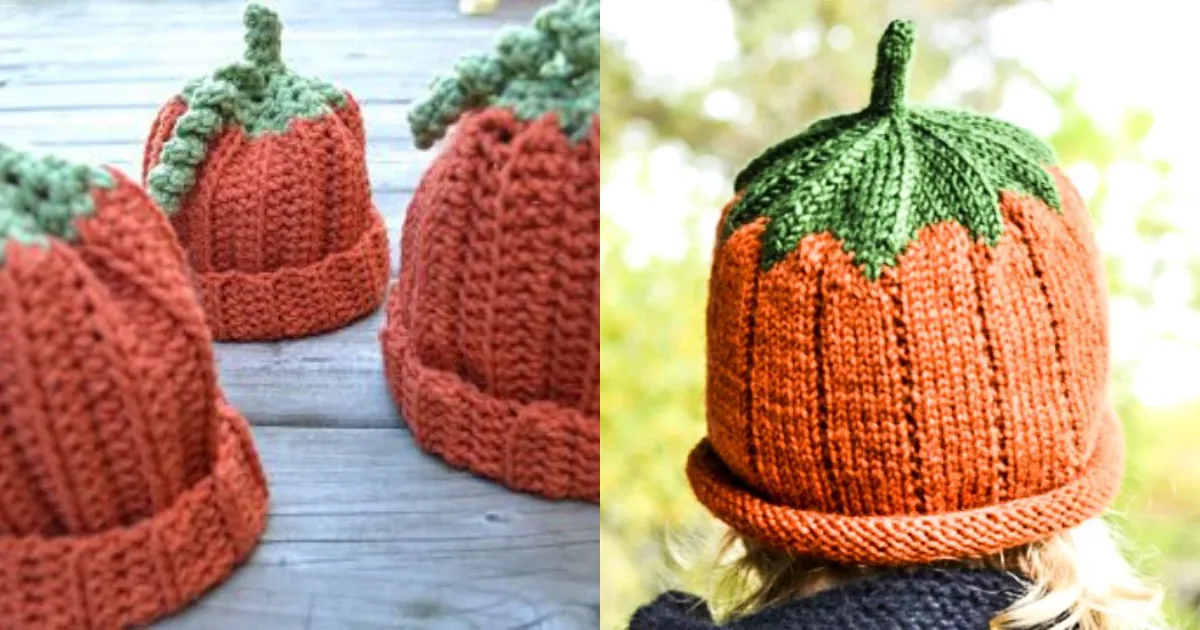
This pumpkin beanie hat is the ultimate fall accessory, transforming a simple worsted-weight hat into an adorable orange pumpkin topped with a sweet green stem. It's the kind of pattern that stops people in their tracks at the coffee shop or pumpkin patch, and it's perfect for anyone who loves seasonal crochet, wants a fun handmade gift, or is looking to add some whimsy to their cold-weather wardrobe. Kids and adults alike adore wearing these.

Built entirely in the round starting from a classic magic circle, this pattern relies on straightforward increases and consistent stitch counts to shape the pumpkin's rounded crown before transitioning into the ribbed or solid brim. You'll also work a small stem piece in green yarn that gets attached at the top for that signature pumpkin silhouette. With six rounds guiding the main hat construction, this is a satisfying weekend project that typically takes around 3 to 5 hours depending on your gauge and experience.

The finished hat sits snugly on the head with a rounded, pumpkin-like crown and a jaunty little stem poking up from the top, giving it real dimension and charm rather than just being an orange beanie. It works up in a standard adult or child size depending on your hook and yarn choice, and the soft worsted-weight yarn keeps it warm without feeling bulky. This is a wonderful handmade gift for teachers, kids, or anyone who counts pumpkin spice season as their favorite time of year.
Variations

There's something so satisfying about watching a plain orange magic circle grow into a recognizable pumpkin shape round by round. I love how this pattern uses simple, repeatable increases to build that rounded crown — no complicated stitch combinations, just steady, meditative crochet that rewards you with instant fall vibes. The green stem is my favorite part to make; it's a tiny, quick piece, but it's what transforms a basic beanie into an unmistakable pumpkin. Attaching it at the very end feels like the finishing touch on a little wearable sculpture. I also appreciate that the materials list is refreshingly simple — just two yarn colors, a hook, and basic notions, which makes this a great stash-buster if you've got orange and green worsted-weight leftovers sitting around. Whether you're making one for a toddler's first fall photos or whipping up a batch for a craft fair, this pattern strikes that perfect balance between playful and genuinely wearable. It's quick enough to finish in a cozy afternoon but detailed enough to feel like a real accomplishment when you tie off that last stitch on the stem.

Common mistakes

  • Starting the magic circle too looselyPull the tail yarn firmly after your first round of single crochets, and give it a second tug once you've secured a stitch or two, to fully cinch the center closed before continuing.
  • Losing track of stitch countPlace a stitch marker at the start of each round and count your stitches after every increase row before moving on — a wavy hat almost always means too many increases, while a cupped crown means too few.
  • Using two different yarn weightsStick to the same worsted-weight yarn family for both colors, or if using a slightly different green, work the stem with a smaller hook to keep the tension tight and the stem standing upright.
  • Attaching the stem crookedlyBefore sewing, lay the finished hat flat and fold it to find the true center top, mark it with a locking stitch marker, then whip stitch the stem securely at that exact point.
  • Weaving in ends without securing themWeave each tail through at least 3-4 stitches in one direction, then back through 2-3 stitches in the opposite direction before trimming, and consider a small dab of fabric glue at high-stress points like the stem base.
  • Choosing a hook size that doesn't matchAlways check that your hook falls within the 5mm-6mm range suggested for worsted-weight yarn, and crochet a quick gauge swatch first if you're unsure how your tension compares to the pattern.

The pattern

Written out round by round

Materials

Orange Yarn

  • Choose a soft, vibrant orange yarn for that classic pumpkin look.

Green Yarn

  • You'll need a bit of green yarn for the pumpkin's stem.

Crochet Hook

  • Select a crochet hook size that matches the yarn's thickness (usually around 5mm or 6mm).

Yarn Needle

  • This will help you weave in loose ends.

Scissors

  • For cutting yarn and trimming.

Abbreviations

  • ch = chain
  • st = stitch
  • sl st = slip stitch
  • dc = double crochet
  • fo = finish off

Step-by-Step Crochet Guide

Start with a Magic Circle Follow these steps to create your pumpkin beanie hat: Start with a Magic Circle : Create a magic circle and chain 2.

  1. Round 1Make 12 double crochets into the magic circle. Join with a slip stitch to close the round.
  2. Round 2Chain 2. Double crochet twice into each stitch around. Join with a slip stitch.
  3. Round 3Chain 2. Double crochet once, then double crochet twice into the next stitch. Repeat to around. Join.
  4. Round 4Chain 2. Double crochet once in each of the next two stitches, then double crochet twice into the next stitch. Repeat to around. Join.
  5. Rounds 5-8Continue to chain 2 and double crochet around. You can increase the number of rounds for a slouchier hat.
  6. Round 9Switch to green yarn for the stem. Chain 8, skip one stitch, and slip stitch into the next. Fasten off and weave in the ends.Finishing Finishing: Pull the yarn through the last stitch and tighten to close the top of the pumpkin. Weave in any remaining ends.

Important notes

💡 Use a 5mm or 6mm hook to match your worsted-weight yarn — sizing down slightly gives a denser, sturdier pumpkin shape while sizing up creates a softer, more relaxed drape.

💡 Place a stitch marker at the beginning of every round, especially through the increase rounds, so you always know exactly where your round starts and ends.

💡 Keep your green stem yarn tail long (at least 6 inches) when you finish it — this gives you plenty of length to securely sew it onto the crown without running short.

💡 If your pumpkin crown looks a bit flat, try lightly stuffing just the top few rounds with a small bit of fiberfill before closing, which gives the pumpkin a slightly more rounded, dimensional look.

💡 Block your finished hat by lightly steaming it over a bowl or hat form — this helps even out any uneven tension from the increase rounds and gives the crown a smoother, more polished pumpkin curve.

More photos

Crochet Pumpkin Beanie Hat Pattern | Cozy Fall DIY Project — photo 2
Crochet Pumpkin Beanie Hat Pattern | Cozy Fall DIY Project — photo 3
Crochet Pumpkin Beanie Hat Pattern | Cozy Fall DIY Project — photo 4
FAQs

Frequently asked questions

What size hook works best for this pumpkin beanie hat?

A 5mm or 6mm hook is ideal for standard worsted-weight yarn, giving you a good balance of stitch definition and drape. If your gauge tends to run tight or loose, adjust half a millimeter up or down until your swatch feels comfortably snug but not stiff.

Can I make this pumpkin beanie for a baby or toddler?

Yes! Simply reduce your starting magic circle stitch count and work fewer increase rounds to shrink the overall circumference, then measure against a similar-sized hat as you go. A smaller hook, like a 4mm, also helps create a tighter, more appropriately-sized fabric for little heads.

How much yarn do I need for one pumpkin beanie hat?

Most adult-sized beanies use roughly 100-150 grams of orange worsted-weight yarn plus a small amount of green for the stem, generally less than 10 grams. It's always smart to grab an extra skein if you're working a larger size or looser gauge.

My pumpkin hat came out with a pointy top instead of round — what happened?

A pointed crown usually means the increase rounds ended too early or the decreases (if included) were too aggressive. Try adding one more single crochet round before your final decrease sequence to round out the shape more gradually.

Can I add a face to make it look like a jack-o'-lantern?

Absolutely, and it's a popular customization! Simply embroider triangle eyes and a jagged smile using duplicate stitch in black yarn once your hat is complete, positioning the face on the front-center panel below the stem.

One at a time —

Get the next pattern

Tested round by round before it is sent. No spam.