01
About this pattern
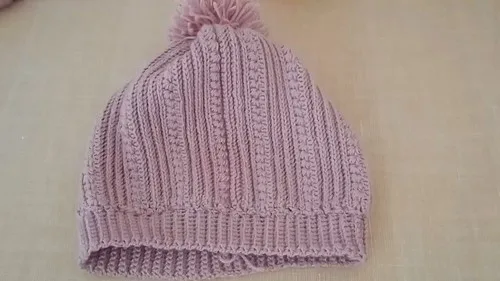
This little beanie is worked flat as a single textured panel, then seamed up the back into a snug cap — no fiddly increases or decreases to track. What makes it special is the rib stitch body, which mimics knit ribbing but is built entirely with crochet hooks and back-loop stitches, giving the fabric real stretch and a soft, cushiony hand. It's a lovely make for anyone crocheting for a baby shower, a first birthday, or simply wanting a handmade hat that looks far more complicated than it actually is.
The main techniques here are the rib stitch (a half double crochet worked into the front loop of the previous stitch's first loop, then the back loop of the next), and the star stitch, which creates those pretty raised little bumps across the crown. Both are approachable for confident beginners who've crocheted a hat or scarf before, though the star stitch does take a round or two to get comfortable with. Expect roughly 4 to 6 hours total, spread across a couple of relaxed evenings.
The finished beanie measures about 46 cm around, perfectly sized for a two-year-old, with a soft, close-fitting rib edge that hugs little ears without being tight. Worked in fine merino wool, the texture reads as both cozy and refined — the kind of hat that looks equally at home in a stroller or in a gift box. It makes a genuinely thoughtful handmade gift, especially paired with the matching ribbed rim that finishes the whole piece so neatly.
02
Variations
This beanie is wonderfully easy to make your own once you understand the flat-panel construction. For colors, try a heathered oatmeal or dove grey body with a contrasting rib edge in mustard, blush pink, or sage green — since the rim is worked separately, swapping its color is as simple as changing skeins before you start Round 1 of the edging. For a baby girl gift, a soft blush panel with a cream rib and a tiny bobble or pompom on top looks darling; for a more gender-neutral option, try a warm caramel or dusty blue. Size-wise, since the panel length is worked until it reaches your target circumference, you can easily size up for an older toddler or down for a newborn by simply chaining a shorter or longer starting length and stopping the repeat sequence sooner or later — just keep an eye on your gauge swatch first. Yarn substitution is very doable: this pattern uses fine merino, but a soft superwash sock-weight or a baby alpaca blend would work beautifully with the same 3-3.5 mm hook range, just swatch to match gauge since fiber content affects drape. For texture play, you could work the star stitch rows more frequently for a bumpier overall look, or reduce them for a subtler ribbed hat if you prefer a simpler silhouette. A fun finishing touch is adding a small crocheted flower or button to the seam line, or leaving a tiny loop at the top instead of fully cinching closed for a topknot-style beanie. However you customize it, the rib-plus-star combination stays the hero of the design.
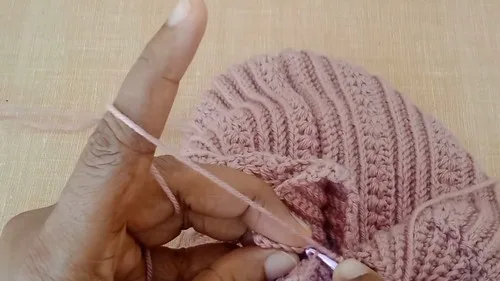
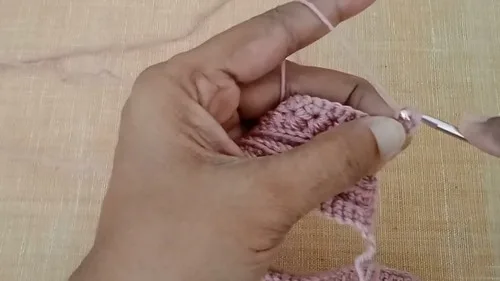
I fell for this beanie the moment I saw how the rib stitch panel curls and stretches like knit fabric — it's one of those crochet tricks that makes people ask 'wait, you crocheted that?' Working the star stitch rows in between the rib sections was so satisfying; each little star closes up with a neat chain-1 and leaves this bumpy, tactile texture that toddlers love to touch. Because the whole main body is worked flat in one long panel, there's no juggling stitch markers or counting increases around a circle — you just chain, turn, and repeat until it's long enough. Then the seaming comes together almost like magic: one seam up the back, a quick cinch at the top, and a separately worked ribbed edge stitched around the brim. I especially love that the edging is its own tiny project, worked back and forth in the back loops only so it flexes perfectly around little heads. It's a pattern that teaches you two genuinely useful techniques — rib stitch and star stitch — while producing something soft, wearable, and adorable in a single sitting or two.