Made and counted by Wren —

Crochet bucket hat pattern for beginners, step by step

4.25mm hook, 4 ply yarn: crochet a beginner bucket hat with a back-loop brim.

Crochet bucket hat pattern for beginners, step by step
IntermediateLevel
4-6 hoursTime
4 Ply (Worsted)Yarn
Jump to the pattern

About this pattern

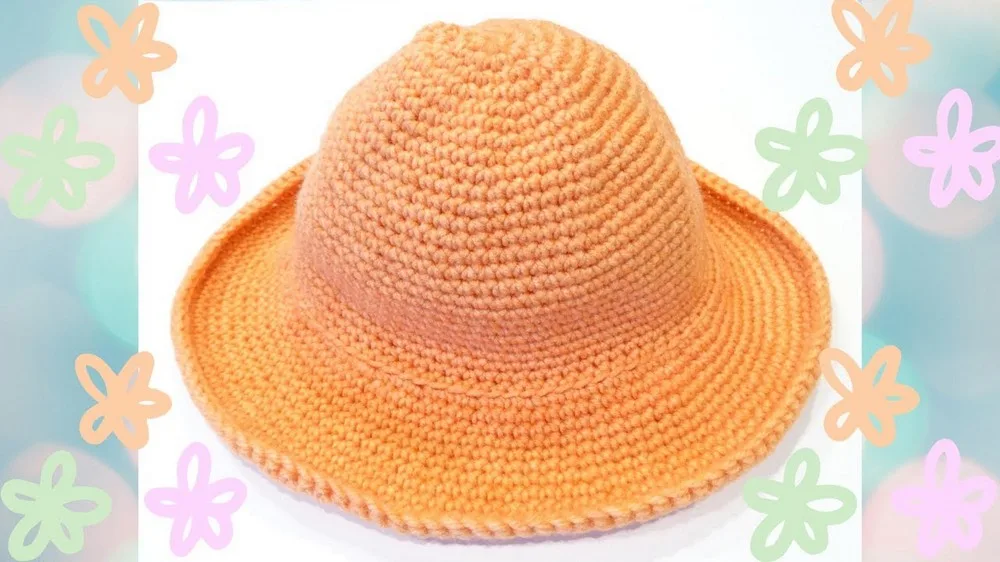
This pattern is a single-crochet bucket hat made in the round with 4 ply yarn and a 4.25mm hook, going up to 4.5mm if needed, starting from a magic ring foundation of 8 sc. The crown works through increase rounds (16 sc after Round 1, 24 sc after Round 2, 32 sc after Round 3, and further increases through Round 14) alternating with plain rounds, then works straight through Round 25. The brim opens with one back-loop-only increase round for the fold, five plain rounds, one more increase round, and five final plain rounds. Finishing is a slip stitch join, cut, and weave in tails with a tapestry needle.

This is a top-down bucket hat built as a single spiraling crown followed by a separate brim section, starting with a magic ring and worked entirely in single crochet with 4 ply yarn and a 4.25mm hook. The crown alternates increase rounds with plain rounds through Round 14, then works straight through Round 25 before the brim begins. The brim opens with a back-loop-only increase round to create the fold line, followed by five plain rounds, one more increase round, and five final plain rounds to flare it out. The number that matters most is the 32 sc reached by the end of Round 3, since a miscount there throws off every round after it.
The pattern

Written out round by round

Materials

  • 4 ply yarn (acrylic or cotton)
  • 4.25 millimeter crochet hook (can go up to 4.5 millimeters)
  • Scissors
  • Tapestry needle

Abbreviations

  • sc = single crochet

Main Pattern

Magic RingWrap yarn around two fingers and pull up a loop. Chain 1. Work 8 single crochets (sc) into the ring. Pull on the tail to tighten the ring. Slip stitch to the first sc to join.(8)
Round 1Chain 1. Work 2 sc in each stitch around. You should have 16 sc.(16)
Round 2Chain 1. 2 sc in the first stitch, 1 sc in the next stitch. Repeat around. You will have 24 sc at the end of this round.(24)
Round 3Chain 1. Alternate 1 sc in the first stitch, then 1 sc in the next stitch, and 2 sc in the following stitch all the way around.End with 32 sc.
Round 4Chain 1. 2 sc in the first stitch, 1 sc in each of the next three stitches. Repeat around.End with 40 sc.
Round 5Chain 1. Work 1 sc in each stitch around (40 sc).(40)
Round 6Increase Round Slip stitch to join. Chain 1. Work 4 sc and then 2 sc in the following stitch (increase by working two sc into one stitch).End with 48 sc.
Round 7Chain 1. Work 1 sc in each stitch around (48 sc).(48)
Round 8Increase Round Chain 1. 2 sc in the first stitch, 1 sc in each of the next 5 stitches. Repeat around.You should have 56 sc.
Round 9Chain 1. Work 1 sc in each stitch around (56 sc).(56)
Round 10Increase Round Chain 1. 1 sc in each of the next 6 stitches, then 2 sc in the following stitch. Repeat around.End with 64 sc.
Round 11Chain 1. Work 1 sc in each stitch around (64 sc).(64)
Round 12Increase Round Chain 1. 2 sc in the first stitch, 1 sc in each of the next 7 stitches. Repeat around.You will have 72 sc.
Round 13Chain 1. Work 1 sc in each stitch around (72 sc).(72)
Round 14Increase Round Chain 1. 2 sc in the first stitch, 1 sc in each of the next 11 stitches. Repeat around.End with 78 sc.
Rounds 15–25Chain 1. Work 1 sc in each stitch around for each round.

Brim

Round 1Slip stitch into the back loop only. Chain 1. 2 sc in the first back loop, 1 sc in each of the next two back loops. Repeat around.
Rounds 2–6Chain 1. Work 1 sc in each stitch around using both loops.
Round 7Increase Round Chain 1. 2 sc in the first stitch, 1 sc in each of the next three stitches. Repeat around.
Rounds 8–12Chain 1. Work 1 sc in each stitch around for each round.

Finishing

Slip stitch into the first sc to end the round.

Cut yarn and fasten off.

Weave in all tails with a tapestry needle.

Assembly

Step 1Slip stitch into the first sc to end the round.
Step 2Cut yarn and fasten off.
Step 3Weave in all tails with a tapestry needle.

Tester's notes

4.25mm is the working hook size; size up to 4.5mm only if the fabric feels stiff or the crown is cupping tightly, not as a default choice.

Round 2 and Round 3 are increase rounds — 24 sc and 32 sc respectively — so a stitch marker in the first stitch of each round prevents losing the spiral start point.

Working in back loops only for Brim Round 1 is what creates the crease between crown and brim; skipping this step leaves the hat without a defined fold line.

Keep tension consistent across the plain rounds (Round 5 onward and Brim Rounds 2-6 and 8-12) since single crochet worked too loosely will show gaps once the brim flares open.

No color changes or stuffing are called for in this pattern, so there is no need to plan yarn tails beyond the one cut at Finishing.

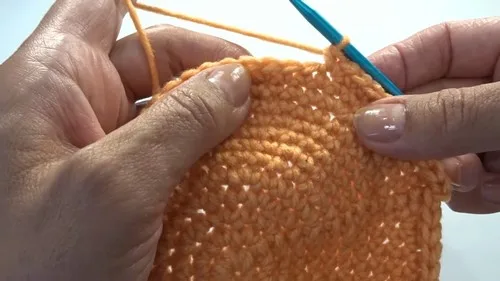
Work in progress

Crochet bucket hat pattern for beginners, step by step — photo 2
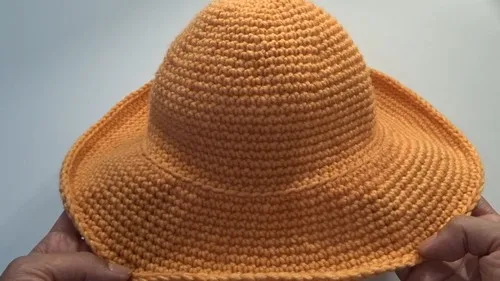
Crochet bucket hat pattern for beginners, step by step — photo 3
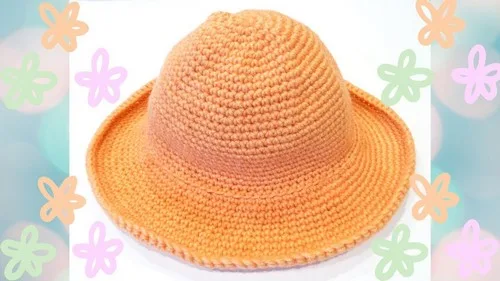
Crochet bucket hat pattern for beginners, step by step — photo 4

At a glance

Rounds20
Parts3
LevelIntermediate
Time4-6 hours
Yarn4 Ply (Worsted)

Gauge check

After Round 1, count stitches around before continuing: there should be 16 sc; after Round 2, 24 sc; and after Round 3, 32 sc.

If any count is off, unravel back to the start of that round and redo the increase sequence rather than adjusting later rounds to compensate.

Stitch-count checkpoints

  • Main Pattern · Round 1: 16 sts
  • Main Pattern · Round 5: 40 sts
  • Main Pattern · Round 9: 56 sts
  • Main Pattern · Round 13: 72 sts

If something looks wrong

The crown cups upward instead of lying
This usually means an increase round was skipped or undercounted — recheck that Round 2 hit 24 sc and Round 3 hit 32 sc before moving on.
There's no visible crease between the crown and the brim.
This happens when Brim Round 1 was worked into both loops instead of the back loop only; that round has to be back-loop-only to form the fold.
The brim doesn't flare outward the way
Brim Rounds 2 through 6 and 8 through 12 are worked even (1 sc in each stitch), so if the brim stays tight, check that no stitches were accidentally decreased across those rounds, and that Brim Round 7's increase was worked.
The join at the top of a round looks stepped or offset.
Each round starts with a chain 1 and the slip-stitch join at Finishing closes only the final round — a visible step earlier on means the first stitch of a round drifted, so recount from the last known correct stitch total.

Yarn substitutions

Cotton, worsted weightHolds the brim's shape stiffer with less drape than acrylic; keep the 4.25mm hook, but expect a slightly smaller finished circumference since cotton has less give.
Acrylic-cotton blend, worsted weightSplits the difference between structure and softness, staying close to the acrylic and cotton named in the pattern; hook size and stitch counts stay the same as written.
FAQs

Questions

What hook size does this bucket hat actually need?

The pattern calls for a 4.25mm hook as the working size. Going up to 4.5mm is an option if the fabric comes out too tight, but it is not required.

How do you know the crown increases are correct before moving to the brim?

Count stitches at the end of Round 2 and Round 3 specifically: 24 sc and 32 sc are the two checkpoints given in the pattern. If either number is off, the rest of the crown through Round 25 will be affected.

One at a time —

Get the next pattern

Tested round by round before it is sent. No spam.