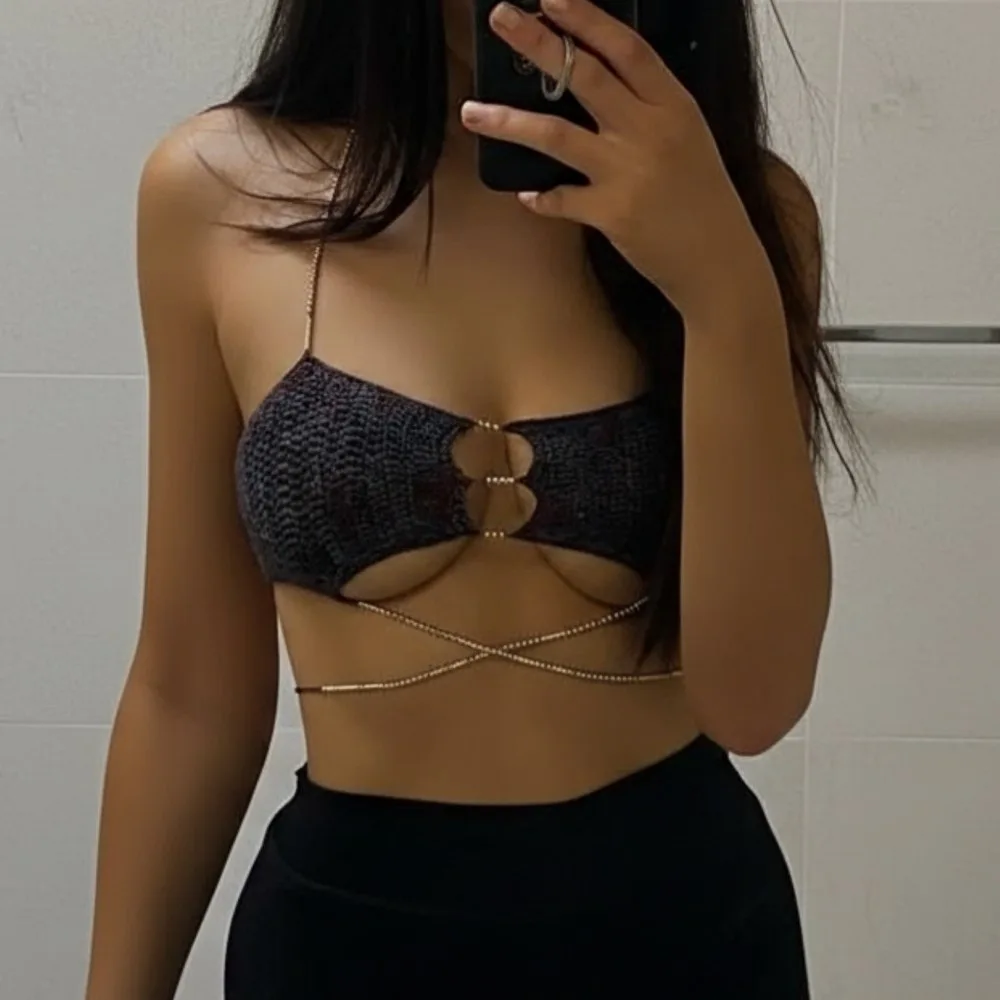
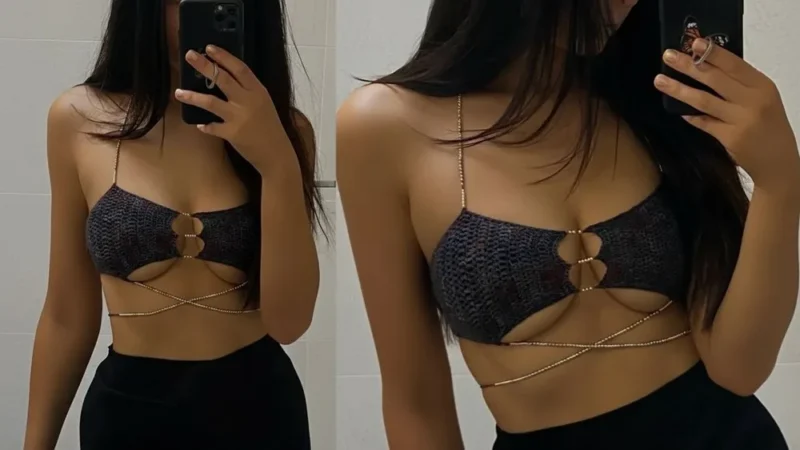
Main Pattern
Phase 1: The First Cup (Width Shaping)
FoundationChain 21.
Row 1Double Crochet (dc) in the 3rd chain from hook and in every chain across.
Row 2Ch 2 (counts as dc), turn. Skip first stitch, dc in every stitch across.
Row 3Increases Ch 2, turn. Work 2 dc in the very first stitch (increase). dc across. Work 2 dc in the last stitch (top of turning chain).
Rows 4–10Repeat the increase pattern (2 dc at each end) for 7 more rows (10 rows total).
Row 11Center Work one row of plain dc across (no increases or decreases).
Rows 12–21Decreases * Ch 2, turn. Work a dc2tog (dc decrease) over the 2nd and 3rd stitches.dc across until 2 stitches remain. Work a dc2tog .Repeat this decrease row until you have a total of 21 rows (10 rows of decreases).
Phase 2: Cup Edging
Top Border: Ch 2, turn. Work 1 single crochet (sc) in the first stitch. Ch 2, skip 8 stitches, work 1 sc. Repeat to create 3 small “bubble” spaces at the top edge for bead attachment.
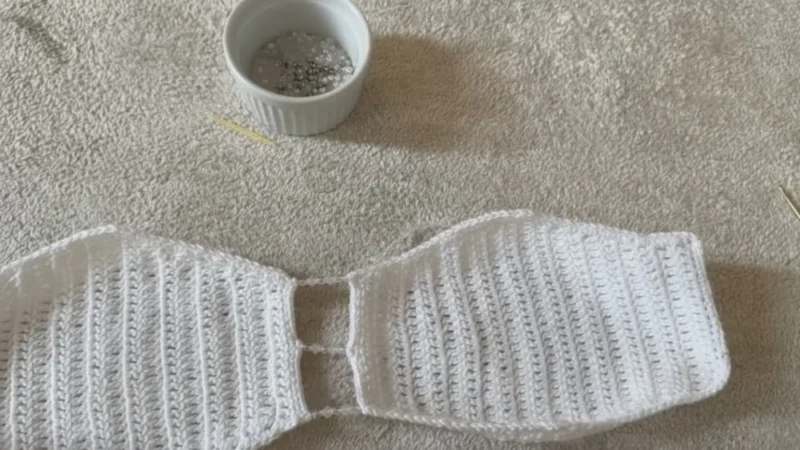
Full Border: Work sc evenly around the entire perimeter of the cup. Work 2 sc in corners and the top peak to ensure a smooth turn. Repeat Phase 1 & 2 for the second cup .
Phase 3: Bead Integration and Assembly
Stringing: Using a finishing needle, string your chosen beads onto your working yarn tail (or separate thread).
Center Bridges: * Attach yarn to one of the “bubbles” on the inner edge of Cup A.
Slide 4–10 beads into position.
Secure the yarn to the corresponding bubble on Cup B with a tight double knot.
Repeat for the remaining two beaded bridges in the center.
Halter Straps (Top): Attach yarn to the top peaks. String beads for the first few inches (to show at the neck), then chain to the desired length to tie behind the neck.
Bodice Straps (Bottom): Attach a long strand of yarn to the bottom corners. String beads to wrap across the stomach, then chain enough length to tie securely in the back.
Conclusion
Finishing this beaded top provides you with a high-end, artisanal garment that perfectly blends texture and shimmer. By mastering the symmetrical increasing and decreasing rows, you’ve created a supportive base for the delicate beadwork. Once you have secured your knots and weaved in your ends, your boho-chic halter is ready for festival season.
Pro Tip: To prevent the beads from sliding or sagging over time, pull your double knots as tight as possible and consider adding a tiny drop of fabric glue to the knot inside a bead for extra security.