Classic Granny Square Pattern
Pattern Notes
1. All granny squares are worked in the round from the center outward.
2. Join each round with a slip stitch to the top of the beginning chain-3 (which counts as your first double crochet).
3. Color changes happen at the end of rounds. Fasten off and join the new color with a slip stitch in any corner space.
4. Block all squares before assembly. Trust me on this. It makes seaming so much easier and gives a professional finish.
5. The front panels, back panel, and sleeves are assembled separately, then joined at the shoulders and sides.
Step-by-Step Crochet Pattern Classic Granny Square (Make Multiple)
You will need the following number of squares based on your size: S/M - 36 squares; L/XL - 42 squares; 2X/3X - 48 squares.
This includes squares for the body and sleeves. I will break down placement in the assembly section.
Round 1Color A or C, varies by placement Ch 4, sl st to first ch to form a ring. Ch 3 (counts as first dc here and throughout), 2 dc into ring, ch 2, *3 dc into ring, ch 2* three times, sl st to top of ch-3 to join. (4 clusters, 4 ch-2 corner spaces)
Round 2Color B Join Color B in any corner ch-2 space. Ch 3, 2 dc, ch 2, 3 dc all in same corner space (first corner made). *Ch 1, skip to next corner ch-2 space, work (3 dc, ch 2, 3 dc) in corner space (corner made)* three more times, ch 1, sl st to top of ch-3 to join. (8 clusters, 4 ch-2 corners, 4 ch-1 side spaces)
Round 3Color A Fasten off Color B. Join Color A in any corner ch-2 space. Ch 3, 2 dc, ch 2, 3 dc in same corner space. *Ch 1, 3 dc in next ch-1 space, ch 1, (3 dc, ch 2, 3 dc) in corner ch-2 space* around. End with ch 1, 3 dc in last ch-1 space, ch 1, sl st to top of ch-3 to join. (12 clusters total, 4 corners, 8 side clusters)
Round 4Color B Fasten off Color A. Join Color B in any corner ch-2 space. Ch 3, 2 dc, ch 2, 3 dc in same corner. *Ch 1, 3 dc in each ch-1 space along side, ch 1, (3 dc, ch 2, 3 dc) in corner* around. Sl st to top of ch-3 to join. Fasten off. (16 clusters total, 4 corners, 3 side clusters per edge)Weave in ends. Block square to 5.5 inches.
Color Variations
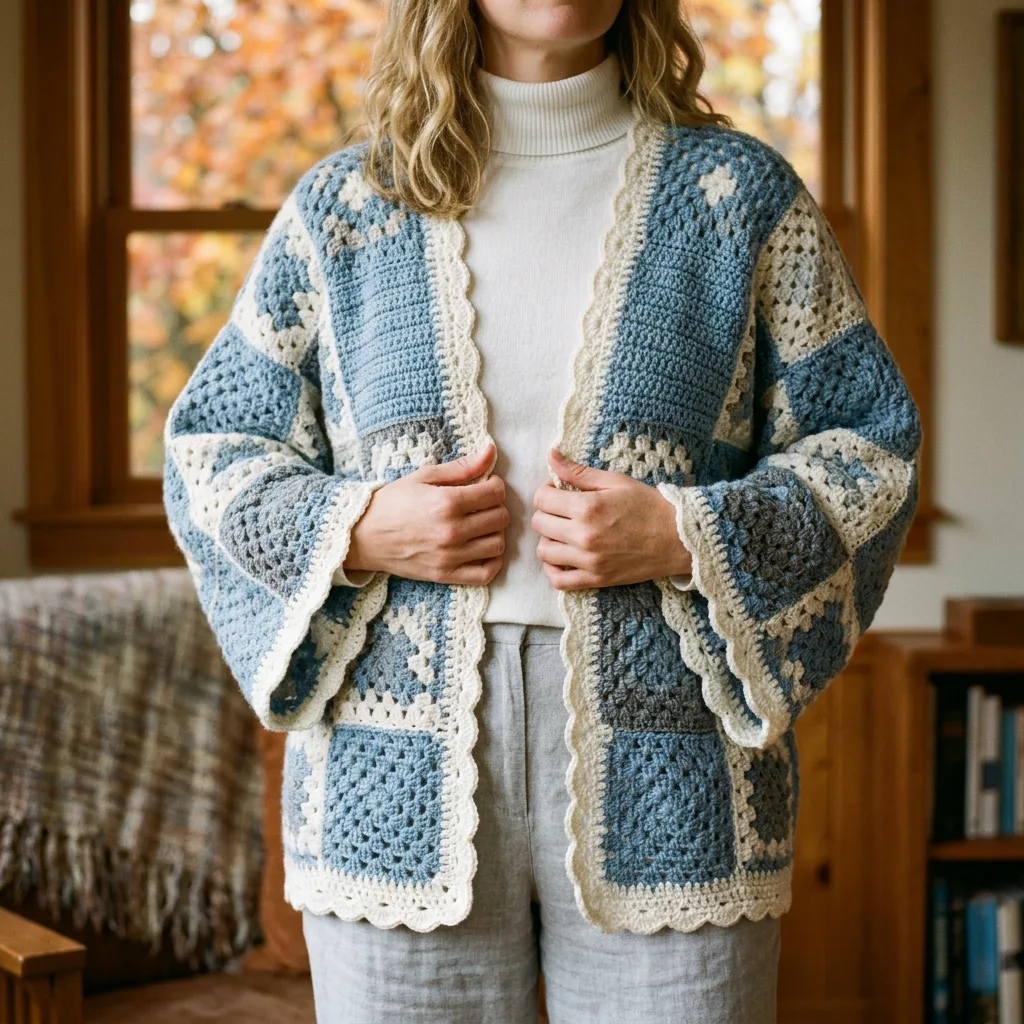
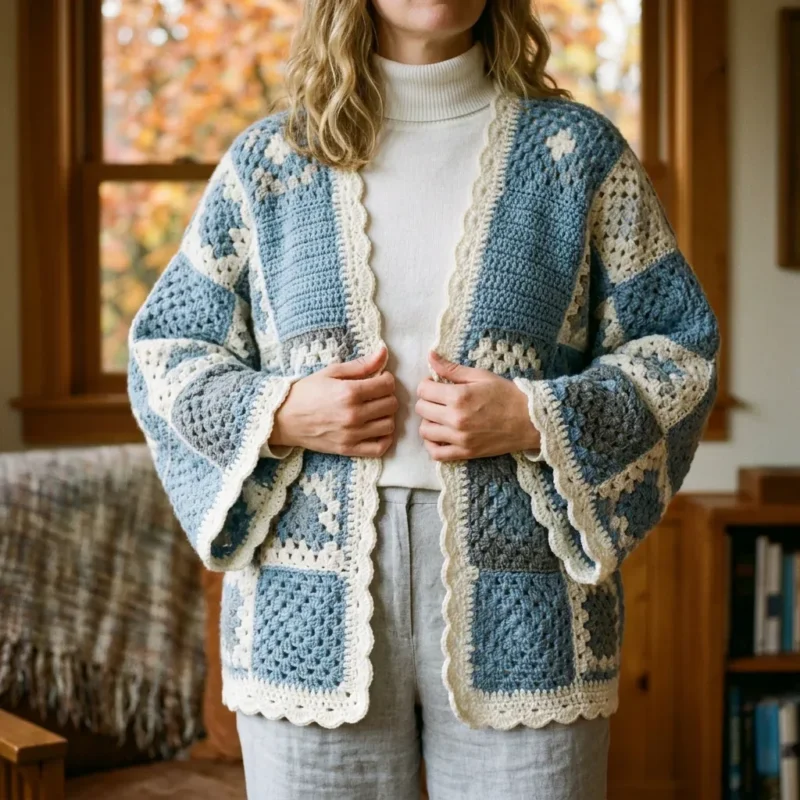
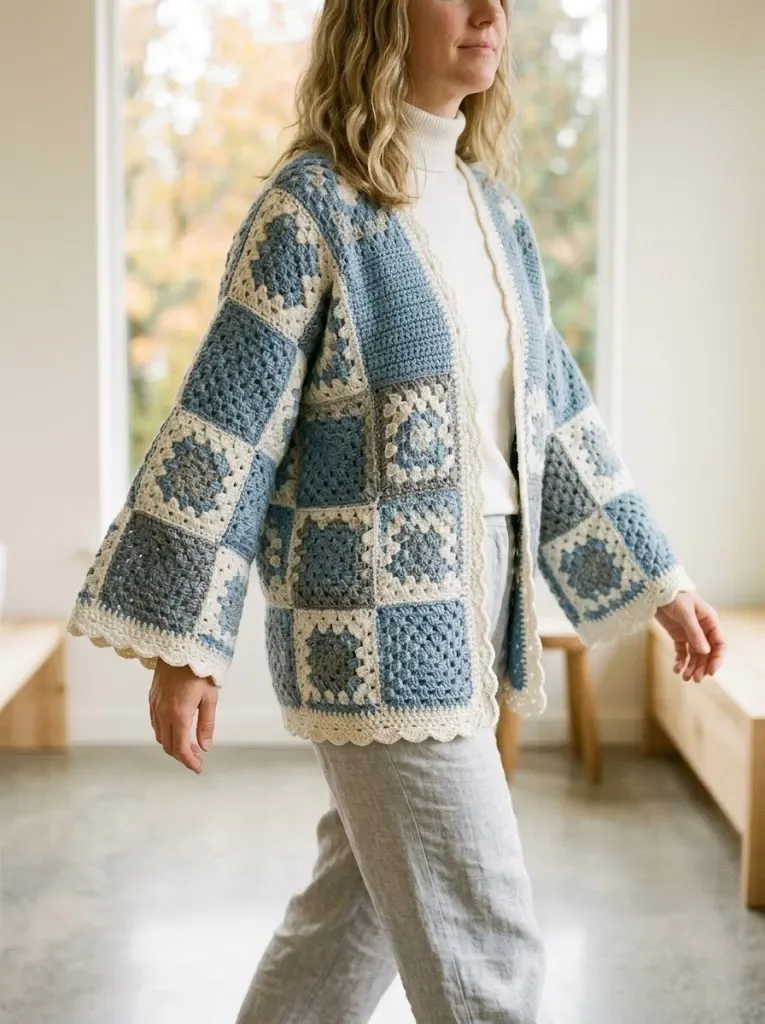
Looking at the finished cardigan, I can see some squares are worked primarily in dusty blue with cream accents, while others feature more taupe. Here is how to create visual variety:
Variation 1 (Blue Dominant): Rounds 1 and 3 in Color A (Dusty Blue), Rounds 2 and 4 in Color B (Cream)
Variation 2 (Taupe Accent): Round 1 in Color C (Taupe), Rounds 2 and 4 in Color B (Cream), Round 3 in Color A (Dusty Blue)
Variation 3 (All Blue): All rounds in Color A with Color B only on Round 4
Mix and match these variations across your squares to create the patchwork effect shown. There is no exact formula. Trust your eye and lay them out before seaming to make sure you like the arrangement.
Assembly: This is where your cardigan comes together. Take a deep breath. It is easier than it looks.
Back Panel: Arrange squares in a grid. S/M - 3 squares wide by 4 squares tall (12 squares); L/XL - 3 squares wide by 5 squares tall (15 squares); 2X/3X - 4 squares wide by 5 squares tall (20 squares).
Joining Method: Hold two squares with right sides facing. Using Color B and your yarn needle, whip stitch through back loops only along one edge. This creates a nearly invisible seam on the right side. Alternatively, you can use a single crochet join: hold squares with wrong sides together and, working through both layers, sc evenly along the edge. This creates a visible ridge on the right side, which adds a nice design element. Join all squares into horizontal strips first, then join strips vertically to complete the back panel.
Front Panels (Make 2): Each front panel is narrower than the back. S/M - 2 squares wide by 4 squares tall (8 squares each, 16 total); L/XL - 2 squares wide by 5 squares tall (10 squares each, 20 total); 2X/3X - 2 squares wide by 5 squares tall (10 squares each, 20 total). Assemble the same way as the back.
Sleeves (Make 2): The sleeves are constructed as flat rectangles, then seamed into tubes. S/M - 2 squares wide by 3 squares tall (6 squares each); L/XL - 2 squares wide by 3 squares tall (6 squares each); 2X/3X - 2 squares wide by 4 squares tall (8 squares each).
Joining Body Pieces: 1. Shoulder Seams: Place front panels against back panel, right sides together. Seam along the top edge for one square width on each side. Leave the center back squares open for the neck. 2. Attach Sleeves: Find the center of the sleeve top edge.