Made and counted by Wren —

Reversible Crochet Octopus: A Two-Faced Squishy Amigurumi Pattern

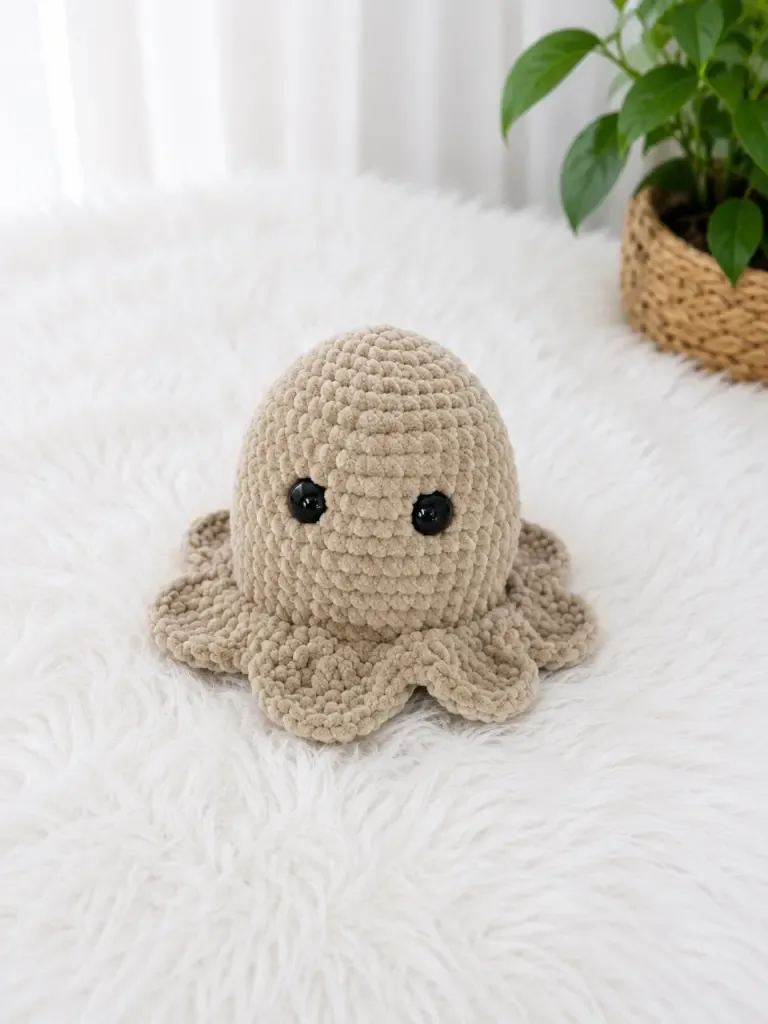
Make a reversible crochet octopus with two mood faces in one squishy chenille toy — a fun amigurumi pattern for gifting and stash-busting.

Reversible Crochet Octopus: A Two-Faced Squishy Amigurumi Pattern
IntermediateLevel
4-6 HoursTime
4.0 mmHook
BulkyYarn
Jump to the pattern

At a glance

Gather your bulky chenille yarn in two colors, a 4.0mm hook, safety eyes, and fiberfill before you begin.

Work the first body and its tentacles in one continuous spiral, tracking rounds carefully with a stitch marker.

Repeat the same construction for the second body using your contrasting chenille color.

Insert 16mm safety eyes into each body half before stuffing them firmly with fiberfill.

Sew the two stuffed bodies together securely using dental floss so the seam won't slip apart.

Embroider a mouth and eyebrows onto each face to give both sides their own distinct expression.

Weave in any remaining ends and give your tentacles a gentle fluff and shape.

Flip the finished octopus between its two faces to enjoy your reversible, two-mood plushie.

About this pattern

This reversible crochet octopus is one plushie with a secret superpower: flip it inside out and its mood completely changes. Two identical bodies — each worked in a different chenille color — are joined together so you get a happy face on one side and a grumpy (or sleepy, or silly) face on the other. It's a clever twist on the classic amigurumi octopus, and it's perfect for crocheters who love a project with a fun payoff, or for gifting to a kid, teacher, or fellow yarn-lover who appreciates a toy with a little extra charm.

The body and tentacles are worked in one continuous spiral over 12 rounds per half, so you'll get comfortable tracking rounds with a stitch marker while shaping increases into a soft, huggable form. The real skill-builder here is the assembly stage, where the two colored bodies are sewn together with dental floss for a durable, no-slip seam — chenille yarn is famously plush but slippery, so this step teaches a technique every amigurumi maker should know. Expect to spend a relaxed afternoon or two evenings on this one.

Finished, this little guy is soft, dense, and satisfyingly squishy thanks to the velvety chenille yarn and snug 4.0mm hook tension — a compact, approximately 10 cm plush toy. With 16mm safety eyes on each face and hand-stitched mouths and eyebrows giving each side its own expression, it's the kind of toy that gets picked up and turned over again and again just to see both faces. It makes an adorable shelf sitter, a comforting lovey, or a memorable handmade gift for a birthday, baby shower, or just because.

Variations

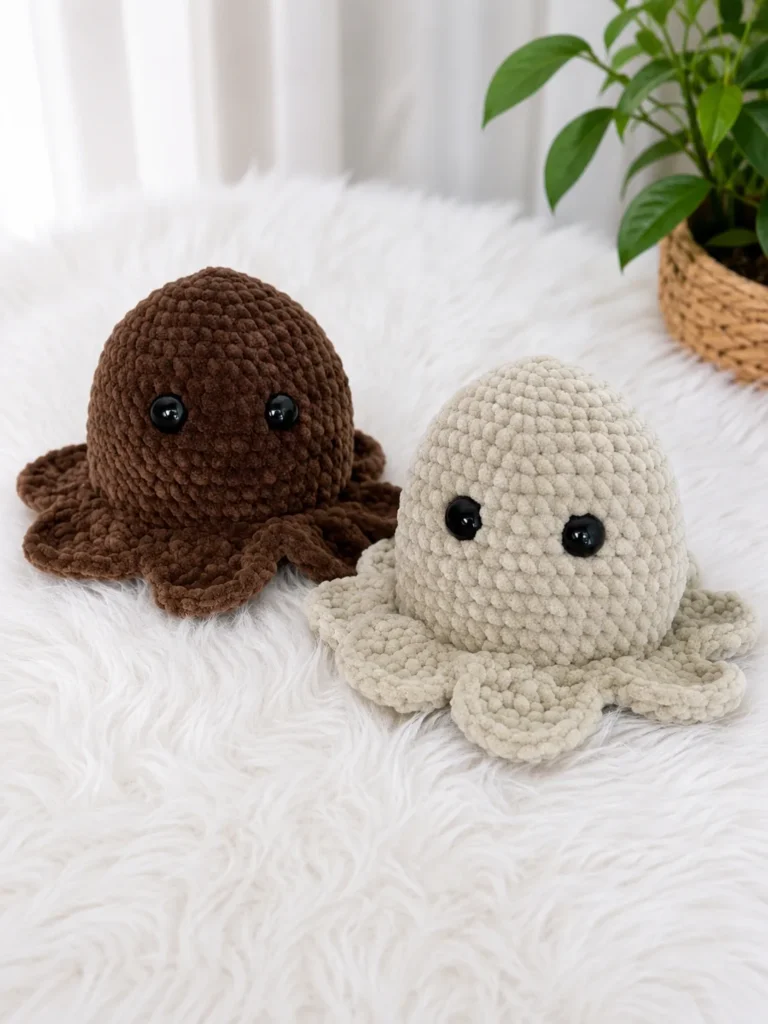
The color combinations are where this pattern really shines. Try a sunshine yellow paired with a stormy gray for a 'sunny vs. cloudy' theme, or a soft mint green with a deep berry red for a fun contrast pair. If you want a more subtle reversible effect, use two shades of the same color family, like blush pink and dusty rose, so the mood shift is more about the face than the body color. For yarn, Himalaya Dolphin Baby and YarnArt Dolce both work beautifully, but Bernat Baby Velvet or Comfy Cotton Chenille are great substitutes if you're shopping a different brand — just keep the weight bulky and the fiber soft for that same squishy hand-feel. If you'd like a bigger cuddle-sized version, size up to a 5.0mm or 5.5mm hook and work with a heavier chenille or double strand of worsted weight, which will naturally increase your stitch gauge and produce a larger toy from the same 12-round structure. For a mini keychain-sized octopus, drop to a DK weight chenille or velvet yarn with a 3.5mm hook, which will tighten your stitches and shrink the finished piece considerably — just be sure your fabric stays dense enough that stuffing doesn't peek through. Themed variations are easy too: swap the safety eyes for sparkly ones and add a few silver thread accents for a 'night and day' galaxy version, or use googly eyes for a goofier, more playful pair of faces. You could even embroider tiny freckles or blush marks on the happy side for extra sweetness. However you customize it, the reversible structure stays exactly the same, so feel free to experiment with color and expression while keeping the construction consistent.
Common mistakes

  • Losing track of the beginningPlace a stitch marker in the first stitch of round 1 and move it up every round without fail — check it before you start each new round so you never lose your place.
  • Working the chenille yarn too looselyGo down a hook size if your stitches look open, and check your tension against the pattern's note that gauge isn't critical but a tight, dense fabric is — snug stitches matter more than exact measurements here.
  • Sewing the two body halves togetherUse dental floss or another strong, non-stretch thread as the pattern specifies — it grips the chenille fibers securely and holds the seam tight through years of squeezes.
  • Placing the 16mm safety eyesTest-fit both bodies together before inserting any eyes permanently, marking eye placement with a scrap of yarn first so both faces feel balanced once assembled.
  • Overstuffing the tentacles unevenlyStuff each tentacle lightly and evenly with small pinches of fiberfill, checking as you go that they all have similar firmness and can still bend a little.
  • Rushing the mouth and eyebrowTake your time stitching the mouth and eyebrows last, stepping back often to compare the two faces so both expressions feel equally lively and distinct.

The pattern

Written out round by round

Materials

Yarn

  • Bulky chenille/velvet yarn (such as Himalaya Dolphin Baby or YarnArt Dolce) — two colors, approximately half a skein of each. Choose one color per “mood face” (e.g., pink for happy, blue for grumpy).

Hook

  • G-6 / 4.0 mm

Safety eyes

  • 16 mm — 4 total (2 per body half)

Stuffing

  • Polyester fiberfill

Embroidery floss

  • For stitching mouths and eyebrows on each face
  • Dental floss or strong thread: For sewing the two pieces together (chenille fibers can slip — dental floss holds firm)
  • Yarn needle / tapestry needle
  • Scissors
  • Stitch marker

Abbreviations

  • BLO = Back Loop Only
  • ch = Chain
  • dc = Double Crochet
  • dec = Decrease (invisible decrease recommended)
  • inc = Increase (2 sc in same stitch)
  • MR = Magic Ring
  • sc = Single Crochet
  • sk = Skip
  • sl st = Slip Stitch

Body with Tentacles (Make 2 — one in each color)

  1. Round 16 sc in MR. (6)
  2. Round 2inc in each st around. (12)
  3. Round 3sc, inc repeat 6 times around. (18)
  4. Round 42 sc, inc repeat 6 times around. (24)
  5. Round 53 sc, inc repeat 6 times around. (30)
  6. Round 64 sc, inc repeat 6 times around. (36)
  7. Round 75 sc, inc repeat 6 times around. (42)
  8. Round 8sc in each st around. (42)
  9. Round 96 sc, inc repeat 6 times around. (48)
  10. Round 10-18sc in each st around. (48)Work these 9 rounds even with no increases or decreases.After Round 18, insert both 16 mm safety eyes, placing them 7 stitches apart. Add a small amount of fiberfill into the head cavity now — you will not have easy access once the tentacle rounds are complete.
  11. Round 19(BLO): Working in back loops only — sk 2 sts, 8 dc in next st, sk 2 sts, sc in next st — repeat this sequence 8 times around. (72)

This round forms the scalloped tentacle edge. Working into the back loop only leaves a visible front loop ridge that you will use for seaming.

  1. Round 202 sc, 4 inc (worked into the dc sts), 5 sc — repeat the bracketed section 7 times, then work 3 sc to close the round.Fasten off, leaving a long yarn tail for seaming.

This round shapes and rounds out each tentacle. The increases are worked into the double crochet sts from the previous round.

Assembly

Step 1

Place both finished body pieces together with wrong sides facing each other — the tentacles of each piece should point outward in opposite directions, and the two faces should face away from each other (one visible on each side of the finished toy).

Step 2

Using dental floss and a tapestry needle, sew the two pieces together through the front loops left exposed at Round 19 (the BLO round). Work around the full circumference, joining each corresponding stitch from both bodies.

Step 3

Once the half-loop seam is secure, sew around the outer edge of the joined piece in a full circle to reinforce the connection and keep the bodies aligned.

Step 4

Add any remaining fiberfill through the opening before closing it completely if either body feels too flat.

Step 5

Using embroidery floss, stitch a mouth and eyebrows onto each face — one expression per side. A simple curved line works for a smile; a straight or downturned line creates the grumpy mood. Eyebrows angled inward read as worried or cross; arched brows read as cheerful.

Step 6

Weave in all yarn ends securely. Chenille yarn can unravel if ends are not woven through at least 3–4 loops in different directions.

Important notes

💡 Use a 4.0mm (G-6) hook and check your tension often — bulky chenille yarn can stretch stitches wider than expected, so aim for a fabric dense enough to fully hide the fiberfill.

💡 Keep a stitch marker moving up every single round since both bodies are worked in a continuous spiral with no joining — this is the easiest way to avoid miscounted increases in the tentacles.

💡 Work each body half in its own dedicated color from start to finish; there's no color-changing mid-round here, so just focus on consistent tension between your two skeins.

💡 Set aside dental floss specifically for the assembly step — regular thread or yarn can slip on slick chenille fibers, but floss creates a seam strong enough for years of hugging.

💡 Insert your 16mm safety eyes before stuffing is complete so you can adjust placement while you still have access to the inside of the body.

💡 Save the mouth and eyebrow embroidery for the very last step so you can compare both finished faces side-by-side and fine-tune each expression before weaving in your ends.

💡 This pattern makes a squishy, approximately 10 cm plush toy — a genuinely thoughtful handmade gift for kids and adults alike.

💡 This pattern is written in US crochet terminology.

💡 If a decrease is needed, use an invisible decrease — insert your hook through the front loops of the next two stitches, yarn over, pull through both, yarn over, and pull through both loops on the hook — to keep the chenille surface smooth.

💡 Place a stitch marker at the start of Round 10, before the long even section (Rounds 10–18) begins — chenille stitches are hard to see, and getting the right number of even rounds is what gives the octopus its nicely proportioned head before the tentacles start.

More photos

Reversible Crochet Octopus: A Two-Faced Squishy Amigurumi Pattern — photo 2
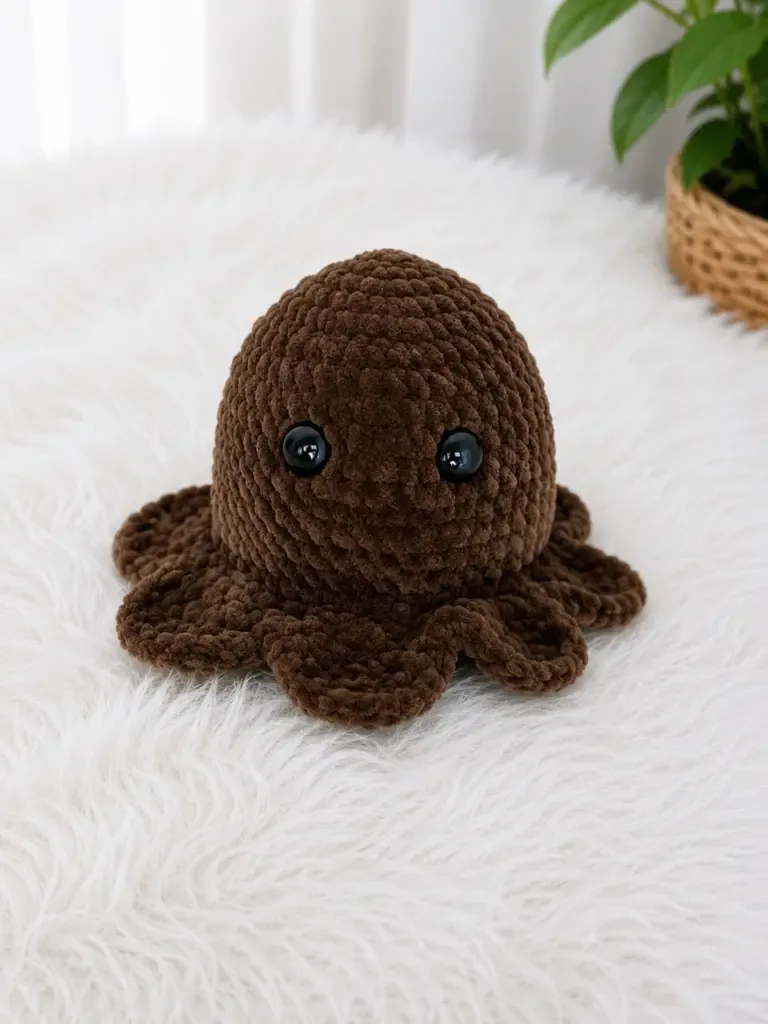
Reversible Crochet Octopus: A Two-Faced Squishy Amigurumi Pattern — photo 3
FAQs

Frequently asked questions

How do I flip the octopus from one face to the other?

Simply push one body half through the joined seam opening at the tentacle edge, turning it so the other face comes to the front. The two bodies are sewn together at the tentacle boundary, which acts as a hinge point. Children can flip it themselves with a little practice, and the dental floss seam is strong enough to handle repeated use.

My tentacles look uneven after Round 19 — what went wrong?

The most common cause is a stitch count error earlier in the body, particularly in Rounds 10 through 18. If you have fewer than 48 stitches going into Round 19, the eight-repeat shell sequence will not divide evenly and the tentacles will be different sizes. Count carefully at the end of Round 9 before continuing, and use a stitch marker at the start of each round through the even section.

Is this octopus safe for young children?

The 16 mm safety eyes are designed for secure attachment when properly installed, but they are still a small-part risk for very young children. For babies or toddlers under three, consider embroidering the eyes with floss instead of using safety eyes. The fiberfill stuffing and yarn themselves are non-toxic, but always supervise young children with handmade toys and check the seams periodically for wear.

One at a time —

Get the next pattern

Tested round by round before it is sent. No spam.