Made and counted by Wren —

No-sew crochet cat pattern with an integrated tail

6mm hook, super bulky chenille yarn crochets a 2.6-inch no-sew amigurumi cat with an integrated tail.

No-sew crochet cat pattern with an integrated tail
BeginnerLevel
3-4 hoursTime
6 mmHook
Super BulkyYarn
Jump to the pattern

About this pattern

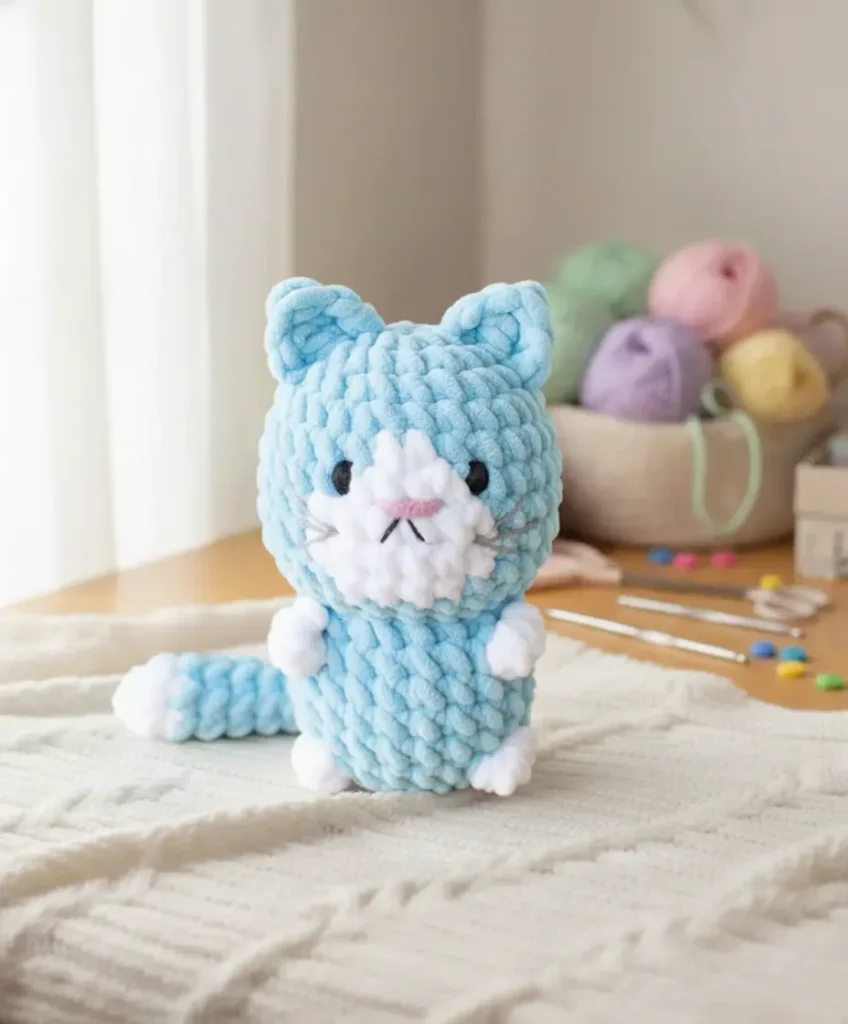
A seamless amigurumi cat built from a single magic-ring body that reaches 24 stitches at its widest round, with an integrated tail worked through a chained gap instead of sewn on separately. Super bulky chenille yarn and a 6mm hook keep the piece compact, finishing at 2.6 inches (7 cm) tall. Paws form from a front-loop bobble stitch on round 9, with ears added after stuffing.

This no-sew crochet cat works up in one continuous piece, with the tail crocheted directly into a gap left in the body rather than sewn on afterward. The body starts at a magic ring with 6 single crochets, increasing round by round to 24 stitches before the tail opening is formed by chaining across 2 skipped stitches. A front-loop bobble stitch on round 9 shapes the paws. Finished height measures 2.6 inches (7 cm), worked in super bulky chenille yarn with a 6mm hook throughout.
The pattern

Written out round by round

Materials

  • Super bulky chenille yarn (approximately 50g): White and Light blue colors

Light pink yarn

  • Small amount for the nose
  • Black sport weight yarn : For embroidering facial features
  • 6mm crochet hook
  • Tapestry needle
  • Hypoallergenic polyester stuffing
  • Scissors
  • Stitch marker
  • this …

Abbreviations

  • Sc = Single crochet
  • Hdc = Half double crochet
  • Bo = Bobble stitch (5dc)
  • Blsc = Back loop single crochet
  • Blsl = Back loop slip stitch
  • Fl = Front loop
  • Inc = Increase
  • Dec = Decrease

Creating the Body

The body begins with a classic magic ring technique and gradually increases to form the cat’s rounded shape.

Rounds 1–4Start with 6 single crochets in a magic ring Work 6 increases for a total of 12 stitchesContinue with (1sc, 1inc) repeated 6 times for 18 stitches Work (2sc, 1inc) repeated 6 times for 24 stitches
Rounds 5–6These rounds create the opening where the tail will be integrated: Chain 2, skip 2 stitches, work 22 single crochetsOn the next round, work 2 single crochets on the chains, then 22 single crochets

At this point, you’ll have a small hole of 4 stitches total. This is intentional and perfectly normal. Place a stitch marker here and pause your work on the body.

Completing the Body

Rounds 7-8: Return to the body and work 24 single crochets around.

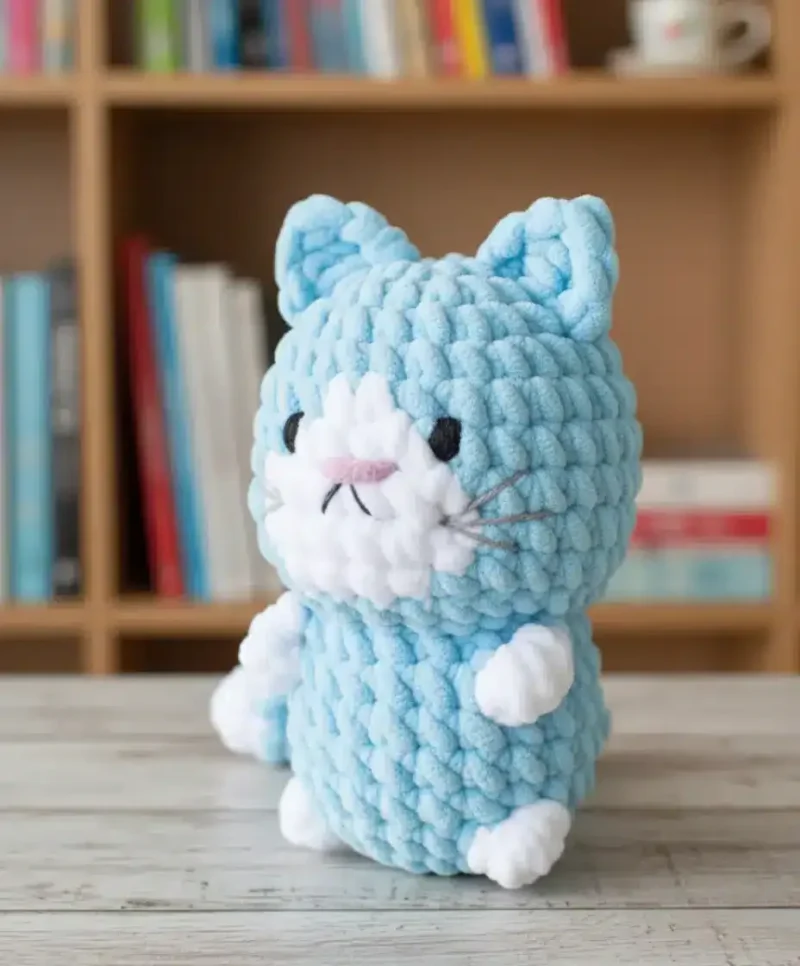
Round 9Adding the Paws: This is where the bobble stitch creates adorable little paws: Work 3sc, then (1 front loop bobble, 5sc) repeated 3 times, 1 bobble, 2scRemember: Insert your hook through the front loop only for bobbles, but work regular single crochets through both loops Rounds 10-11: Begin decreasing to close the body: (2sc, 1dec) repeated 6 times for 18 stitches(1sc, 1dec) repeated 6 times for 12 stitches Stuff firmly before closing completely

Crafting the Integrated Tail

Now comes the clever part: crocheting the tail directly into the body opening.

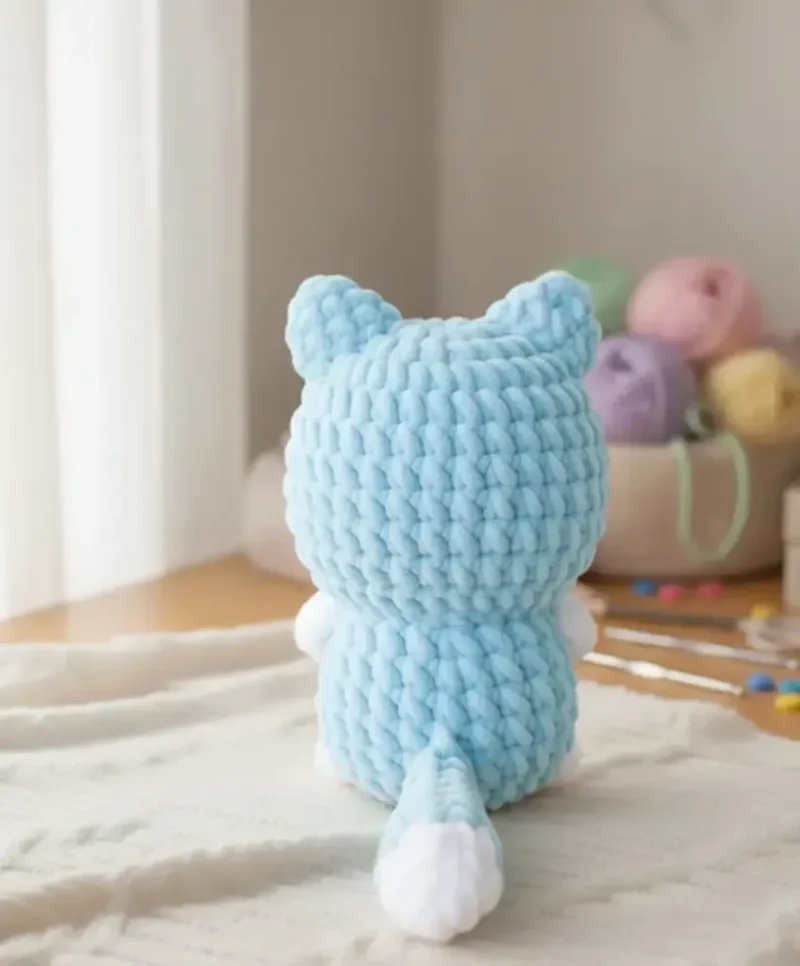
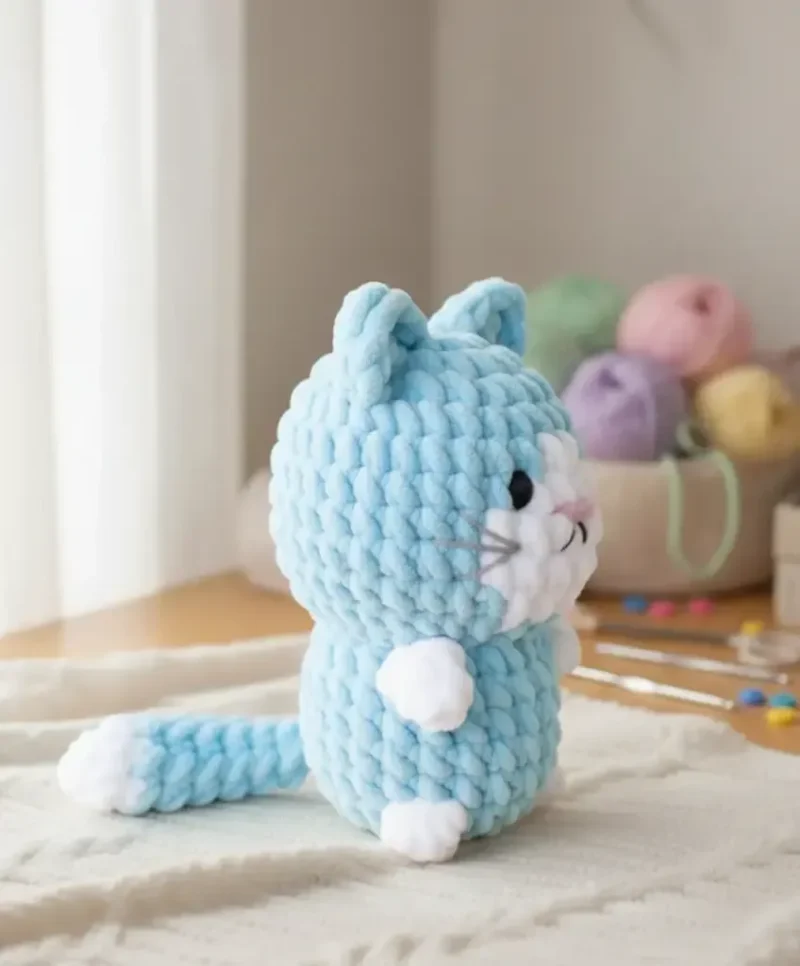
Attach Light blue yarn to one of the remaining stitches Work 8 rounds of 4 single crochets Leave a long tail of yarn before fastening off—you’ll use this later

Creating the Ears

The ears are worked directly into the head, continuing the no-sew theme: Attach Light blue yarn to a stitch in the 3rd round of the head

Chain 3, skip the first chain Work 1 single crochet and 1 half double crochet Fasten off by bringing the yarn through to the inside

Repeat on the opposite side Leave a small tail of yarn outside—this will help secure the tail later

Shaping the Tail Curve

To give your cat’s tail that characteristic upward curve: Thread the leftover yarn from the tail onto a tapestry needle Bring the yarn from the top of the tail down to approximately round 4 in the center

Return the needle back through the tail and out through the top of the body Gently pull to create a natural curve Secure by tying together with the leftover yarn from the ear

Adding Facial Features

The face brings your cat to life with just a few simple embroidered details: Eyes: Using black thread, embroider two eyes in round 5

Leave 3 stitches between them for proper spacing Whiskers: With the same black thread, add two whiskers on each side Position them two stitches to the side of each eye

Nose: Using light pink yarn, embroider a small nose with just 1 stitch in length Center it below the eyes

Tester's notes

6mm hook holds the chenille's bulk without splitting the loops; a smaller hook tightens the fabric and shrinks the final 2.6 inch (7 cm) height.

24 stitches per round is the target from round 4 through round 8 — recount here before starting the paw round so the bobble placements in round 9 line up evenly.

Stitch marker belongs on the first stitch of every round; chenille's texture makes the round boundary hard to spot by eye once stuffing begins.

Round 9's bobbles go through the front loop only, while every surrounding stitch uses both loops — working all loops on that round flattens the paws.

Stuff firmly before closing rounds 10-11, since chenille compresses more than standard worsted and a lightly stuffed body looks under-filled once squeezed into the final 12-stitch closure.

Work in progress

No-sew crochet cat pattern with an integrated tail — photo 2
No-sew crochet cat pattern with an integrated tail — photo 3
No-sew crochet cat pattern with an integrated tail — photo 4

At a glance

Rounds3
Parts6
LevelBeginner
Time3-4 hours
Hook6 mm
YarnSuper Bulky

Gauge check

After round 4 (24 stitches total), check that the piece lies flat with no cupping or rippling, since this round sets the base diameter the rest of the body builds on.

If it cups, increases have been lost somewhere in the first four rounds; if it ripples, tension is too loose for the 6mm hook and stitches should be worked tighter before continuing to round 5.

If something looks wrong

The paw bobbles disappear into the surrounding stitches instead of standing out.
Bobbles on round 9 need the front loop only, not both loops; working them like the surrounding single crochets flattens the texture — redo round 9 catching only the front loop for each bobble.
The stitch count drifts after round 5 and the body no longer matches 24 stitches by round 7.
Round 5's chain-2 skips exactly 2 stitches before working 22 single crochets; skipping an extra stitch, or none, throws off the count — recount the 22 stitches before closing the round.
The integrated tail lies straight instead of curving.
The tail is worked in 8 rounds of 4 single crochets and fastened off with a long yarn tail left for later — pulling that tail snug while shaping curls the tube into its curve; leaving it slack lets it fall straight.
A gap opens at the base of the tail instead of closing seamlessly into the body.
Round 6 needs 2 single crochets worked into the chain-2 from round 5 before continuing the remaining 22 stitches; skipping the chain leaves a hole at the tail base — go back and work both single crochets into the chain-2 space.

Yarn substitutions

Worsted weight (4) cottonProduces a smaller, denser cat than the 50g chenille original; an added round or two may be needed to reach a comparable 2.6 inch height, and a 4-4.5mm hook replaces the 6mm.
Bulky weight (5) acrylicCloser in scale to the original chenille but with less plush drape, so stuffing shows through the single crochets more; the 6mm hook still works, or drop to 5.5mm for a firmer finish.
Super bulky weight wool-blendMatches the chenille's weight category, keeping the 6mm hook and 2.6 inch target height, but adds more drape and visible stitch definition where chenille hides the stitches entirely.
FAQs

Questions

Why does the pattern leave a gap in the body instead of closing it completely?

Rounds 5-6 chain across 2 skipped stitches specifically to create an opening. That opening is the anchor point the tail attaches into during the next section, so closing it early removes the connection the no-sew construction depends on.

How much yarn does the nose color actually need?

The pattern calls for only a small amount of yarn for the nose, separate from the 50g white and light blue used for the body. A small scrap covers it, since the nose is embroidered with the black sport weight yarn rather than crocheted as its own piece.

Can the 8-round tail be made longer or shorter?

The tail is worked as 8 rounds of 4 single crochets before fastening off with a long yarn tail. Adding or removing rounds changes the length directly, though the 4-stitch count per round should stay the same to keep the tube's width consistent with the 2.6 inch (7 cm) finished cat.

One at a time —

Get the next pattern

Tested round by round before it is sent. No spam.