Made and counted by Wren —

No-Sew Caterpillar Amigurumi With Adjustable Body Segments

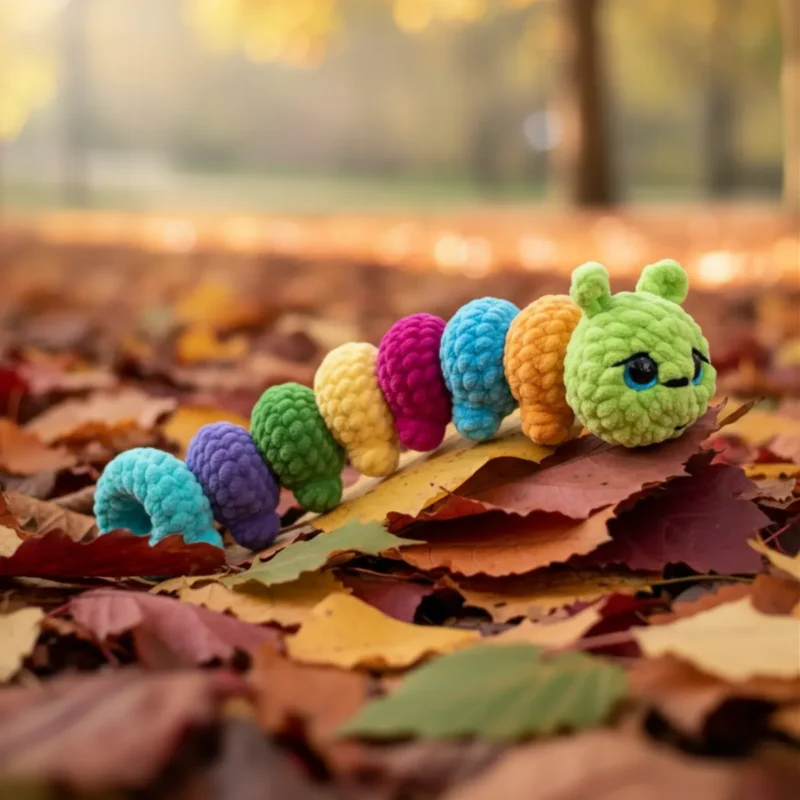
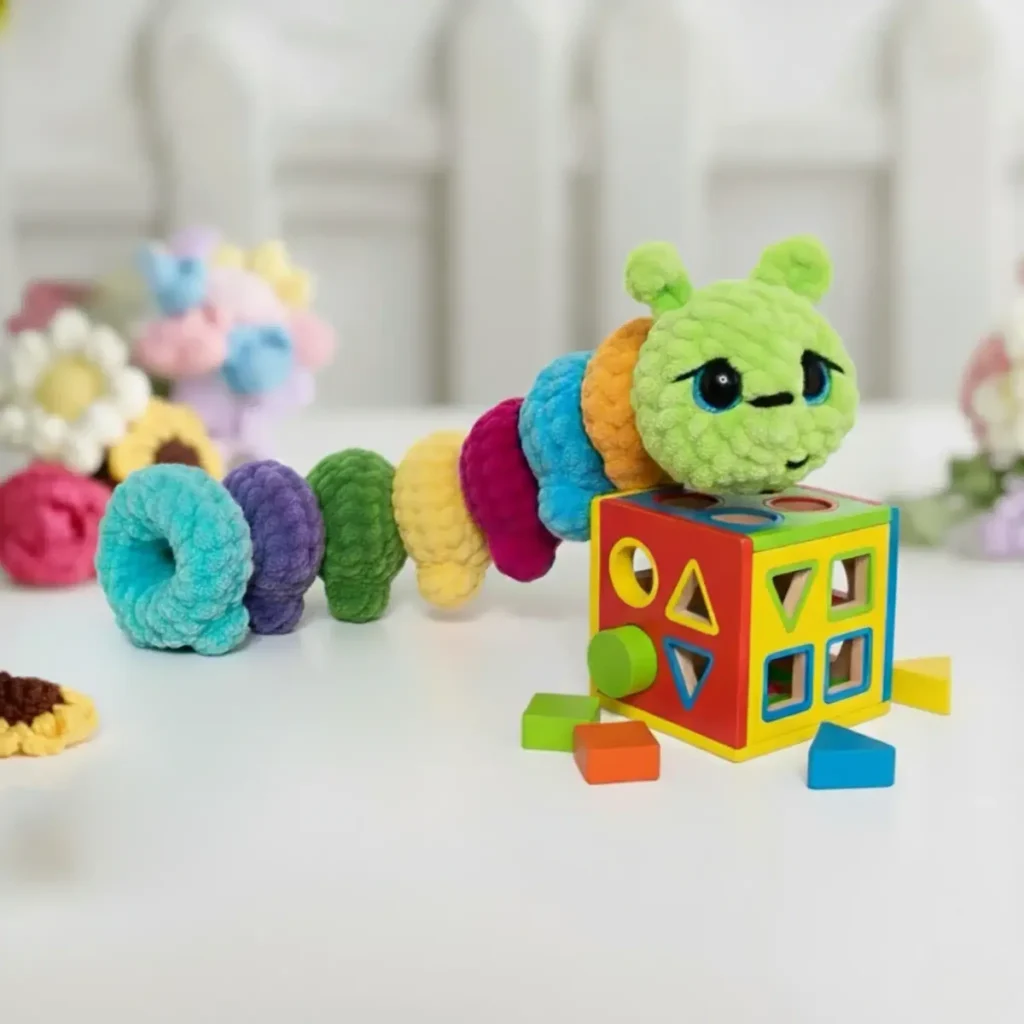
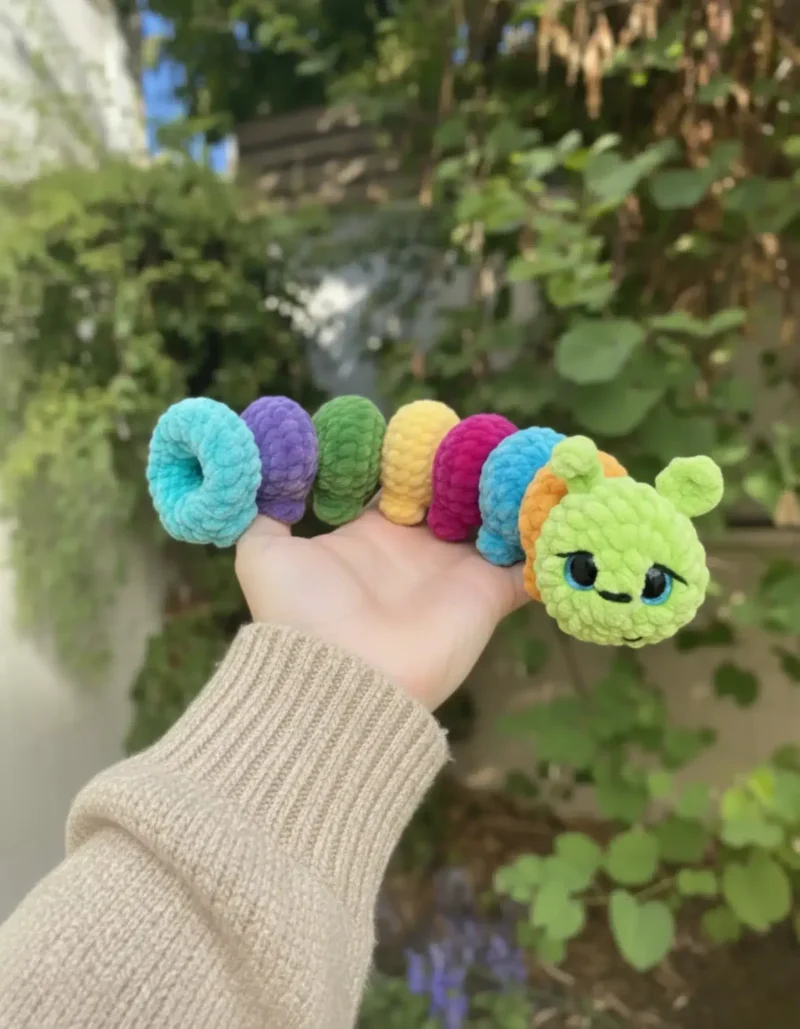
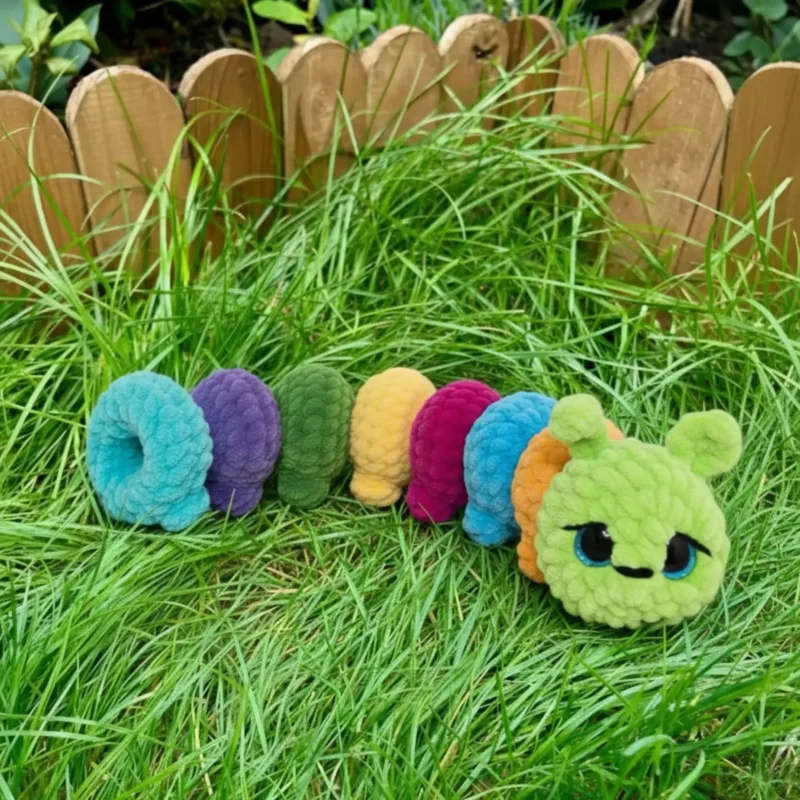
No-sew amigurumi caterpillar pop worked in continuous rounds with customizable, unstuffed body segments and bobble-stitch legs.

No-Sew Caterpillar Amigurumi With Adjustable Body Segments
IntermediateLevel
4-6 hoursTime
4 mmHook
WorstedYarn
Jump to the pattern

About this pattern

A no-sew, unstuffed caterpillar pop worked in continuous rounds from a 10-round head through repeating 7-round body segments; rounds 11-17 repeat for each new segment, with round 14 shifting leg bind-off placement by 2 sc every time (4, 6, 8, 10 sc starts). Materials are chenille yarn, cotton yarn for embroidery, a 4mm hook, a yarn needle, scissors, a stitch marker, and 8mm plus 14mm safety eyes. Tight tension throughout keeps the eyes seated and the legs from showing gaps.

This caterpillar pop is a no-sew amigurumi built entirely in continuous rounds, so no separate pieces get sewn together at the end. It is left unstuffed on purpose, which keeps it flexible and fun to squeeze as a fidget toy. The head takes 10 rounds and sets the face with 8mm and 14mm safety eyes, then the body grows one segment at a time by repeating rounds 11 through 17, each repeat shifting the leg bind-off points by 2 sc. The count that matters most is 24 sc: every segment settles at that stitch total by round 13 before the legs get placed in round 14.
The pattern

Written out round by round

Materials

  • Chenille yarn (the original design uses Wolans Bunny Baby or Himalaya Dolphin Baby, but any yarn weight works)
  • Cotton yarn for face embroidery
  • 4mm crochet hook
  • Safety eyes in two sizes (8mm and 14mm)
  • Yarn needle
  • Scissors
  • Stitch marker

Abbreviations

  • MR = Magic ring
  • sc = Single crochet
  • ch = Chain
  • st = Stitch
  • inc = Increase (2 sc into one stitch)
  • dec = Decrease (1 sc into 2 stitches)
  • FLO = Front loop only
  • BLO = Back loop only
  • FO = Fasten off
  • slst = Slip stitch
  • DC = Double crochet
  • BO = Bobble stitch (5dc bobble)
  • dc2tog = 2 dc all in one stitch

Crocheting the Head

The head is where you'll create the caterpillar's charming face and antennae.

Round 18 sc in magic ring (8)
Round 28 inc (16)
Round 3(sc, inc) × 8 (24)
Round 424 sc (24)
Round 59 sc, sc in FLO (4 ch, in the 2nd ch from your hook dc2tog, 2 slst), 3 sc, sc in FLO (4 ch, in the 2nd ch from your hook dc2tog, 2 slst), 10 sc (24) This round creates the two antennae. Place a stitch marker in each BLO for easier reference later.
Round 66 sc, dec, 1 sc, 1 sc in BLO, 3 sc, 1 sc in BLO, dec, 6 sc, dec (21)
Round 7(5 sc, dec) × 3 (18)
Round 8(4 sc, dec) × 3 (15)
Round 9(3 sc, dec) × 3 (12)
Round 10(sc, dec) × 4 (8)Insert safety eyes between rounds 2 and 3, spacing them 6 sc apart and ensuring they're centered. Embroider the mouth and eyebrows or eyelashes using your cotton yarn.

First Body Part

Round 118 inc (16)
Round 12(sc, inc) × 8 (24)
Round 1324 sc (24)
Round 142 sc, BO, 3 sc, BO, 17 sc (24) Change color here if desired for the legs
Round 15(4 sc, dec) × 4 (20)
Round 16(3 sc, dec) × 4 (16)
Round 178 dec (8)

Additional Body Parts

For each additional segment, repeat rounds 11-17, but adjust round 14 to shift the leg placement:

Round 14 (Part 2)4 sc, BO, 3 sc, BO, 15 sc (24)
Round 14 (Part 3)6 sc, BO, 3 sc, BO, 13 sc (24)
Round 14 (Part 4)8 sc, BO, 3 sc, BO, 11 sc (24)
Round 14 (Part 5)10 sc, BO, 3 sc, BO, 9 sc (24)Continue this pattern, adjusting the leg placement by 2 sc each time, until your caterpillar reaches your desired length.

Note Depending on your tension, the legs might not line up perfectly. Feel free to adjust the placements as needed.

Assembly

Step 1For the very last segment, work a slightly different ending:
Step 2Round 16: (3 sc, dec) × 4 (16)
Step 3Round 17: (2 sc, dec) × 4 (12)
Step 4Round 18: (sc, dec) × 4 (8)
Step 5Fasten off, leaving a long tail to sew the opening closed.

Tester's notes

Do not stuff the caterpillar – this keeps it flexible and fun to pop and squeeze as a fidget toy.

Maintain tight tension – avoid crocheting loosely to prevent the safety eyes from falling out.

Customize the length – make as many body segments as you desire.

Rainbow option – for a rainbow caterpillar, change colors in this order: red, orange, yellow, green, blue, indigo, purple.

Round 14 doubles as the color-change round for legs if a contrasting color is wanted.

A stitch marker keeps the rounds 11-17 repeat aligned across segments; losing track by even one round throws off leg placement.

Leg placement shifts by 2 sc per segment (Part 2 starts at 4 sc, Part 3 at 6 sc, Part 4 at 8 sc, Part 5 at 10 sc); mark round 14 each time before binding off.

Work in progress

No-Sew Caterpillar Amigurumi With Adjustable Body Segments — photo 2
No-Sew Caterpillar Amigurumi With Adjustable Body Segments — photo 3
No-Sew Caterpillar Amigurumi With Adjustable Body Segments — photo 4

At a glance

Rounds21
Parts3
LevelIntermediate
Time4-6 hours
Hook4 mm
YarnWorsted

Gauge check

After round 3, count stitches — the total should read 24 sc, matching the first increase sequence before the body rounds begin.

If the fabric still shows gaps between stitches at that point, drop to a smaller hook so the finished head holds the 8mm and 14mm safety eyes without stretching.

Stitch-count checkpoints

  • Crocheting the Head · Round 3: 24 sts
  • Crocheting the Head · Round 7: 18 sts
  • Crocheting the Head · Round 10: 8 sts
  • First Body Part · Round 12: 24 sts
  • First Body Part · Round 15: 20 sts
  • First Body Part · Round 17: 8 sts

If something looks wrong

Legs don't line up between segments.
Tension varies row to row, so the 2 sc shift in round 14 doesn't always land evenly; shift the bind-off start point by a stitch or two on the next segment to re-center.
Safety eyes feel loose after insertion.
Fabric worked too loosely around the head rounds leaves gaps for 8mm and 14mm eyes to shift; redo the surrounding rounds with tighter tension or a smaller hook.
Segment doesn't total 24 sc after round 13.
Miscounted increases in round 11 (8 inc) or round 12 ((sc, inc) x8) throws off the 16-to-24 progression; recount back to the last marker and redo from there.
Body pulls or cups at the leg openings.
One of the two bind-off points in round 14 skipped a stitch or the 3 sc between them is uneven; check that both BO sections release exactly 3 sc before continuing the round.

Yarn substitutions

Chenille, any weight (original choice)This is the yarn the pattern was designed with (Wolans Bunny Baby or Himalaya Dolphin Baby); the designer notes any yarn weight works, so segment size will simply track whatever weight of chenille is chosen.
Cotton, worsted weightStitches sit crisper and the segments run slightly smaller than written; sometimes dropping to a smaller hook keeps the fabric tight enough for the safety eyes to stay seated.
Acrylic, worsted weightMatches the pattern as written — standard segment size, soft drape, no hook change needed.
Velvet, bulky weightSegments grow larger than the stated stitch counts and drape heavier; a larger hook helps keep the fabric gauge proportional and tight enough to hold the safety eyes.
FAQs

Questions

How many segments does the finished caterpillar need?

The pattern doesn't fix a count; rounds 11-17 repeat for Parts 2 through 5 and beyond, each shifting leg placement by 2 sc, until the length looks right. Stop at whatever segment reaches the desired length, then finish that last segment with rounds 16-18 instead of repeating again.

Why does round 14 change for every segment?

Round 14 places the two bound-off leg gaps, and shifting the starting stitch count by 2 sc per part (4, 6, 8, 10 sc) moves the legs so they don't stack directly under the previous pair. Tension differences mean the legs might still not land perfectly even with the shift.

What does the BO step do inside round 14?

BO marks a bind-off used to open a leg gap within the round rather than finishing the whole piece; two separate bind-off points each release 3 sc before the round continues. The round still totals 24 sc across the worked and bound-off stitches combined.

One at a time —

Get the next pattern

Tested round by round before it is sent. No spam.