Made and counted by Wren —

Mini amigurumi bunny pattern for a 5cm pocket pal

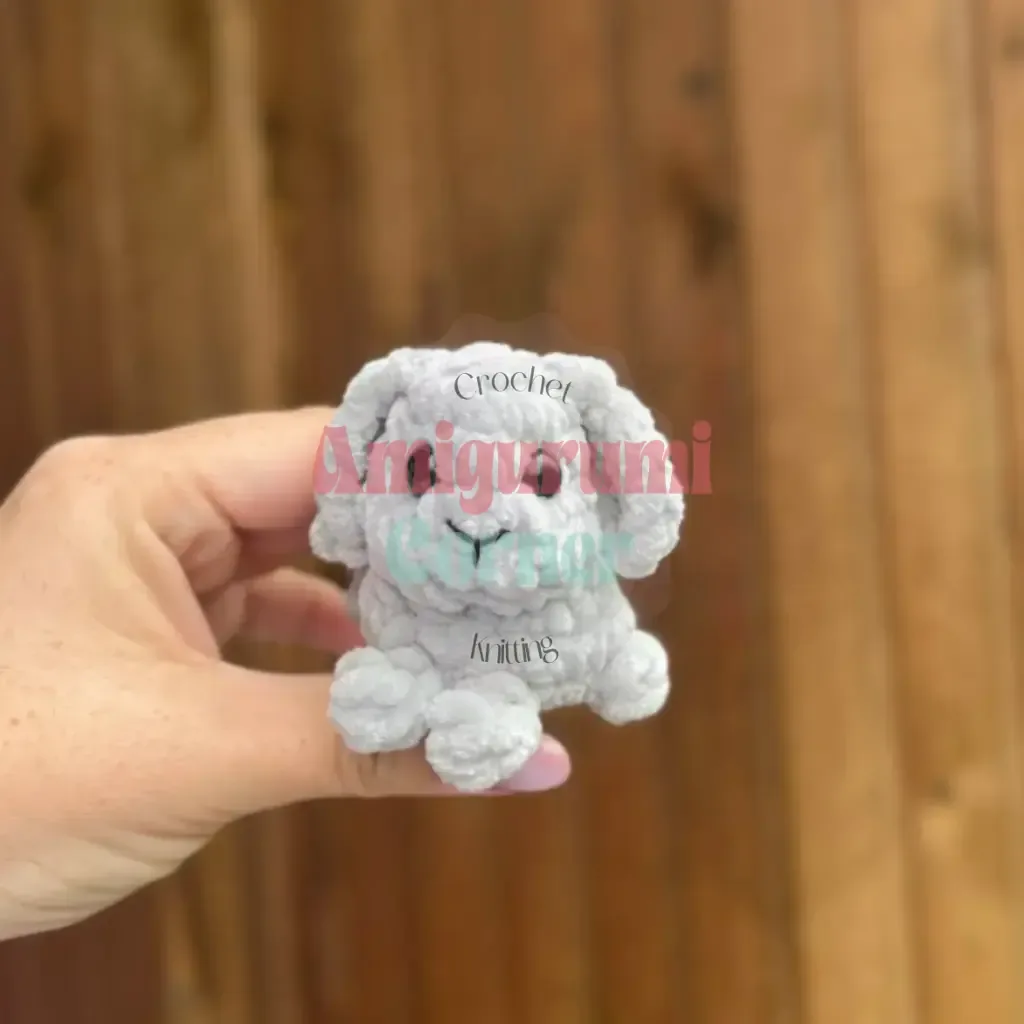
3.5mm or 4.0mm hook, worsted plush yarn: a 5cm mini amigurumi bunny with stuffed body, head, and two attached ears.

Mini amigurumi bunny pattern for a 5cm pocket pal
IntermediateLevel
4-6 hoursTime
3.5 mmHook
WorstedYarn
Jump to the pattern

About this pattern

This pattern makes a 5cm amigurumi bunny from worsted-weight plush or chenille yarn using a 3.5mm or 4.0mm hook. The body and head form one continuous-spiral piece across 9 rounds, starting at 6 stitches and peaking at 17 before shaping down to 13. Two ears are crocheted flat from a 7-chain base and attached near Rnd 2, with one pair of 8mm eyes and fiberfill completing the toy.

A 5cm pocket-size amigurumi bunny worked in worsted-weight plush or chenille yarn, built from two components: the body and head as one continuous-spiral piece of 9 rounds, plus two ears crocheted flat from a 7-chain base and attached around Rnd 2. Stitch counts move quickly — 6 in the starting magic ring, up to 17 by Rnd 4, back down to 13 by Rnd 6 — so each round needs a count-check before moving on. A single pair of 8mm eyes and fiberfill finish the shape.
The pattern

Written out round by round

Materials

Yarn

  • Medium (Worsted) weight plush or chenille-style yarn, one color of your choice (the sample uses a soft gray)

Hook

  • E-4 (3.5 mm) or G-6 (4.0 mm) crochet hook

Safety eyes

  • 8mm, 1 pair
  • Black embroidery thread (for the nose)
  • Coordinating cotton thread (for cinching/shaping)
  • Fiberfill stuffing
  • Stitch marker
  • Yarn needle with a large eye
  • Scissors

Abbreviations

  • ch = Chain
  • dc = Double Crochet
  • dec = Decrease (invisible decrease recommended)
  • hdc = Half Double Crochet
  • inc = Increase (2 sc in same stitch)
  • MR = Magic Ring
  • puff st (2dc) = Puff Stitch (2 dc sharing one base and one top)
  • sc = Single Crochet

Body & Head (worked as one piece)

Round 16 sc in MR. (6)
Rounds 2–3sc in each st around. (12)
Round 43 sc, 2 inc, 2 sc, 2 inc, 2 sc, inc. (17)
Round 5inc, 2 sc, 2 dec, 2 sc, 2 dec, 4 sc. (14)
Round 64 sc, 3 dec, 2 sc, 2 inc. (13)
Round 72 inc, 2 sc, inc, 2 sc, inc, 3 sc, 2 inc. (19)
Round 82 inc, 6 sc, front leg (ch 3, puff st (2dc) in 2nd ch from hook), 2 sc, front leg (ch 3, puff st (2dc) in 2nd ch from hook), 4 sc, back leg (ch 2, puff st (2dc) in 2nd ch from hook), 5 sc, tail (ch 2, hdc in 2nd ch from hook). (21)
Round 95 sc, back leg (ch 2, puff st (2dc) in 2nd ch from hook), 4 sc, 2 dec, 2 sc, 3 dec. (16)Step by step: add fiberfill gradually while working Rnds 7–9, checking the shape as you go. Stuff the piece firmly now, before closing the last round, distributing fiberfill toward the edges first and then filling the center — stuff firmly but not stiffly.
Round 1010 dec. (5)Fasten off, leaving a tail. Close the opening and weave in the end.

Ears (make 2)

Attach yarn to the side of the body at approximately Rnd 2.

Row 1Ch 7. Starting in the 2nd ch from hook: 1 sc, 3 hdc, 2 sc.Fasten off, leaving a short tail for weaving in.Repeat for the second ear, attaching it beside the first.

Assembly

Step 1With the body and head already worked as one piece and stuffed, position both ears at the top of the head, roughly in line with Rnd 2, spaced evenly apart.
Step 2Sew or tack the base of each ear in place using its yarn tail. The ears can stand upright naturally, or you can fold them backward and secure the tips with a small stitch at the crown of the head for a “floppy ear” look.
Step 3Use cotton thread and your yarn needle to add the cinching detail: pass the needle through the body from front to back at the points shown in your reference photos, pulling gently to define the separation between the head, body, and haunches. Knot off securely and bury the thread inside the stuffing.
Step 4Glue the 8mm safety eyes into place on the face, spacing them evenly on either side of center. Safety eyes are glued rather than snapped in for this small scale.
Step 5Using black embroidery thread, stitch a small nose and, if desired, a simple mouth line beneath it.
Step 6Weave in any remaining loose ends and trim.
Step 7Your mini bunny is complete.

Tester's notes

3.5mm (E-4) paired with worsted/chenille yarn produces tighter stitches than 4.0mm (G-6); pick the smaller hook if stuffing shows through gaps.

9 rounds make up the entire body and head, worked in one continuous spiral with no joining or chaining; move the stitch marker up every round starting from Rnd 1.

Stitch counts swing fast — 6, 12, 17, 14, 13 across Rnds 1–6 — so a single missed increase or decrease throws off every round after it; count before moving the marker. Stitch count is given at the end of each round in parentheses: (##)

8mm eyes (one pair) go in before the head is fully stuffed and closed; set the position with the head only lightly filled so it can still be adjusted.

2 ears attach at approximately Rnd 2; mark that round on the head before working the ears so placement stays even on both sides.

This pattern is written in US crochet terminology.

Gauge is not critical for this project; your finished size will vary based on tension, yarn thickness, and hook size. The sample bunny measures about 5cm tall and long.

The legs, tail, and ears are worked as small appended pieces directly onto the body — read each round carefully, as the leg and tail instructions are worked mid-round (see Rnds 8–9).

Stuff firmly but not stiffly, distributing fiberfill toward the edges first, then filling the center. Don't overstuff the small legs and tail — they're formed from just a chain and a puff stitch or half double crochet, meant to sit flat against the body rather than be stuffed separately; focus fiberfill on the main body and head instead.

Safety eyes are glued rather than snapped in for this small scale — see the Assembly section for placement.

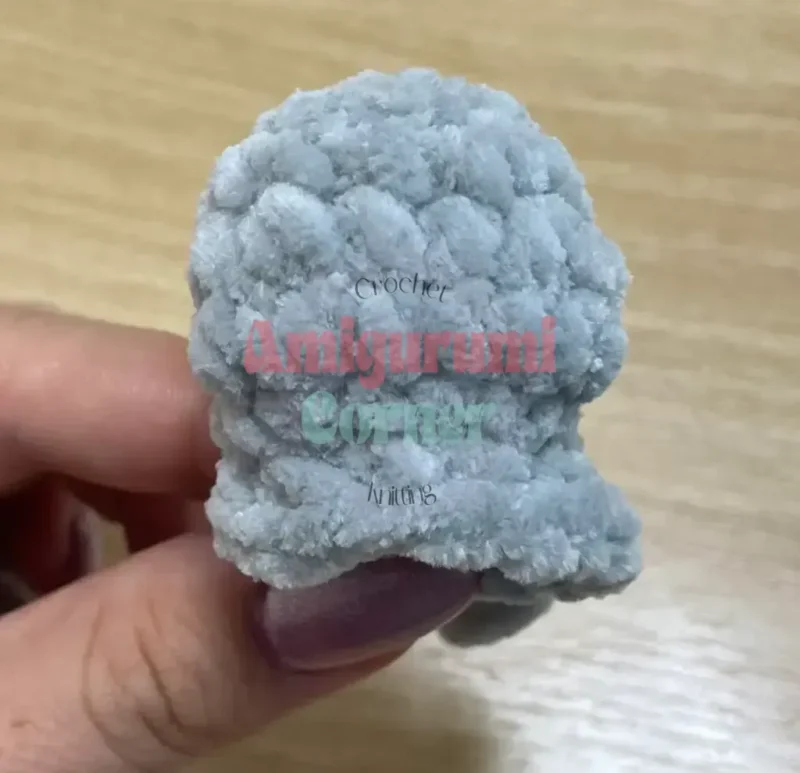
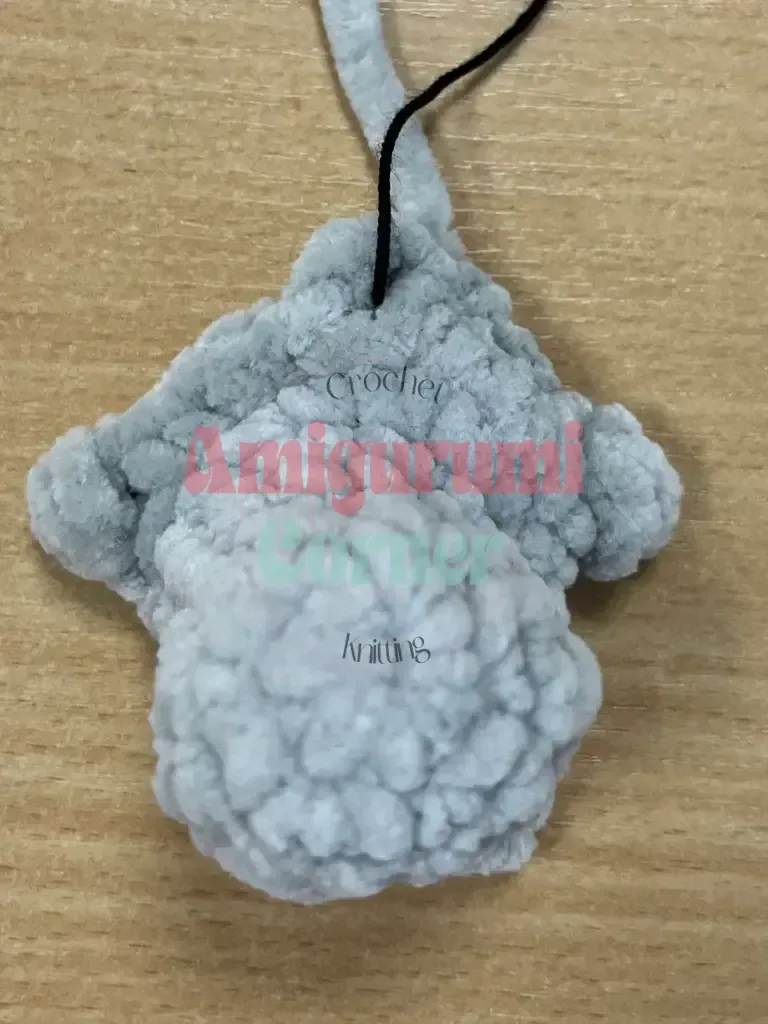
Work in progress

Mini amigurumi bunny pattern for a 5cm pocket pal — photo 2
Mini amigurumi bunny pattern for a 5cm pocket pal — photo 3

At a glance

Rounds10
Parts2
LevelIntermediate
Time4-6 hours
Hook3.5 mm
YarnWorsted

Gauge check

Gauge is not critical for this project — your finished size will vary based on tension, yarn thickness, and hook size. The sample bunny measures about 5cm tall and long.

Stitch-count checkpoints

  • Body & Head (worked as one piece) · Round 4: 17 sts
  • Body & Head (worked as one piece) · Round 7: 19 sts
  • Body & Head (worked as one piece) · Round 10: 5 sts

If something looks wrong

The head looks lopsided after the decreases in Rnds 5–6.
Stitch count drifted off target (17 at Rnd 4, down to 14, then 13); re-count each round against those numbers before working the next one.
The finished piece looks lumpy instead of tidy.
Because this bunny is so small, every stitch is visible — work with consistent tension throughout. If your plush yarn tends to split, slow down slightly on each stitch to catch both loops cleanly.
Decrease rounds leave a bulky ridge.
A regular decrease can create a slightly bulky ridge on a piece this size, which is much more noticeable at 5cm than on a larger amigurumi. Practice the invisible decrease (working into the front loops of two stitches together) so your shaping rounds stay smooth.

Yarn substitutions

Acrylic, worsted weight (non-chenille, smooth finish)Stitch definition is crisper and the fuzzy chenille texture is lost; the same 3.5mm/4.0mm hook range still applies and stitch counts stay unchanged. Expect a slightly firmer, less fuzzy bunny that shows more texture detail than the plush original.
Cotton, worsted weightLess give than chenille or acrylic plush, so stitches sit tighter and fiberfill is more visible; drop to the 3.5mm hook and stuff in small increments.
Acrylic or cotton, DK weightFinished bunny comes out smaller than the 5cm sample; pair with a hook smaller than 3.5mm, since stitch counts per round stay the same but each stitch is smaller.
FAQs

Questions

Why does the pattern say gauge isn't critical?

Finished size scales with whatever hook and yarn combination is used; the sample reached about 5cm tall with a 3.5mm or 4.0mm hook and worsted/chenille yarn. Swapping yarn weight changes the final measurement, not the round-by-round construction.

When should the ears be attached?

Attach the ears after the body and head are worked as one piece and stuffed. Position both at the top of the head in line with Rnd 2, spaced evenly, then sew the base of each with its yarn tail.

Can safety eyes be swapped for embroidered ones?

The pattern calls for one pair of 8mm eyes. An embroidered substitute works the same way in terms of timing — place the eyes or stitches before the head is fully stuffed and closed.

One at a time —

Get the next pattern

Tested round by round before it is sent. No spam.