Made and counted by Wren —

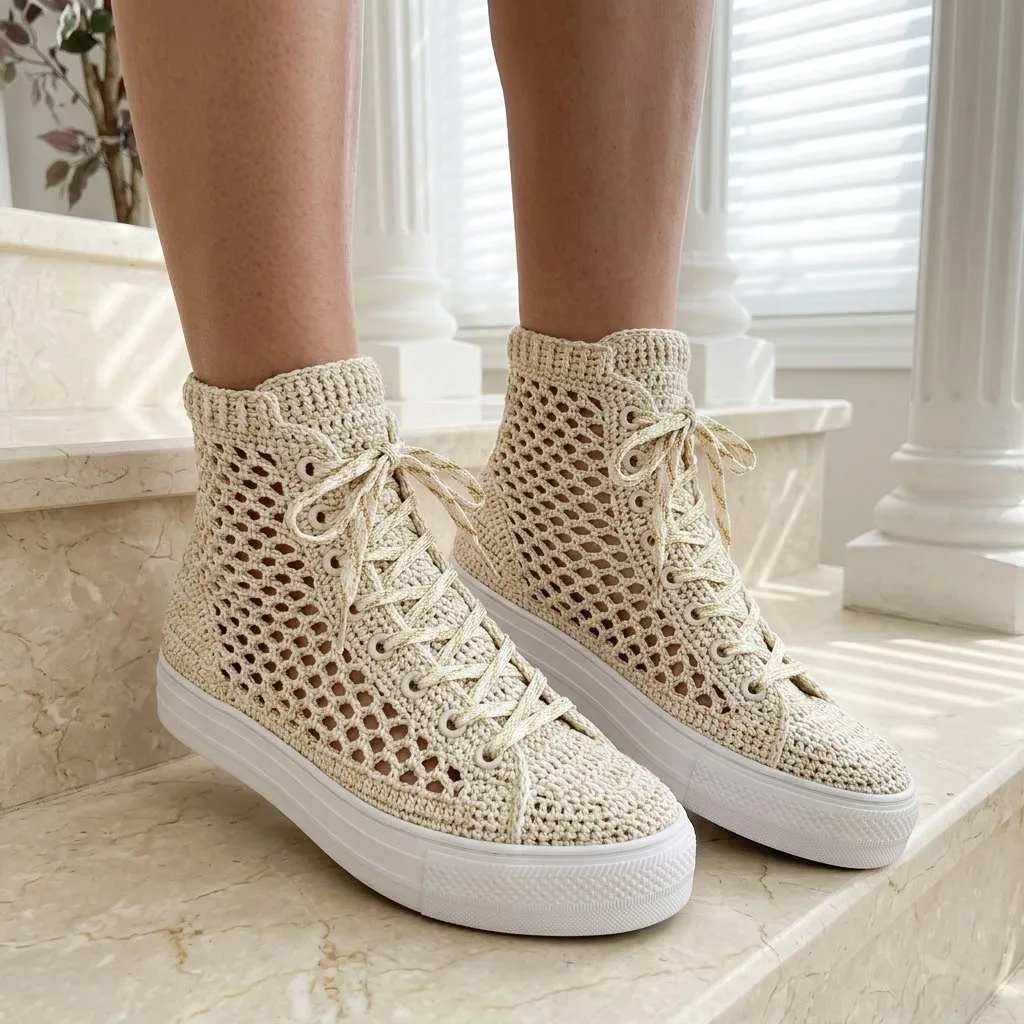
Metallic gold mesh crochet sneakers with ribbed cuff

3.5mm hook, DK cotton with metallic thread: crochet sneakers featuring mesh upper and ribbed ankle cuff.

Metallic gold mesh crochet sneakers with ribbed cuff
IntermediateLevel
4-6 hoursTime
3.5 mmHook
DKYarn
Jump to the pattern

About this pattern

Cream and gold shimmer sneakers use DK weight cotton held with fine metallic thread on a 3.5mm hook, with a 3.0mm hook optional for the ribbed cuff. Six sections — sole attachment base, toe cap, mesh upper (make 2), tongue, and ribbed cuff — are crocheted separately, edged with lace holes, then hand-assembled onto a rubber sneaker sole. Gauge runs 18 stitches by 10 rows to 4 inches; about 200g of yarn and 45 inches of laces finish one pair.

These cream and gold shimmer crochet sneakers combine an open mesh stitch pattern with a ribbed ankle cuff for a store-bought look, worked in six separate sections — a sole-attachment base, a toe cap, two mesh upper panels, a tongue, and a ribbed cuff — then hand-assembled onto a rubber sneaker sole for real, wearable shoes. A single strand of metallic gold thread runs alongside DK weight cotton throughout, held together on a 3.5mm hook, so every stitch carries a thread of shine. Skill level: intermediate — if you're comfortable with basic stitches and have made a few projects in the round, you can handle this. About 200g of yarn covers one pair.

Construction order: 1) Sole attachment base — crochet around the rubber sole using the pre-punched holes. 2) Toe cap — a shaped section covering the front of the foot. 3) Mesh upper — the openwork sides and front panel with lace holes. 4) Tongue — a separate piece attached at the toe. 5) Ribbed cuff — the ankle portion with stretch. 6) Assembly — everything is hand-stitched together.

Don't feel overwhelmed. We'll take it step by step, and honestly, once you get the rhythm of the mesh pattern, it practically flies off your hook.
The pattern

Written out round by round

Materials

Yarn

  • Approximately 200g of DK weight cotton yarn in cream or off-white
  • One strand of fine metallic gold thread to hold together with main yarn (this creates the shimmer effect)
  • The yarn in the image appears to be a DK weight, which is also called light worsted or size 3 yarn. Look for something with good stitch definition. I recommend 100% cotton or a cotton blend for durability and washability.

Hook

  • 3.5mm (US E/4) crochet hook for main body
  • 3.0mm (US C/2 or D/3) crochet hook for ribbed cuff (optional, for tighter gauge)

Additional Supplies

  • White rubber sneaker soles with pre-punched holes (available online, search for "crochet shoe soles" in your size)
  • Tapestry needle
  • Stitch markers
  • Cream or gold colored shoelaces (approximately 45 inches for high-tops)
  • Fabric glue or hot glue (optional, for extra security)
  • Scissors

Abbreviations

  • ch = chain
  • st = stitch
  • sts = stitches
  • sc = single crochet
  • dc = double crochet
  • sc2tog = single crochet 2 stitches together (decrease)
  • blo = back loops only
  • sk = skip
  • sl st = slip stitch
  • ch-sp = chain space (the gap created by chain stitches in the previous row; work into this space, not the individual chains)

Attaching to the Sole

The rubber sole should have holes punched around the entire perimeter, approximately 5-6mm apart.

Round 1Holding yarn with metallic thread together (hold them as one strand throughout), join yarn in any hole at the center back heel. Ch 1, work 2 sc in each hole around the entire sole. Sl st to first sc to join. Place marker.

You should have approximately 80-100 sc depending on your sole size. The exact count varies by shoe size, and that's okay.

Round 2Ch 1, sc in each st around. Sl st to join. (same stitch count)
Round 3Ch 1, sc in each st around, working in a slight spiral (don't join, just keep going). Place marker at beginning of round.
Rounds 4–5Sc in each st around. At the end of Round 5, sl st to join and fasten off.

This creates a sturdy base that hugs the rubber sole.

Toe Cap

Now we shape the front of the sneaker. This section is worked flat, then attached.

Count your stitches around the toe area. You'll be working across approximately 24-30 stitches at the very front of the shoe.

Row 1Join yarn at the side of the toe (about where your pinky toe would be). Ch 1, sc across the front 28 sts (adjust for your size). Turn. (28 sts)
Row 2Ch 1, sc2tog (single crochet decrease), sc to last 2 sts, sc2tog. Turn. (26 sts)
Row 3Ch 1, sc in each st across. Turn. (26 sts)
Row 4Ch 1, sc2tog, sc to last 2 sts, sc2tog. Turn. (24 sts)
Row 5Ch 1, sc in each st across. Turn. (24 sts)
Rows 6–8Repeat the decrease pattern. You should end with approximately 18-20 sts.Fasten off, leaving a long tail for seaming.

Mesh Upper Panels (Make 2)

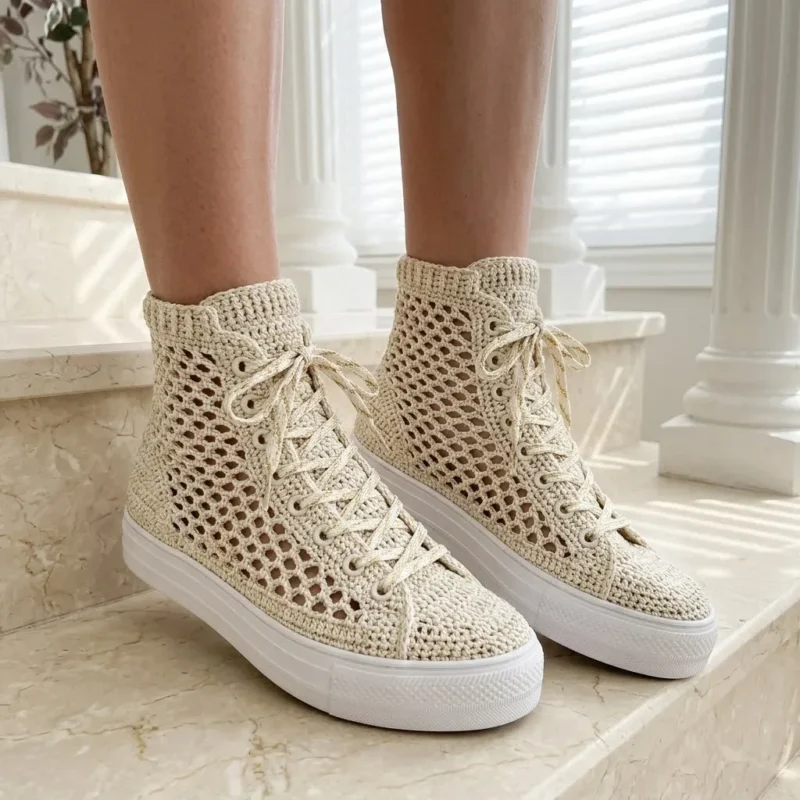
This is where the magic happens. The mesh creates those beautiful open holes you see in the image. Make 2 panels.

FoundationCh 37 (or adjust to fit from toe cap to heel).
Row 1Dc in 5th ch from hook (the skipped chains count as dc + ch-1), *ch 1, sk 1 ch, dc in next ch.* Repeat across. Turn. (17 dc, 16 ch-1 spaces)
Row 2Ch 4 (counts as dc + ch-1), sk first ch-sp, dc in next dc, *ch 1, dc in next dc.* Repeat across. Turn.Rows 3-12: Repeat Row 2. This creates a panel approximately 6-7 inches tall. The mesh naturally creates the lace holes where you'll thread your shoelaces.

Creating Reinforced Lace Holes

On one edge of each panel (the front edge where laces go), you'll work a border:

Lace Hole EdgingJoin yarn at bottom corner. Work sc around each mesh opening along the edge, making approximately 6-8 distinct rounded holes for lacing. Space them evenly.

Tongue

FoundationCh 14.
Row 1Sc in 2nd ch from hook and in each ch across. Turn. (13 sts)
Rows 2–20Ch 1, sc in each st across. Turn. (13 sts)

Shaping the Top:

Row 21Ch 1, sc2tog, sc to last 2 sts, sc2tog. Turn. (11 sts)
Row 22Ch 1, sc in each st across. Turn.
Row 23Ch 1, sc2tog, sc to last 2 sts, sc2tog. Turn. (9 sts)
Rows 24–26Ch 1, sc in each st across. Turn. Fasten off, leaving tail for attachment.

Ribbed Cuff

This creates that stretchy, structured ankle portion.

FoundationCh 11.
Row 1Sc in 2nd ch from hook and in each ch across. Turn. (10 sts)
Row 2Ch 1, sc BLO in each st across. Turn. (10 sts)Rows 3-60: Repeat Row 2. The ribbing should stretch around your ankle opening. Adjust row count as needed. Seam the short ends together to form a circle.

Assembly

Take a breath. You've got this. Assembly is where everything comes together.

Step 1 Pin the toe cap to the front of the sole base. Whip stitch or single crochet the edges together along the sides.

Step 2 Position the mesh panels on each side of the sneaker. They should overlap slightly at the back heel and meet the toe cap at the front. Pin in place, then stitch securely using mattress stitch or whip stitch.

Step 3 Attach the tongue to the inside of the toe cap, right at the top edge where the lacing will begin.

Step 4 Whip stitch the ribbed cuff to the top edge of the mesh panels, stretching slightly as you go for even distribution.

Step 5 Weave in ALL ends securely. These are shoes, so they'll see some stress.

Step 6 Thread shoelaces through the mesh holes, starting from the bottom.

Tester's notes

3.5mm hook carries the mesh upper and sole/toe panel; swap to the 3.0mm hook only for the ribbed cuff if a snugger ankle fit is wanted.

One strand of metallic gold thread runs alongside the main cotton yarn for every stitch in every panel — dropping it mid-panel breaks the shimmer consistency.

17 dc and 16 ch-1 spaces set the mesh width on row 1; miscounting here shifts every ch-1 space out of alignment across all 12 rows.

10 rows of BLO single crochet build the ribbed cuff around the ankle opening — adjust the row count within the given range before seaming if the ankle measurement differs.

13 stitches hold steady across all 20 rows of the tongue panel; check the count every few rows since a dropped stitch narrows the tongue.

Optional durability tips: apply fabric stiffener to the toe cap, add a thin layer of fabric glue where the crochet meets the rubber sole, and consider a fabric lining inside for comfort.

Sizing adjustments: for smaller sizes (US 5-6) reduce mesh panel rows by 2 and decrease toe cap starting stitches by 4; for larger sizes (US 10-11) add 2 rows to the mesh panels and increase toe cap starting stitches by 4-6. Always measure against your foot as you go.

Work in progress

Metallic gold mesh crochet sneakers with ribbed cuff — photo 2
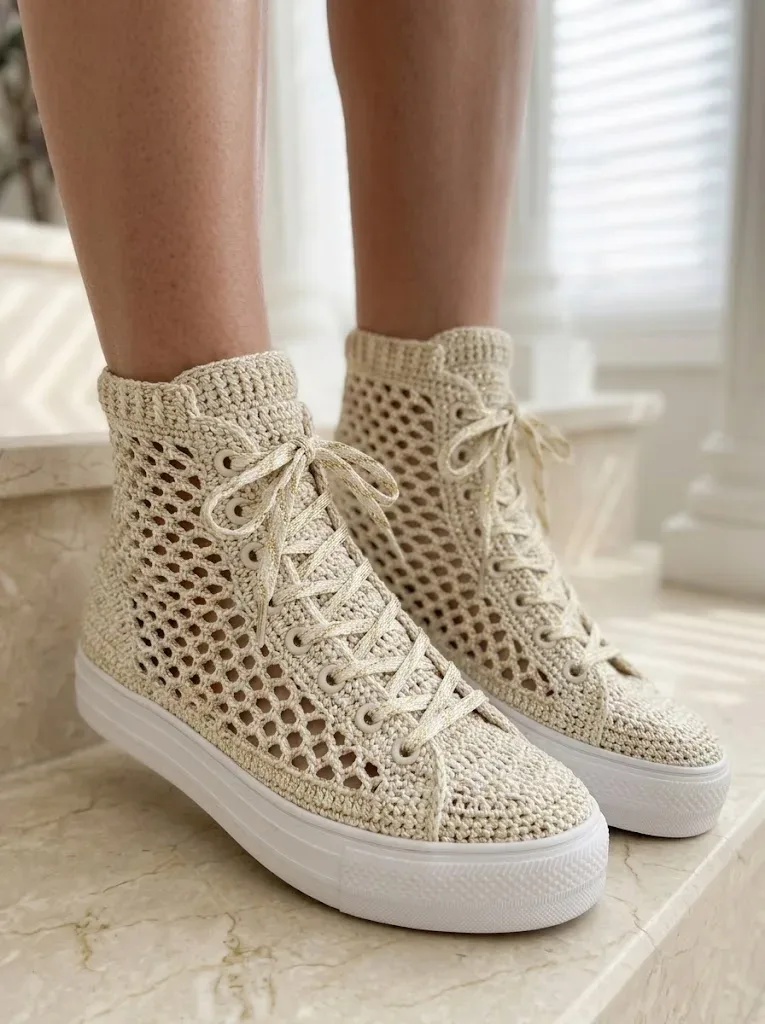
Metallic gold mesh crochet sneakers with ribbed cuff — photo 3

At a glance

Rounds24
Parts7
LevelIntermediate
Time4-6 hours
Hook3.5 mm
YarnDK

Gauge check

Measure the mesh panel after row 2: 4 pattern repeats should span approximately 3 inches, and 18 stitches by 10 rows should measure a 4-inch square in single crochet.

Stitch-count checkpoints

  • Toe Cap · Row 1: 28 sts
  • Toe Cap · Row 2: 26 sts
  • Toe Cap · Row 3: 26 sts
  • Toe Cap · Row 5: 24 sts
  • Tongue · Row 1: 13 sts
  • Tongue · Rows 2–20: 13 sts

If something looks wrong

The mesh panel comes out narrower or wider than expected.
Row 1 stitch count drifted from 17 dc across the foundation chain; recount the ch-1 spaces (16 of them) before turning to row 2, since every following row inherits that width.
The metallic thread frays or thins out
Holding a fine metallic strand with cotton for 12+ rows puts steady tension on the thinner fiber; slow down at each ch-1 space and avoid pulling the metallic strand taut on its own.
The lace holes in the mesh panel don't
Ch-1 spaces need to stack directly above each other across rows 2-12; place a stitch marker at the first dc of each row to confirm alignment before continuing.

Yarn substitutions

Worsted weight cotton-acrylic blendMove up to a 4-4.5mm hook; the mesh opens up faster per row, so fewer repeats of the foundation panel will likely reach 6-7 inches.
Acrylic DK yarn without metallic threadKeeps the 3.5mm hook and stitch counts the same, but drops the shimmer entirely and drapes softer for a lower-cost pair without gold thread.
FAQs

Questions

Can the ribbed cuff be worked with the same 3.5mm hook as the rest of the sneaker?

Yes — the 3.0mm hook is listed as optional. Using 3.5mm throughout keeps the cuff gauge looser, so add extra rows within the row 3-60 range to keep the finished circumference snug around the ankle.

How much yarn does one pair actually take?

The materials list gives approximately 200g of DK weight cotton for one pair, held together with a single strand of fine metallic gold thread throughout. That total covers the sole base, toe cap, mesh upper, tongue, and ribbed cuff combined.

What happens if gauge doesn't match after the swatch?

The mesh panel's ch-1 spacing depends directly on 18 stitches by 10 rows measuring 4 inches; a looser or tighter gauge changes the finished 6-7 inch panel height, and the 45-inch shoelace length may then run short or long across the lace holes.

One at a time —

Get the next pattern

Tested round by round before it is sent. No spam.