Made and counted by Wren —

How to Make a Half Moon Crochet Rug (Easy Pattern)

Learn to crochet a cozy half moon rug with this easy pattern using magic ring, HDC rounds, and a scallop edge—perfect for entryways and bedsides.

Beginner-IntermediateLevel
3-5 HoursTime
5.5 mmHook
Super BulkyYarn
Jump to the pattern

About this pattern

This Half Moon Crochet Rug is one of those projects that instantly transforms a space—one semi-circular hook and loop at a time. Built from a simple magic ring and grown outward in sturdy half double crochet rounds, it creates a soft, substantial accent perfect for entryways, bedsides, or in front of a kitchen sink. It's ideal for crocheters who want a functional, giftable project that doesn't require hours of tiny stitches like an amigurumi, but still delivers a beautifully finished, professional-looking result.

The techniques here are refreshingly approachable: a magic ring start for a seamless center, two rounds of back-loop-only half double crochet for texture and structure, and a finishing single crochet border for clean edges. If you want extra flair, an optional scallop edge (chain 3, skip a stitch, single crochet) adds a decorative touch without adding difficulty. This is a great confidence-building project for beginners and a quick, satisfying make for more experienced crocheters—expect roughly 3-5 hours depending on rug size and yarn thickness.

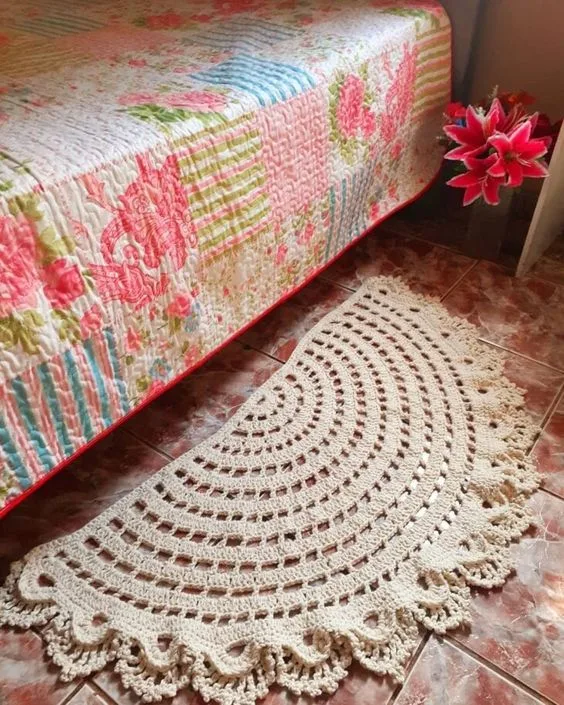
The finished rug has a substantial, textured half-moon shape with a rounded front edge and flat back edge, perfect for tucking against a wall or doorway. Worked in thick cotton or cotton-blend yarn, it has a sturdy, durable feel that stands up to foot traffic while staying soft underfoot. Because it's quick to make and endlessly customizable in color and size, it also makes a wonderful housewarming or new-home gift—something the recipient will actually use every single day.

Variations

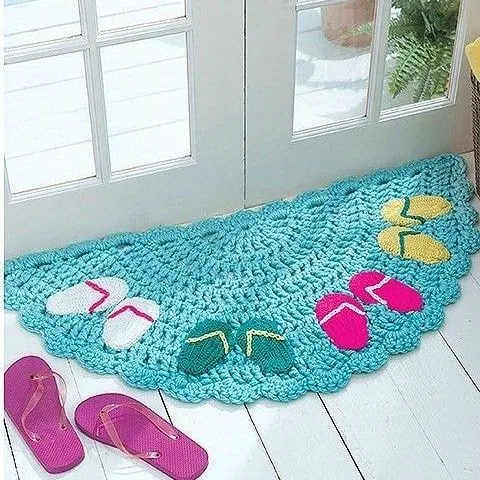
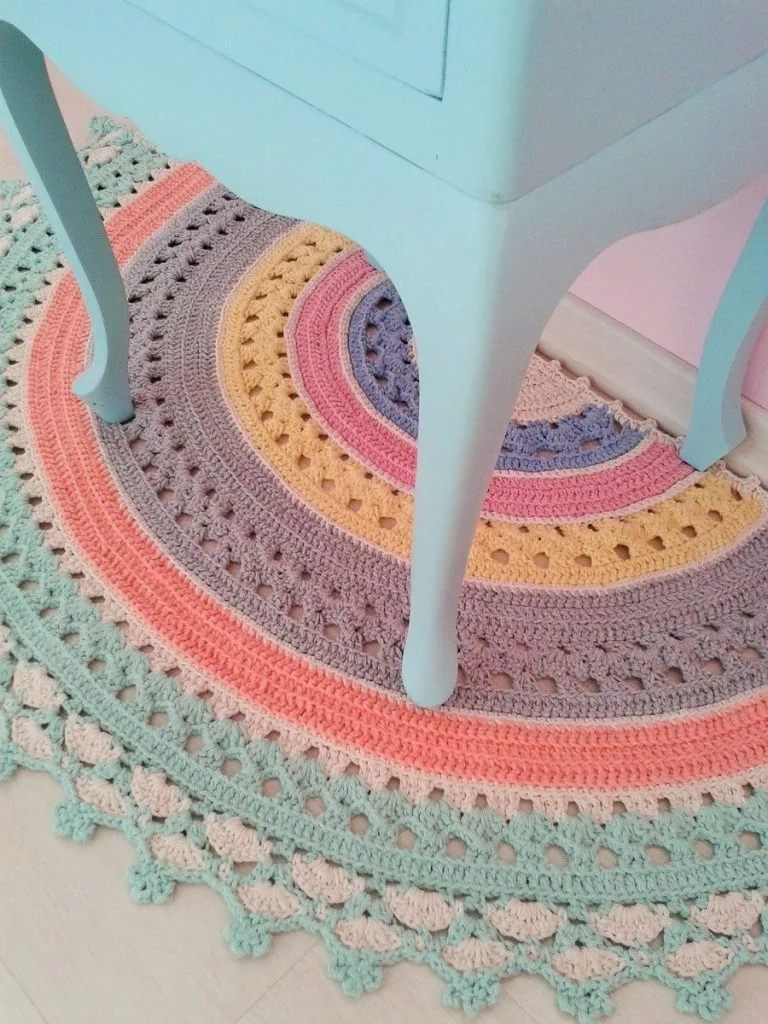
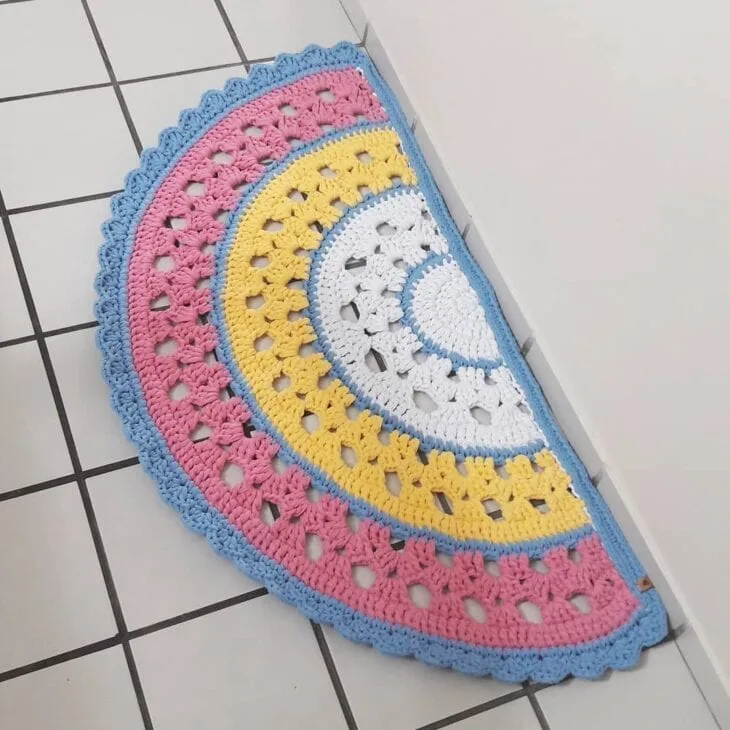
There's so much room to make this rug your own! For a coastal or spa vibe, try a soft sage green or dusty blue cotton yarn like Cotton-Ease or Hobbii Amigo Piccolo held double for extra thickness. For a bold entryway statement, go with a chunky variegated yarn in terracotta and cream tones. Want a holiday version? Work the base in deep red or forest green and add a scalloped white border to mimic a snowy edge for a festive winter mat. For a nursery, pastel pink or lavender with a simple white scallop edge makes an adorable addition to a baby room. Size adjustments are easy too: for a smaller bath mat, stop increasing one round earlier than the pattern calls for (reducing your final stitch count by roughly 8-12 stitches per side); for an oversized statement rug, work one or two extra increase rounds before starting your HDC rounds, adding roughly 6-8 stitches at each end per round to keep the half-moon shape proportional. If you're substituting yarn, look for anything labeled 'rug yarn' or a worsted/super bulky cotton blend—brands like Premier Home Cotton or 24/7 Cotton (held double) work beautifully and hold their shape well underfoot. You can also alternate two colors every round for a striped half-moon effect, or work the final single crochet border in a contrasting color to make the shape pop against your floor. For texture lovers, swap one of the HDC rounds for a round of front-post half double crochet to create a subtle ribbed band partway through the rug.

I love this pattern because it proves you don't need hours of fussy stitching to make something that looks incredibly polished. Starting with a magic ring keeps the center tight and seamless—no gap to worry about hiding later. Working the half double crochet rounds into just the back loops gives the rug this lovely ridged texture that photographs beautifully and adds real structural strength, which matters a lot for something people are going to walk on. The single crochet border pulls everything together into a clean, finished edge, and if you're feeling fancy, that optional scallop edge (chain 3, skip 1, single crochet) turns a simple rug into something that looks boutique-bought. What really gets me is how forgiving the shaping is—evenly spacing your increases at the start and end of each round is the only real 'skill' required, and once you've got that rhythm down, you can whip up a second one for another room before you know it. It's meditative, quick, and endlessly useful.
Common mistakes

  • Pulling the magic ring closed unevenlyBefore moving on to round 2, tug each of the loops in the magic ring individually (not just the tail) to snug them evenly, then pull the tail firmly to close the hole completely.
  • Working into both loopsSlow down at the start of each HDC round and consciously insert your hook only under the back loop of each stitch—this is what creates the rug's textured ribbing, so it's worth double-checking your first few stitches each round.
  • Increasing unevenly across the roundPlace stitch markers at the start and end points of your increases each round so you're always increasing the same number of stitches in the same spots—this keeps the shape symmetrical and lying flat.
  • Choosing a thin or fuzzy yarnStick with a sturdy cotton or cotton-blend yarn labeled for rugs or home decor, and size your hook up (5.5mm-8mm) to keep the fabric dense enough to be durable underfoot.
  • Skipping the blocking step, resultingOnce finished, dampen the rug and lay it flat on a towel, gently shaping the semi-circle by hand and letting it air dry completely before use—this relaxes the stitches into their final, flat shape.
  • Miscounting stitchesCount your border stitches before starting the scallop round to make sure they divide evenly into the skip-1 pattern, adjusting your single crochet border by a stitch or two if needed so the scallops come out uniform all the way around.

The pattern

Written out round by round

Materials

Yarn

  • Choose a sturdy, thick yarn for durability. Cotton or a cotton blend works well for rugs.

Hook

  • Hook Size: Use a hook that matches the yarn size, typically a 5.5mm–8mm hook for thick yarns.

Tools

  • Stitch Markers (optional): Helpful for marking rounds.
  • Scissors and Tapestry Needle for weaving in ends.

Abbreviations

  • ch = chain
  • st = stitch
  • sl st = slip stitch
  • sc = single crochet
  • hdc = half double crochet
  • dc = double crochet
  • inc = increase
  • dec = decrease
  • mr = magic ring
  • fo = finish off

1. Start with a Magic Ring

Magic Ring This technique gives a seamless beginning, perfect for circular or semi-circular projects.

Step by step Wrap the yarn around your fingers to form a loop, insert your hook, pull up a loop, and secure with a chain.

2. Create the Semi-Circle Base

  1. Round 1Chain 2 (counts as a stitch), then make 5–7 double crochets into the ring. Pull the ring tight and join with a slip stitch to the top of the chain.
  2. Round 2Chain 2, make 2 double crochets in each stitch around. Join with a slip stitch to the top of the chain.
  3. Round 3Chain 2, 1 double crochet in the first stitch, 2 double crochets in the next stitch ; repeat from to across the round. Join with a slip stitch.Continue this pattern of increasing until the half-moon shape reaches the desired width.

3. Expand the Rug Using Half Double Crochets

  1. HDC RoundsTo add texture, work 1-2 rounds using half double crochet instead of double crochet. For a clean, rounded edge, work only into the back loops of each stitch.

4. Add a Border or Edging

  1. Single Crochet BorderWork a round of single crochet around the edge of the rug to give it a finished look.
  2. Scallop Edge (Optional)For a decorative finish, chain 3, skip 1 stitch, single crochet in the next stitch around the edge of the rug.

Important notes

💡 Use a hook in the 5.5mm-8mm range depending on your yarn thickness—going too small will make the rug stiff and hard to work, while too large can make it floppy and less durable.

💡 Place a stitch marker at the very first stitch of each round so you always know where your increases need to start and end, keeping the half-moon symmetrical.

💡 If you're using multiple colors, carry your yarn along the edge of the rug loosely inside the border rounds rather than cutting and rejoining, which saves ends to weave in later.

💡 Cotton yarn can be tough on your hands over a long rug—take breaks and consider a hook with an ergonomic handle if you're working multiple rounds in one sitting.

💡 When blocking, use rustproof T-pins on a foam mat if your rug edges won't lie flat on their own, and let it dry fully (24-48 hours) before placing it on the floor.

💡 If you want a longer or shorter rug, adjust only the straight rounds (not the increase rounds) so the curved shape of the half-moon stays consistent while the length changes.

More photos

How to Make a Half Moon Crochet Rug (Easy Pattern) — photo 2
How to Make a Half Moon Crochet Rug (Easy Pattern) — photo 3
How to Make a Half Moon Crochet Rug (Easy Pattern) — photo 4
FAQs

Frequently asked questions

What yarn weight works best for this half moon rug?

A worsted to super bulky weight cotton or cotton-blend yarn works best, since it creates a dense, durable fabric that can handle foot traffic. Thinner yarns will require more rounds to reach the same size and won't hold up as well underfoot.

Can I make this rug bigger or smaller than the pattern suggests?

Yes—simply add or remove increase rounds at the start before working the straight HDC rounds to change the overall size. Keep your increases evenly spaced at each round's start and end so the half-moon shape stays proportional.

Do I have to do the scallop edge, or can I skip it?

The scallop edge is completely optional and purely decorative, so you can finish the rug with just the single crochet border for a clean, simple look. It's a nice way to dress up the rug if you want extra texture around the curved edge.

Why does my rug curl instead of lying flat?

Curling usually means your increases aren't evenly spaced or you've added too many stitches in one area, causing extra fullness. Blocking the finished rug by dampening it and laying it flat to dry will also help correct minor curling.

Is this rug safe to use in a bathroom or kitchen?

Yes, cotton yarn handles moisture well, making it a great choice for bath mats or kitchen sink rugs. Just be sure to let it dry fully if it gets wet, and consider adding a non-slip rug pad underneath for safety on smooth flooring.

One at a time —

Get the next pattern

Tested round by round before it is sent. No spam.