Made and counted by Wren —

Easy Crochet Mini Rainbow Bee Amigurumi Tutorial for Beginners

Learn to crochet an adorable mini rainbow bee amigurumi with this easy beginner-friendly pattern featuring simple rounds, wings, and cheerful rainbow colors.

BeginnerLevel
1-2 HoursTime
4.5 mmHook
WorstedYarn
Jump to the pattern

At a glance

Start the main body with a magic ring and work the first round to establish your base stitch count.

Insert the 12mm safety eyes into the body before finishing, spacing them evenly for a friendly expression.

Stuff the little body firmly but gently in small amounts as you close the final round.

Crochet the first wing, working both rounds to shape the small flat piece.

Repeat the same two rounds to crochet a second, matching wing.

Weave in all yarn tails from the color changes and wing pieces before assembly.

Sew both wings onto the back of the body, then give your finished rainbow bee a final fluff and shape check.

About this pattern

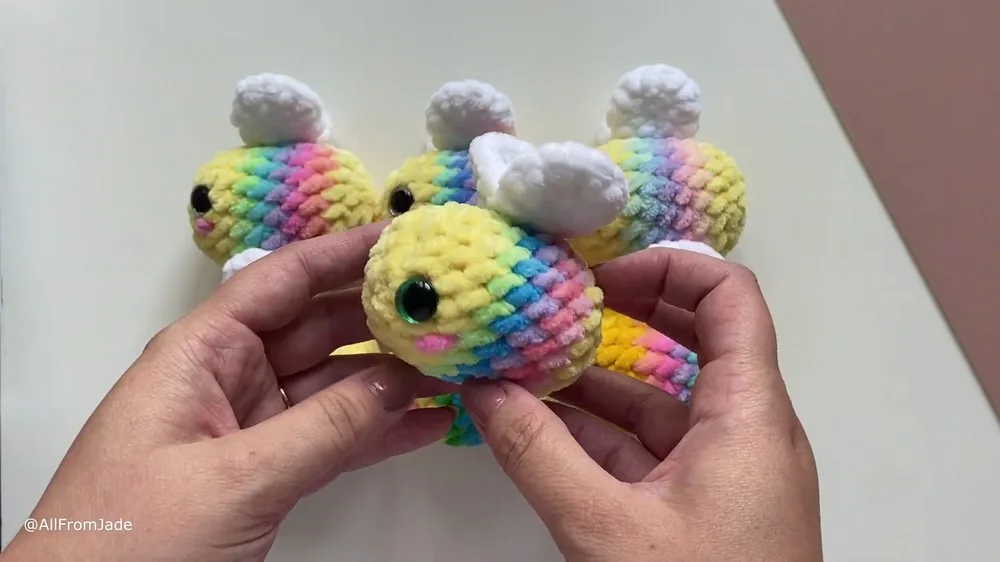
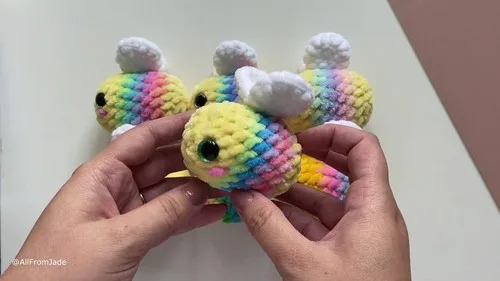
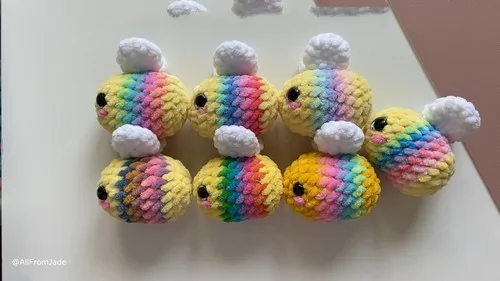
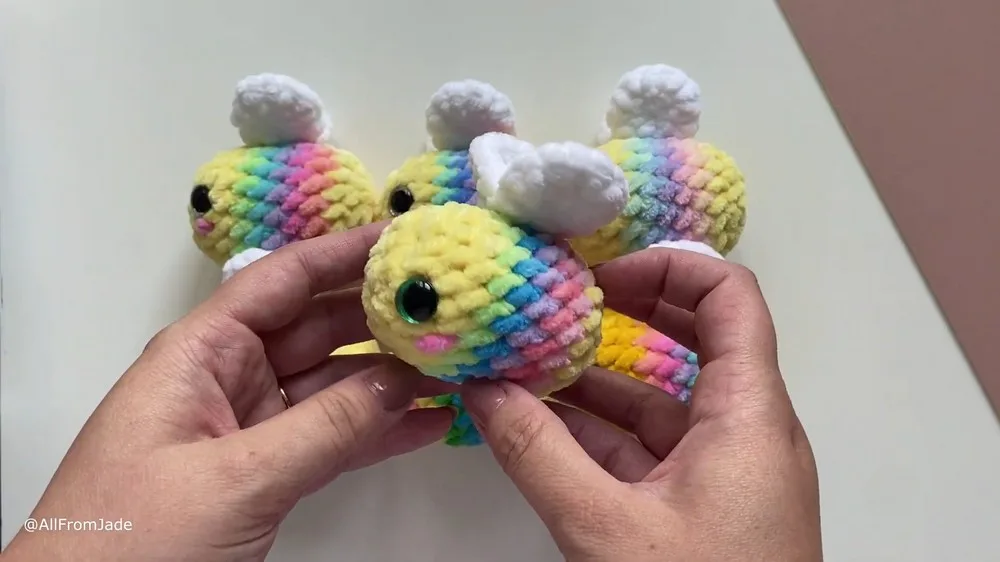
This mini rainbow bee amigurumi is one of those patterns that proves small projects can pack the biggest charm. Instead of the classic black-and-yellow bee, this little buzzer wears every color of the rainbow—yellow, green, blue, purple, pink, and peach—making it a joyful twist on a beloved amigurumi favorite. It's perfect for crocheters who want a fast, satisfying make, or for anyone looking to gift a tiny handmade smile to a friend, child, or fellow yarn lover.

The finished bee is tiny, huggable, and irresistibly cute—small enough to perch on a shelf, clip to a bag, or tuck into a gift box. With its plump little body, safety eyes for personality, and a pair of wings ready to take flight, this amigurumi has serious charm packed into a small package. It makes a delightful handmade gift, a sweet addition to a nursery shelf, or a fun stash-buster using leftover scraps of rainbow yarn.

Variations

I adore this pattern because it takes the classic bee amigurumi and gives it the happiest rainbow makeover. Working through the color sequence—yellow, green, blue, purple, pink, and peach—feels like painting with yarn, and watching each round add a new stripe of color is genuinely satisfying. The main body comes together in just two rounds, so you get that instant gratification of a finished shape without hours of stitching. Making the wings twice (they're only two rounds each!) is quick and almost meditative, and I love how those little white flutters instantly transform the piece into something that looks ready to buzz away. Setting the 12mm safety eyes is my favorite moment in any amigurumi build—it's the second the bee gets its personality. This is a pattern I reach for whenever I want a fast, cheerful project that doesn't demand a big time commitment but still delivers a genuinely adorable result. It's the kind of make that leaves you smiling the whole time you're stitching it.
Common mistakes

  • Working the main body roundsUse a hook one size smaller than you'd normally choose for your yarn weight, and keep your tension consistent so the fabric stays dense enough to hold the stuffing in.
  • Losing track of the round when workingPlace a stitch marker in the first stitch of each round and move it up as you go—this small habit prevents miscounts and keeps your color changes lining up correctly.
  • Making the wings uneven sinceCrochet both wings back to back before moving on to assembly, comparing stitch count and size after each round so they match perfectly before attaching.
  • Gluing or sewing the safety eyes inInsert the eyes but don't lock the backs on yet—hold the piece at arm's length and adjust spacing until the face looks balanced, then secure permanently.
  • Rushing color changes and leaving looseAlways change colors on the last yarn-over of the final stitch in the old color, and weave in each tail securely with a yarn needle before moving to the next section.
  • Overstuffing the small body, causingStuff in small pinches, checking the shape frequently—this tiny amigurumi needs just enough filling to feel firm without pulling the stitch definition out of shape.

The pattern

Written out round by round

Materials

Yarn in colors

  • yellow, green, blue, purple, pink, peach/orange, and white
  • Polyester stuffing
  • 4.5 mm crochet hook (adjust based on your yarn choice)
  • Yarn needle
  • Stitch marker
  • Pair of 12 mm safety eyes
  • Scissors

Abbreviations

  • sc = single crochet

Wings (Make 2)

Start with a magic circle or chain 2 as a base.

  1. Round 17 SC in the ring or the first chain.
  2. Round 2Increase in each stitch around for a total of 14 stitches. Finish off, leaving a long tail on one wing for sewing. Attach wings together and then to the bee's back.

Main Pattern

Starting with Yellow Yarn: begin the main body of the bee in yellow.

  1. Round 1Chain 2, then work 8 single crochet (SC) stitches into the second chain from the hook. Alternatively, use the magic circle method with 8 SC stitches.(8)
  2. Round 2Increase (two SC in each stitch around) for a total of 16 stitches.(16)
  3. Round 3(SC in the next 7 stitches, increase in the next stitch) repeat around for a total of 18 stitches.Color Changes (from bottom to top of the B): For each new color (green, blue, purple, pink, peach/orange): Last stitch of previous color, start SC but finish with new color.Make a slip stitch into the back loop of the next stitch with new color for a seamless transition, then continue with SC around in both loops.Repeat the process for each color, completing one round with 18 stitches for each color.Continue SC around, adding features like eyes.Progress with decreases combined with SC stitches to shape the head.(18)

Back to Yellow Yarn: Resume with yellow yarn to start the top portion.

Assembly

Step 1

Start stuffing the bee as you decrease to close the top, ensuring an oval shape for the bee.

Step 2

To close, thread yarn through front loops of remaining stitches, pull tight, and secure.

Step 3

Weave in all tails.

Step 4

Attach safety eyes between specified rounds.

Step 5

Embroider cheeks with pink yarn under each eye.

Important notes

💡 Use a 4.5mm hook as your starting point, but don't be afraid to size down slightly for a tighter, stuffing-proof fabric if your yarn feels thin.

💡 Keep your six colors organized in small bowls or a yarn bowl caddy before you start—this pattern moves through color changes quickly and you don't want to be hunting for the next shade mid-round.

💡 Place your stitch marker in the very first stitch of each round on both the main body and the wings so you always know where a new round begins.

💡 Stuff the main body lightly but evenly, adding small amounts as you close up the final round rather than trying to cram it all in at the end.

💡 When attaching the 12mm safety eyes, insert them before you finish stuffing so you can still reach inside to fasten the backing washers securely.

💡 Since the wings are only two rounds each, work them in one sitting so your tension stays consistent between the pair before sewing them onto the body.

More photos

Easy Crochet Mini Rainbow Bee Amigurumi Tutorial for Beginners — photo 2
Easy Crochet Mini Rainbow Bee Amigurumi Tutorial for Beginners — photo 3
Easy Crochet Mini Rainbow Bee Amigurumi Tutorial for Beginners — photo 4
FAQs

Frequently asked questions

What yarn weight works best for this mini rainbow bee?

A worsted weight yarn paired with a 4.5mm hook gives the best balance of stitch definition and quick stitching. If you want a smaller, denser finished bee, size down to a lighter worsted with a 3.5mm hook.

How long does this pattern take to complete?

Since the main body and each wing are only two rounds, most crocheters finish this bee in about 1-2 hours, including assembly and stuffing. It's an ideal quick project for a single crafting session.

Can I use scrap yarn instead of buying new colors?

Absolutely—this pattern is perfect for using up leftover worsted weight scraps in yellow, green, blue, purple, pink, and peach. Just make sure the scraps are similar in weight so your tension stays even throughout.

Do I need safety eyes, or can I embroider the face instead?

Safety eyes give the bee a polished, secure look and are recommended if the piece will be handled by kids. If it's for decoration only, you can embroider small eyes with black yarn or embroidery floss instead.

How do I attach the wings to the body?

Once both wing pieces are complete, use a yarn needle and matching or white yarn to whip stitch them to the back of the main body, positioning them symmetrically above the midpoint for a natural, ready-to-fly look.

One at a time —

Get the next pattern

Tested round by round before it is sent. No spam.