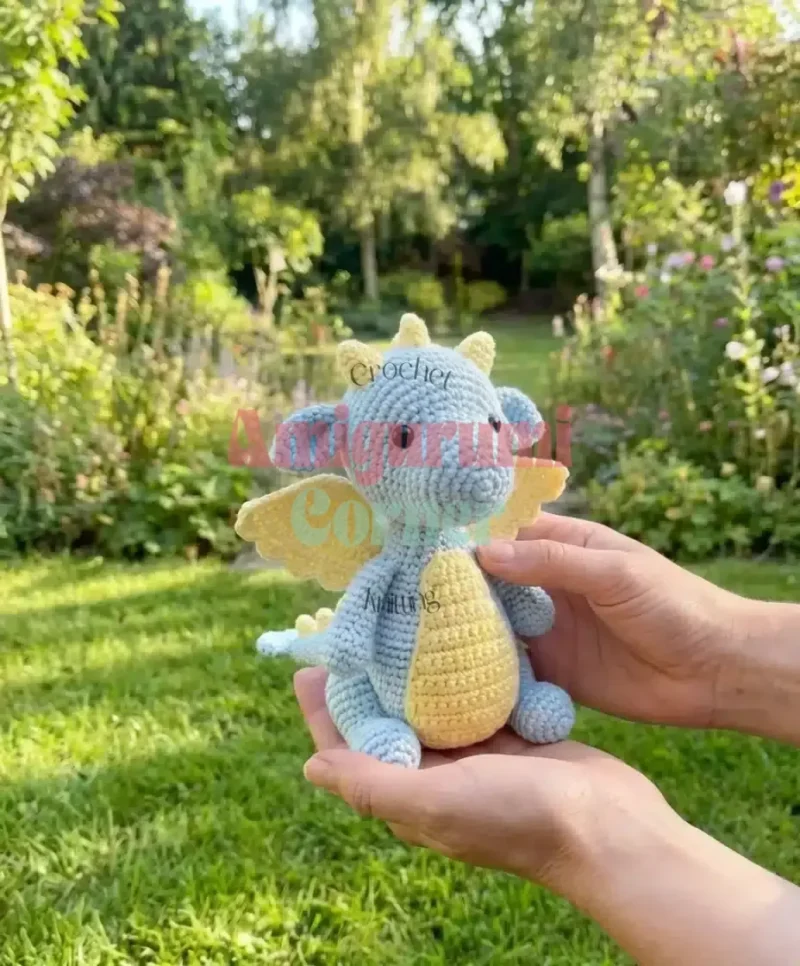
Made and counted by Wren —

Dragon amigurumi pattern: construction notes and fixes

2.00mm hook, sport-weight cotton-acrylic yarn: a dragon amigurumi with horns, wings, studs, and a tail.

Dragon amigurumi pattern: construction notes and fixes
IntermediateLevel
4-6 hoursTime
6 mmHook
SportYarn
Jump to the pattern

About this pattern

A dragon amigurumi worked mainly in continuous rounds on a 2.00mm hook with cotton-acrylic yarn (60/40 blend, 50g/165m per skein), using 6mm safety eyes and a nylon-thread face-sculpting step. The main body runs 24 rounds; separate pieces include 2 horns, 2 ears, 4 limbs, 5 back studs, 2 wings worked in 11 rows, and a tail, all stuffed with fiber filler and sewn on after the body is complete.

This dragon amigurumi builds from a magic ring into a head-and-body unit worked in 24 continuous rounds, then adds 2 horns, 2 ears, 4 limbs, 5 back studs, 2 wings (11 rows each), and a tapered tail as separate pieces sewn on after stuffing. The body uses 60% cotton, 40% acrylic yarn on a 2.00mm hook, with 6mm safety eyes set before the nylon-thread face-sculpting step. The number that matters most: 24 rounds for the main body, since every attachment point for arms, legs, and studs is measured against those rows.

The pattern

Written out round by round

Materials

Yarn

  • Gazzal Baby Cotton 3445 (Beige) – 50g, 165m (60% cotton, 40% acrylic)
  • Gazzal Baby Cotton 3444 (Pink) – 50g, 165m (60% cotton, 40% acrylic)
  • Gazzal Baby Cotton 3468 (Grey) – 50g, 165m (60% cotton, 40% acrylic)
  • Gazzal Baby Cotton 3432 (White) – 50g, 165m (60% cotton, 40% acrylic)

Additional Materials

  • 6mm black safety eyes
  • 2.00mm crochet hook
  • Fiber filler (polyester stuffing)
  • Scissors
  • Long tapestry needle
  • Stitch markers
  • Nylon thread or strong thread for facial sculpting
  • this …

Abbreviations

  • MR = Magic Ring
  • sc = Single crochet
  • inc = Increase (2 sc in same stitch)
  • dec = Decrease (single crochet 2 stitches together)
  • sl st = Slip stitch
  • TRN = Turn
  • FLO = Front loops only
  • ch = Chain
  • dc = Double crochet

Main Pattern

Step by step: Use grey yarn for these adorable little horns that give your dragon character.

Step by step: Use beige yarn to create the dragon’s expressive ears.

Step by step: These pink spikes add a playful touch running down your dragon’s spine; Use pink yarn.

Step by step: Complete your dragon with this simple tapered tail; Use pink yarn.

Round 16sc in an MR (6)Step by step: 6sc (6).Step by step: 6sc (6).Step by step: 6sc (6).
Round 26 inc (12)Step by step: Row 4: 12sc.Step by step: Row 4: 12sc.Row 4-5: 12sc Leave a long tail for sewing. Sew the horns between rows 19 and 23, spacing them 7 stitches apart (measured from the center of each horn).
Round 3(inc, sc) x 6 (18)Row 6-7: 18sc Leave a long tail for sewing and attach the tail securely to the back of the body.Leave a long tail for sewing. Distribute the studs evenly along the dragon’s back, positioning them to your preference for a natural look.Step by step: Row 4-7: 18sc; 5sc, (dec, sc) x 4, sc (14); 5sc, 4dec, sc (10); Row 10-16: 10sc Leave a long tail for sewing. Stuff the limbs lightly.
Round 4(inc, 2sc) x 6 (24)Leave a long tail for sewing. Fold each ear in half and sew them between rows 20 and 21, spacing them 20 stitches apart.Row 5-7: 24sc
Round 8(inc, 3sc) x 6 (30)Row 9-12: 30sc Now you need to mark where to place the safety eyes. Insert a stitch marker into the 8th and 15th stitches of the 12th row.
Round 139sc, FLO(inc, 2sc) x 6, Then for both loops 3sc (36)
Round 144sc, (inc, 2sc) x 7, 11sc (43)
Round 154sc, (inc, 3sc) x 6, 15sc (49)

Now insert the safety eyes in place of the markers.

Row 16-22: 49sc

Round 239sc, (dec, 3sc) x 6, 10sc (43)
Round 248sc, (dec, 2sc) x 6, 11sc (37)
Round 258sc, (dec, sc) x 6, 11sc (31)
Round 268sc, 6dec, 11sc (25)Row 27-29: 25sc
Round 307sc, (inc, 2sc) x 4, 6sc (29)
Round 317sc, (inc, 3sc) x 4, 6sc (33)
Round 323sc, (inc, 4sc) x 6 (39)Row 33-36: 39sc Begin stuffing the head.
Round 376sc, (inc, 5sc) x 5, 3sc (44)Row 38: 44sc
Round 3911sc, (inc, 3sc) x 7, 5sc (51)Row 40-50: 51sc
Round 5117sc, (dec, 4sc) x 5, 4sc (46)
Round 5217sc, (dec, 3sc) x 5, 4sc (41)
Round 5317sc, (dec, 2sc) x 5, 4sc (36)
Round 5417sc, (dec, sc) x 5, 4sc (31)Row 55-64: 31sc Continue stuffing the body.
Round 65Skip the next loop and knit with 2 loops (dec, 3sc) x 6 (24)Row 66-69: 24sc
Round 70(dec, 2sc) x 6 (18)Row 71-77: 18sc
Round 78(dec, sc) x 6 (12)Row 79-80: 12sc Leave a long tail for sewing, pull the yarn through the remaining loops with your needle, and weave in the ends securely.
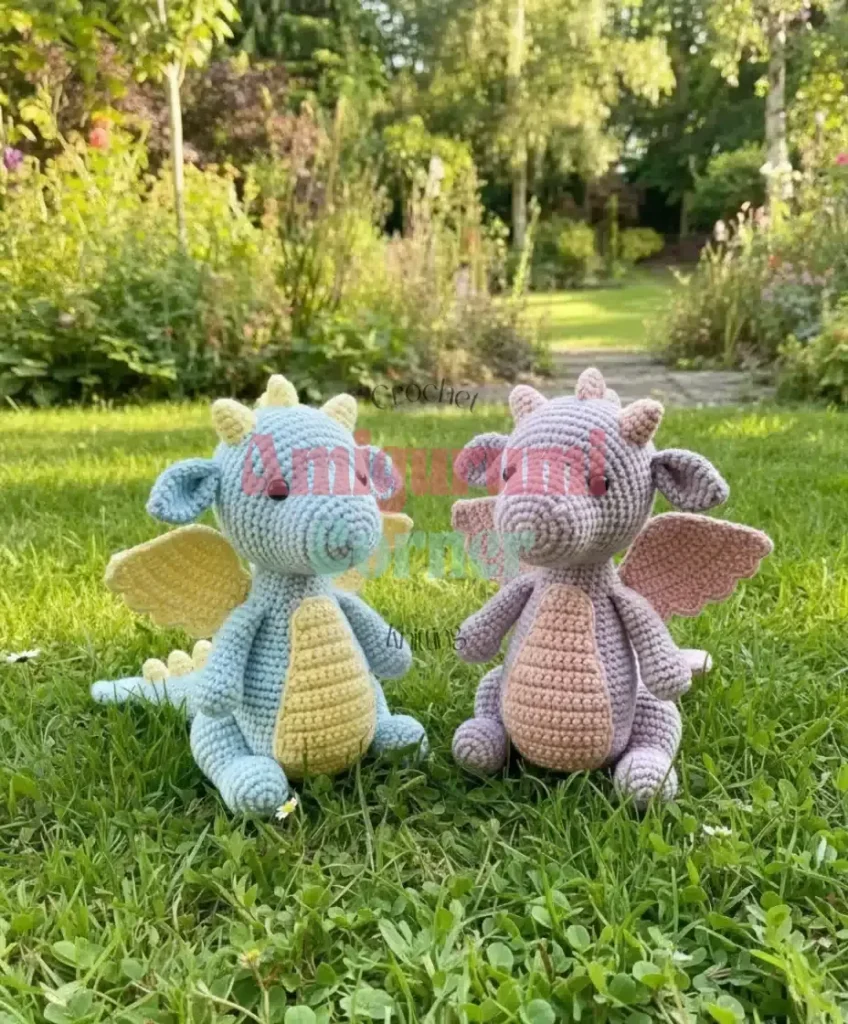
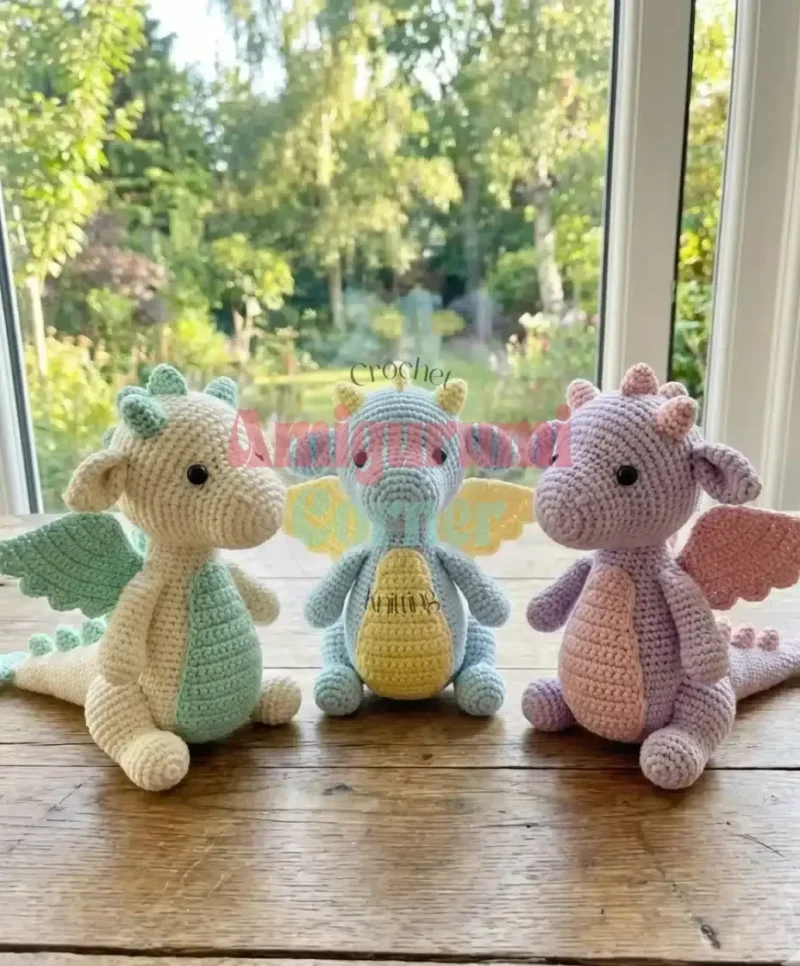
Wings (Make 2)

These charming wings are worked in rows and give your dragon the ability to take flight in imagination.

Use pink yarn.

Round 1ch3, into 2nd ch from hook 2inc (4)
Round 2ch1, TRN, inc, 2sc, inc (6)
Round 3ch1, TRN, inc, 4sc, inc (8)
Round 4ch1, TRN, inc, 6sc, inc (10)
Round 5ch1, TRN, inc, 8sc, inc (12)
Round 6ch1, TRN, inc, 10sc, inc (14)
Round 7ch1, TRN, inc, 12sc, inc (16)
Round 8ch1, TRN, inc, 14sc, inc (18)
Round 9ch1, TRN, inc, 16sc, inc (20)
Rounds 10–12ch1, TRN, 20sc (20)
Round 13ch1, TRN, sl st, (2inc-dc, 2slst) x 4, 2inc-dc, slst (18)Crochet around the edges of the wings with slip stitches for a finished look. Fasten off and weave in ends. Sew the wings parallel to the back studs for proper positioning.

Attachment

Sew the arms between rows 36 and 37, spacing them 13 stitches apart Sew the legs between rows 53 and 54, spacing them 13 stitches apart

Assembly

Step 1This crucial step brings personality and dimension to your dragon’s face. The sculpting technique creates defined cheeks and eye sockets that make your dragon truly come alive.
Step 2Materials needed: Long needle and strong nylon thread
Step 3Instructions:
Step 4Thread your long needle with nylon thread
Step 5Insert the needle at point A (row 4) and bring it out at point B (next to one eye)
Step 6Insert the needle at point C (also next to the same eye) and bring it out at point D (2-3mm above point A)
Step 7Insert the needle back into point A and bring it out at point I (next to the other eye)
Step 8Insert the needle at point F (next to the second eye) and return to point A
Step 9Hold both thread ends and gently pull while pressing your fingers on the eyes and muzzle area
Step 10Continue tightening until you achieve the desired facial definition
Step 11When satisfied with the appearance, tie several secure knots
Step 12Weave the thread ends into the head and trim
Step 13The more you tighten the thread, the more pronounced your dragon’s cheeks will become. Take your time with this step as it significantly impacts the final expression.

Tester's notes

2.00mm hook: holds the cotton-acrylic blend tight enough that the 6mm safety eyes seat flush without gapping around the head shaping rounds.

4 skeins (beige, pink, grey, white) at 50g/165m each: keep them labeled by part, since horns use grey, ears use beige, and spikes plus tail both use pink.

Stitch marker: move it up every round across the 24 continuous rounds of the main body, since there is no join point to use as a reference.

13-stitch spacing: arms sew in between rows 36 and 37, legs between rows 53 and 54; mark both placements before sewing, not after.

Fiber filler: add it in stages as each section closes rather than all at once at the end, especially behind the eyes and inside the 5 back studs.

Work in progress

Dragon amigurumi pattern: construction notes and fixes — photo 2
Dragon amigurumi pattern: construction notes and fixes — photo 3

At a glance

Rounds35
Parts3
LevelIntermediate
Time4-6 hours
Hook6 mm
YarnSport

Gauge check

After round 1, count stitches around the magic ring - it should hold exactly 6 sc with no gaps between stitches - and check that the fabric is dense enough to block stuffing from showing through.

If the ring splits open or gaps appear between stitches, drop to a smaller hook or tighten tension before continuing past round 1, since every later round builds on that base count.

Stitch-count checkpoints

  • Main Pattern · Round 15: 49 sts
  • Main Pattern · Round 37: 44 sts
  • Main Pattern · Round 78: 12 sts
  • Wings (Make 2) · Round 3: 8 sts
  • Wings (Make 2) · Round 6: 14 sts
  • Wings (Make 2) · Round 9: 20 sts

If something looks wrong

The 6mm safety eyes sit crooked or feel loose once the head is stuffed.
The washer was not pushed fully flush behind the backing round, or filler behind the eye is too sparse to hold it in place; push the washer flat first, then pack extra filler directly behind each eye before closing the round.
The wings curl instead of lying flat once both are finished.
A tight turning chain across the 11 rows pulls the edge inward; work the ch1 turn loosely on each row and block the finished wing flat before sewing it on.
The 5 back studs sit unevenly along the spine instead of in a straight line.
No marker was placed before sewing began, so spacing drifted by eye; mark all 5 positions along the body first, then sew each stud to its marker rather than estimating as you go.
Arms and legs sew on crooked even after counting to rows 36/37 and 53/54.
Stuffing after marking shifts the row count by a stitch or two; stuff the body firmly first, then recount rows 36/37 and 53/54 and the 13-stitch spacing before placing markers for attachment.

Yarn substitutions

100% cotton, DK weightFirmer stitch definition and less give around the eye sockets; size up to a 2.50mm hook to match the fabric density the pattern gets from the 2.00mm hook and cotton-acrylic blend.
100% acrylic, sport weightSofter drape and a lighter finished piece, but less structure to hold the horns and back studs upright; keep the hook at 2.00mm and stuff those pieces more firmly.
Cotton-bamboo blend, fingering weightThinner fabric that shows stuffing lumps more readily; drop to roughly a 1.75mm hook to match the stitch density the original gets at 2.00mm.
FAQs

Questions

Can the 4 yarn colors be swapped for different ones?

Yes, color is cosmetic. The pattern assigns beige to the body, grey to the horns, pink to the spikes and tail, and white to accents, and any 50g/165m cotton-acrylic skein can swap in at the same weight without changing stitch counts.

Why does this pattern call for 6mm safety eyes specifically?

The head is worked over 24 rounds on a 2.00mm hook, which keeps the fabric tight enough for 6mm eyes to seat without pulling through. Larger eyes risk distorting the face-shaping rounds and the washer placement behind them.

How much yarn does the whole dragon use?

Four 50g/165m skeins (beige, pink, grey, white) cover the 24-round main body plus 2 horns, 2 ears, 4 limbs, 5 back studs, the tail, and 2 wings at 11 rows each. Pink runs across the spikes, tail, and wings, so expect it to run out first.

One at a time —

Get the next pattern

Tested round by round before it is sent. No spam.