Made and counted by Wren —

Crochet a mini amigurumi whale with fins and belly panel

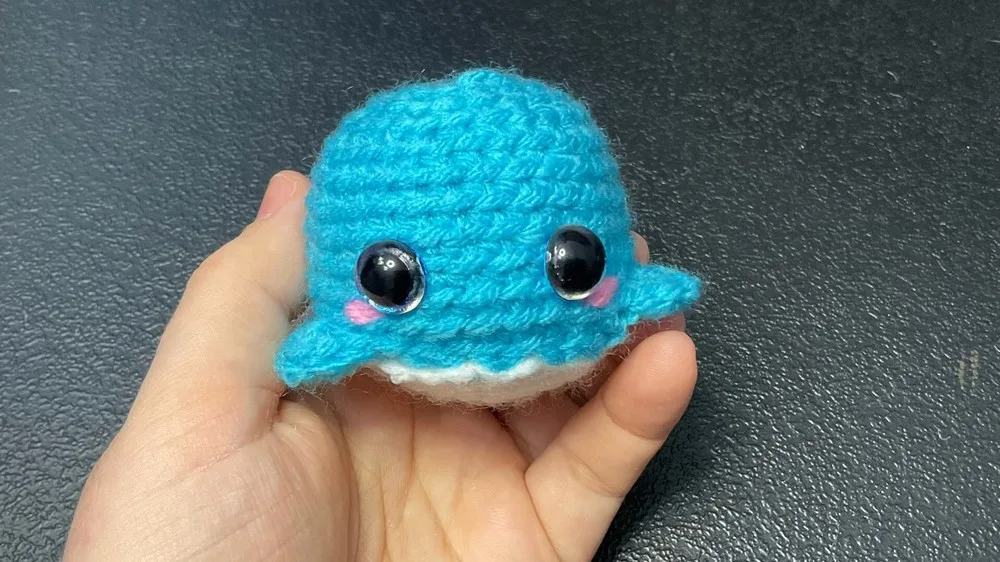
4 mm hook, worsted yarn: mini amigurumi whale with side fins and a sewn-on belly panel.

Crochet a mini amigurumi whale with fins and belly panel
BeginnerLevel
3-5 hoursTime
4 mmHook
WorstedYarn
Jump to the pattern

About this pattern

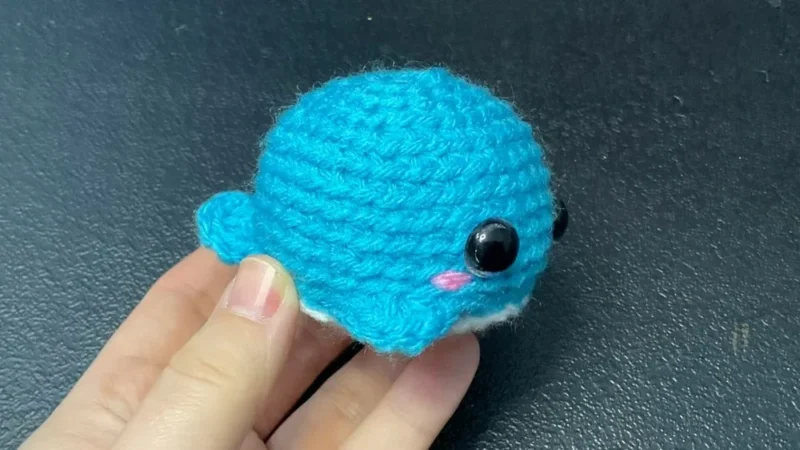
A four-round, two-piece amigurumi whale: a blue magic-ring body with two side fins and matching eight-single-crochet sections flanking them, plus a separate white magic-ring belly worked over several rows and sewn to the body from underneath the fins. Safety eyes sit on the third row from where the fins begin, cheeks are pink-yarn embroidery, and stuffing goes in before the belly closes.

This mini amigurumi whale works up in four rounds: a magic-ring body in blue yarn, a separate magic-ring belly in white yarn sewn on after stuffing. Two side fins interrupt the body round — one worked as four half-double crochet stitches, the body sections flanking them each worked as eight single crochet stitches. Safety eyes are placed on the third row from where the fins start. The number to watch throughout: 8 stitches per fin-flanking section, since a miscount there throws off fin spacing and eye placement alike.
The pattern

Written out round by round

Materials

  • Body Section between Fins : Eight normal single crochet stitches are then worked in the subsequent spaces.
  • Second Body Section between Fins : Eight single crochet stitches are worked after the tail fin.

Second Side Fin

  • Four half-double crochet stitches are made in the next space to form the second side fin.
  • Remaining Body Stitches : The remaining stitches until the first fin are worked as single crochet stitches. The round is then joined with a slip stitch, and the yarn is cut.

Eye Placement

  • The safety eyes are placed on the third row from where the side fins begin.

Cheeks

  • Pink yarn and a tapestry needle are used to embroider the cheeks. The yarn is passed through specific points near the eyes to create the cheek shape, and then secured with a knot inside the whale.
  • 4 mm crochet hook
  • Amigurumi eyes
  • Scissors
  • Stitch marker
  • Stitch counter
  • 4 mm blue yarn
  • 4 mm pink yarn (for cheeks)
  • 4 mm white yarn
  • Amigurumi stuffing

Abbreviations

  • ch = chain
  • st = stitch
  • sl st = slip stitch
  • sc = single crochet
  • hdc = half double crochet
  • dc = double crochet
  • inc = increase
  • dec = decrease
  • mr = magic ring
  • fo = finish off

Whale Body Construction

The tutorial begins with creating the main body of the whale using blue yarn.

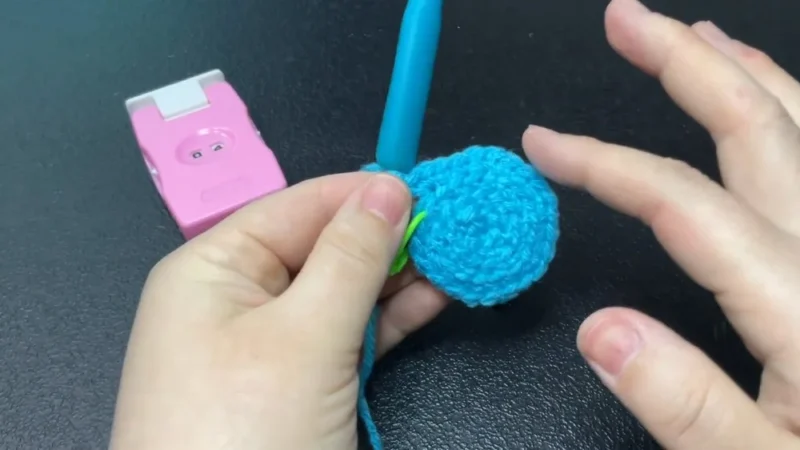
Magic Ring and First Row: The process starts with a magic ring, followed by a chain stitch and single crochet stitches into the ring. The first stitch is marked, and the round is closed with a slip stitch.

Subsequent Rows (Increases):

Step by step: The belly of the whale is made with white yarn.

Magic Ring and First Row: Similar to the body, a magic ring is made, followed by a chain stitch and single crochet stitches.

Step by step: Subsequent Rows (Increases) :.

Round 2Increase by making two single crochet stitches in each stitch.Step by step: The sequence is one single crochet, followed by an increase, repeated around.
Round 3The sequence is one single crochet, followed by an increase (two single crochet in the same stitch), repeated around.
Round 4The sequence is two single crochet stitches (one in each space), followed by an increase, repeated around.
Round 5The sequence is three single crochet stitches (one in each space), followed by an increase, repeated around.Final Row (No Increases): Row 6 is worked by making one single crochet stitch in each stitch around. The round is closed with a slip stitch, and a long tail of yarn is left for sewing.Straight Rows (No Increases): Rows 6 through 11 are worked by making one single crochet stitch in each stitch around, maintaining the stitch count.

Assembly

Step 1Sewing the Belly : The belly is sewn to the main body of the whale using yarn that matches the body color (blue in this case) to ensure a clean finish. The stitches are taken from underneath the fins to avoid damaging them.
Step 2Stuffing : Before completely closing the belly, the whale is stuffed with amigurumi filling.
Step 3Final Closure : The remaining opening is sewn shut, the yarn is cut, and the tail is hidden inside the whale.
Step 4Shaping : The final step involves gently shaping the whale with hands to distribute the stuffing evenly and achieve the desired form.
Step 5Video Guide

Tester's notes

4 mm hook, one size for everything: body, belly, fins, and both embroidery steps all use the same 4 mm hook, so there is no size-swapping mid-project.

Third row: safety eyes go in on the third row counted from where the side fins begin, not from the magic ring center, so mark that round before placing them.

8-stitch sections: the body segments before the first fin and after the tail fin are each worked as eight single crochet stitches; keep a stitch counter running so the two sides match.

4-stitch fin: the second side fin is only four half-double crochet stitches worked into one space, so pull it snug or it gaps against the body.

Stuffing goes in before the belly closing seam is finished, not after — pack it through the remaining opening, then close the gap and cut the yarn.

Work in progress

Crochet a mini amigurumi whale with fins and belly panel — photo 2
Crochet a mini amigurumi whale with fins and belly panel — photo 3

At a glance

Rounds4
LevelBeginner
Time3-5 hours
Hook4 mm
YarnWorsted

Gauge check

After the first round of the body, check that the single crochet stitches sit close enough together that no daylight shows through the magic ring closure.

If gaps remain or the fabric feels loose, tighten tension for the 4 mm hook, since a floppy first round telegraphs through all four rounds and leaves stuffing visible later.

If something looks wrong

The side fins look uneven in size.
One fin is 4 half-double crochet stitches while the flanking body sections are 8 single crochet stitches each; recount both and check stitch type (hdc vs. sc) rather than judging by eye.
Safety eyes sit crooked or too high on the head.
Eyes are placed on the third row counted from where the side fins begin, not from the magic ring center; recount rows from the fin round before pushing the posts through.
The belly puckers or pulls the fins flat once sewn on.
Belly stitches should run from underneath the fins, not through them; sewing directly through the fins draws them down against the body and distorts the seam.
Stuffing shows through the closure at the tail end.
The tail yarn is meant to be cut and hidden inside after final closure; if the opening closed before full stuffing, reopen slightly, pack tighter, and re-close through a smaller gap.

Yarn substitutions

Cotton, worsted weightFirmer stitch definition and less stretch, so the magic-ring circles stay flatter; keep the 4 mm hook but stuff a little firmer to compensate for cotton's lower loft.
Acrylic, sport weightA smaller finished whale than the pattern's size; drop to a 3 mm–3.5 mm hook to keep the fabric dense enough to hide stuffing at this thinner weight.
Wool-acrylic blend, DK weightSofter drape on the fins and belly; if the strand is thinner than the pattern's 4 mm yarn, size up slightly to a 4.5 mm hook to keep the gauge dense.
FAQs

Questions

Why does eye placement matter so much on this pattern?

The eyes sit on the third row from where the side fins begin, and that row is the visual center of the face. With only four rounds total in the body, placing them even one row off is far more noticeable than on a larger amigurumi.

Can the whale be made without safety eyes?

Yes — swap the amigurumi eyes for embroidered stitches at the same third-row position. The cheek embroidery already uses pink yarn and a tapestry needle, so the same tools work for embroidered eyes.

How much stuffing does the body need before the belly closes?

Enough that the whale holds its rounded shape without the belly seam gapping, packed in before the final closing seam is sewn shut. Add it gradually through the remaining opening and check shape as it fills, since removing overstuffed filling after closing is harder than adding more.

One at a time —

Get the next pattern

Tested round by round before it is sent. No spam.