Made and counted by Wren —

Crochet jellyfish granny square pattern for ocean lovers

Free crochet jellyfish granny square pattern with a wavy-edged head, three curly tentacles and a deep blue background. Beginner-friendly written steps

EasyLevel
1-2 HoursTime
3.00 mmHook
DKYarn
Jump to the pattern

About this pattern

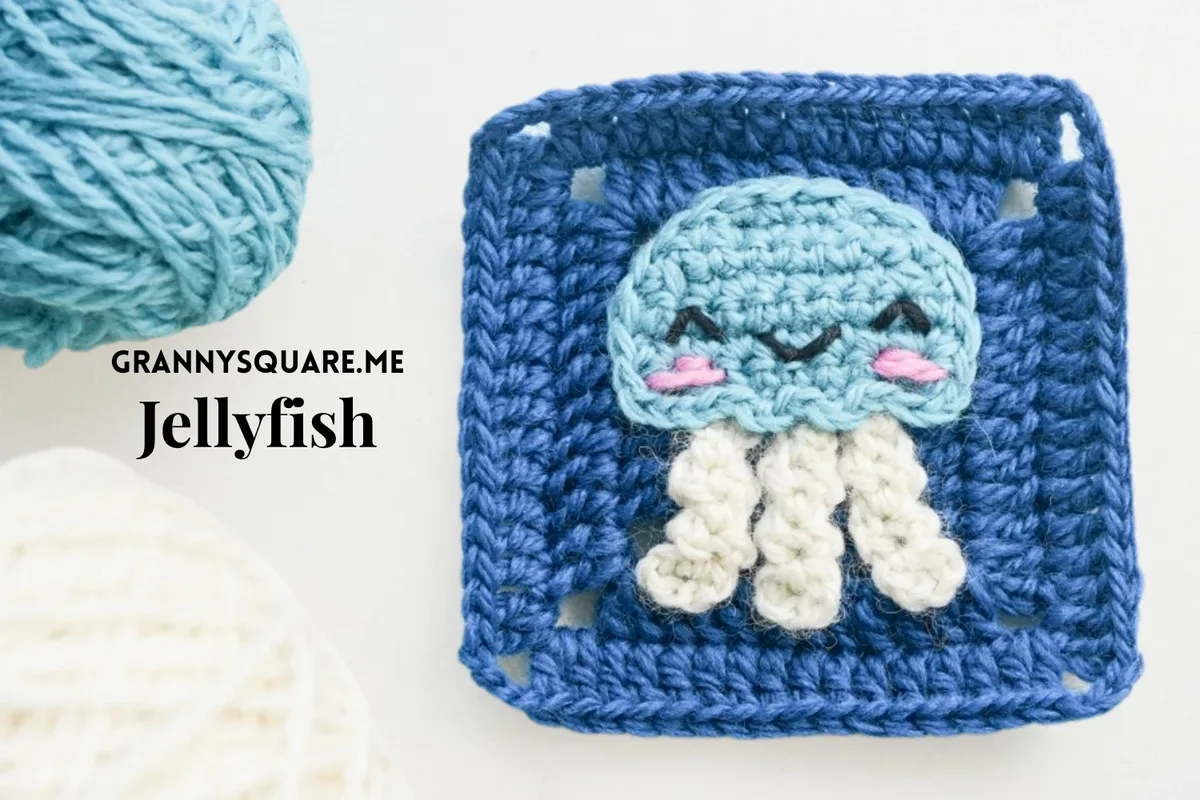
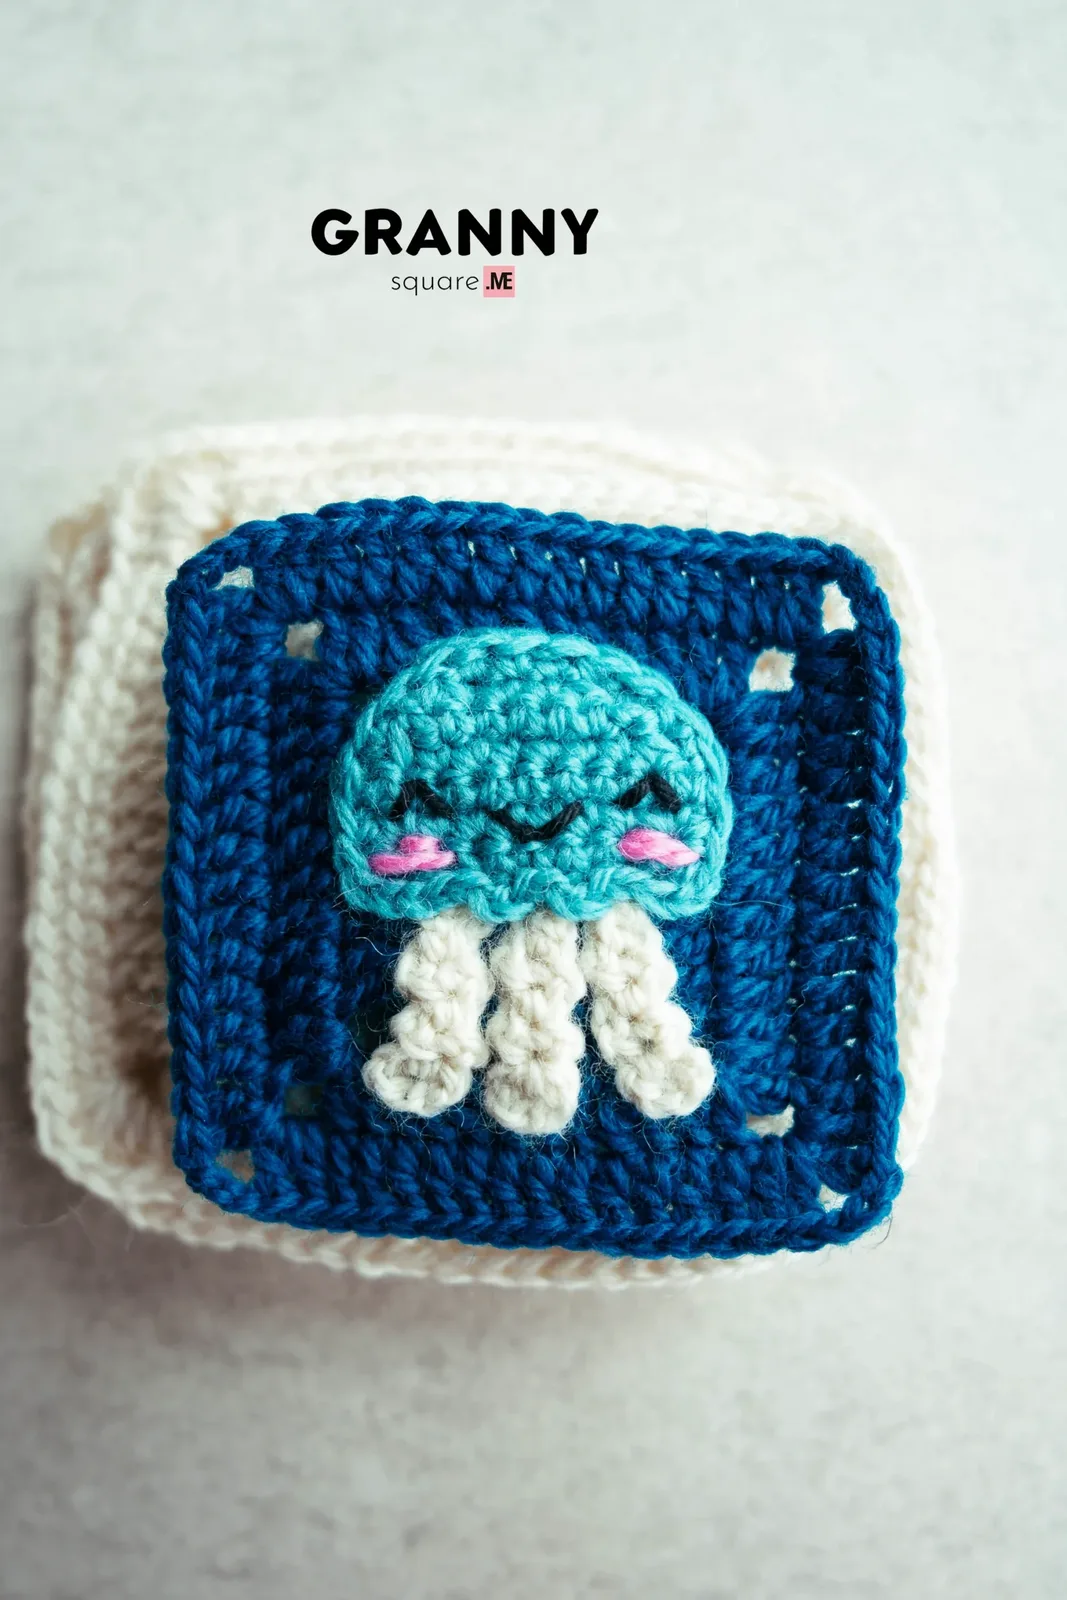
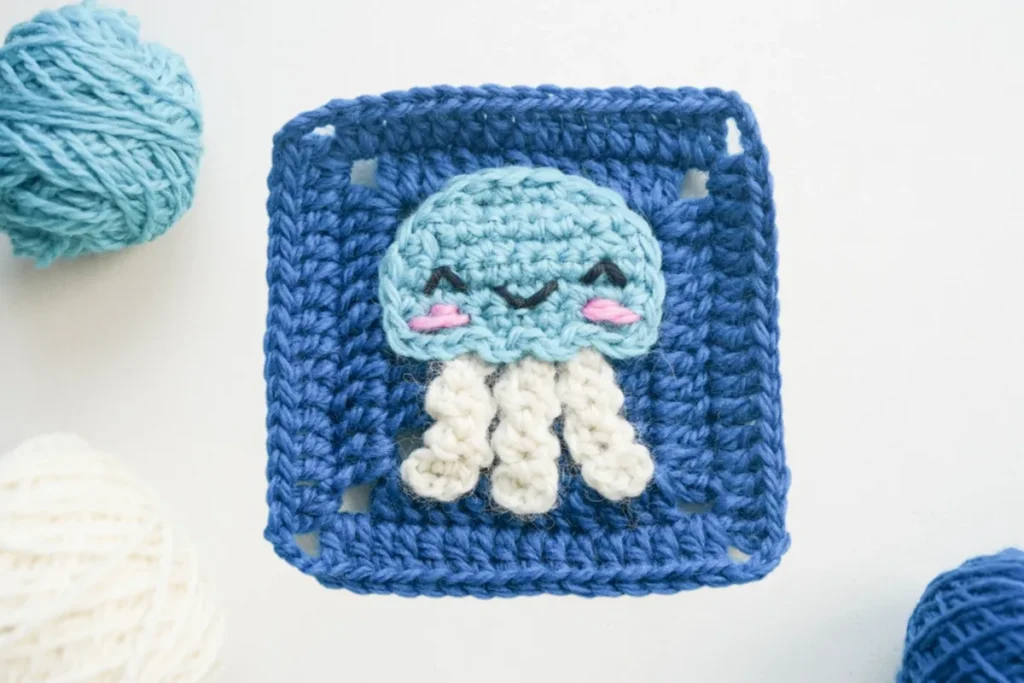
This pattern turns a simple granny square into a tiny underwater scene: a plump, wavy-bottomed jellyfish head with a sweet embroidered face, three curling tentacles, and a deep blue background that reads instantly as open ocean. It is worked in five colors, so it is a wonderful way to use up small leftovers from bigger projects. Anyone who loves character squares, sea creatures, or making blankets that tell a story will fall for this little jellyfish straight away

The techniques stay friendly throughout. The head is built in short rows of single crochet with simple sc increases and sc2tog decreases that shape the dome, plus a back-loop-only foundation row that keeps the bottom edge tidy. The tentacles are pure slip stitch magic worked along both sides of a starting chain, and the background is a classic granny square in double crochet with ch-3 corners. If you can chain, single crochet, and double crochet, you are ready. Expect roughly one to two hours total

The finished square measures about 3.46 by 3.46 inches in DK weight yarn, which makes it an ideal building block. The jellyfish sits slightly raised against the blue, so the piece has a lovely soft, appliqué-like texture you want to run your thumb over. The wavy slip stitch edge along the bottom of the head really does ripple like a real jellyfish bell. Made as a single square it becomes a coaster or a bag patch; made in multiples it becomes a nursery blanket people ask about

Variations

The five-color setup makes this square endlessly playable. For the classic look, keep the background dark navy or deep teal for that deep-sea feeling, and go pastel on the jellyfish — lilac, peach, or mint bell with cream tentacles. For a sunset-ocean version, try a warm coral head against a dusty rose background with gold tentacles. A metallic thread held with your bell color turns it into a bioluminescent jellyfish, which looks incredible in a nursery. Because the tentacle count is entirely up to you, add five or six for a fuller, drifting look, or leave just two for a shy little baby jellyfish. Positioning changes the personality too: tentacles swept all to one side reads as swimming, tentacles spread wide reads as floating and happy. Yarn substitution is simple. The sample uses DK sport wool with a 3.00mm hook and finishes at about 3.46 inches; move up to worsted with a 4.00mm hook and your square grows to roughly 4.5 inches, which is handy if you are matching squares from another blanket. Go down to fingering with a 2.5mm hook for a tiny brooch-sized jellyfish. You can also add extra granny rounds to the background if you want a wider blue border around the jellyfish, or skip the background entirely and use the head and tentacles as a standalone appliqué on a tote bag, a hoodie pocket, or a baby hat. Ocean-themed blankets love company, so consider making coordinating squares with the same background blue

I have made a lot of character squares, and this jellyfish is one of the few where the shaping does exactly what you hope on the first try. Working the head in rows instead of rounds means you can actually see the dome forming as the sc increases widen row 2 and the sc2tog decreases pull rows 4, 5 and 6 back in — no stuffing, no wrestling, no guessing. Then round 7 gives you that little sequence of slip stitches and ch-2 spaces along the bottom, and suddenly a flat oval turns into a bell with a genuine wavy skirt. That moment is so satisfying. The tentacles are my favorite part though: you chain eleven, work slip stitches into the back loops going one way and the front loops coming back, and the strip curls itself into a spiral without any blocking or coaxing. It feels like a small trick you have gotten away with. Add a face, two pink blush spots, and the whole thing goes from crochet motif to little friend in about thirty seconds
Common mistakes

  • Working the row 1 foundationAfter you chain 9 and turn, skip the first chain and work each sc into the back loop of the remaining 8 chains. Using BLO leaves the front loops free along the bottom edge, which is what gives you a neat ridge to work the wavy round 7 edging into later. If you use both loops, the bottom edge will look flat and the wave will not sit right
  • Forgetting that the ch1 at the startIn this pattern the ch1 simply lifts your yarn to row height — it never counts as a stitch. Work your first sc or increase into the very first stitch of the row, not into the chain. If you accidentally treat it as a stitch you will gain one stitch per row and the head will flare into a triangle instead of a dome
  • Losing count on rows 4 and 5 where twoRow 3 ends with 10 stitches, row 4 takes you down to 8, and row 5 down to 6. Count at the end of every row before turning. If your numbers drift, the dome will lean to one side and the face will not sit centered when you sew it on
  • Working the tentacle slip stitches too tightlySlip stitches naturally pull in, and this tentacle already curls on purpose. If you work them tight you will not be able to get your hook back into the chain on the return pass, and the tentacle will kink instead of spiral. Keep your tension loose and relaxed, and consider going up half a hook size just for the tentacles if you are a tight crocheter
  • Turning the tentacle over to the right side before sewingThe pattern is designed so the wrong side of the tentacle faces out — that is the side with the prettier ridge and curl. Fasten off, lay the tentacle down as instructed, and sew that face outward. Flipping it over gives you a flatter, less defined spiral
  • Joining each granny round with a plainRounds 1 through 3 finish with ch1 and 1hdc into the top of the beginning ch3. That hdc acts as an invisible false corner and puts your hook in exactly the right place to start the next round, which keeps the corners square and hides the seam. Only the final round uses a true slip stitch join before fastening off
  • Sewing the jellyfish on before weavingOnce the head and tentacles are stitched down, the back of the square becomes crowded and awkward to work in. Weave in every granny square tail first, block the square flat, and only then position and sew the jellyfish pieces on top

The pattern

Written out round by round

Materials

  • Yarn of Your Choice – 5 colors; the sample is made with dk sport wool yarn.
  • Crochet Hook – we used a 3.00 mm hook.
  • Darning Needle
  • Scissors

Abbreviations

  • ch = chain stitch
  • hdc = half double crochet
  • sc = single crochet
  • slst = slip stitch for joining to a different round
  • st = stitch
  • inc = increase
  • tog = together
  • BLO = back loop only
  • sk = skip

Jellyfish Head

  1. Row 1ch9, return, sk1, work 1sc in the BL of the remaining 8 chains.Step by step Step by step: ch9. Return, sk1, work 1sc in the BL of the remaining 8 chains.
  2. Row 2Turn over, ch1 as a standing st, sc inc in the same st, 6sc, sc inc.Step by step Step by step: Turn over. ch1 as a standing st, sc inc in the same st, 6sc, sc inc.
  3. Row 3Turn over, ch1 as a standing st, 1sc in each st (a total of 10sc).Step by step Step by step: Turn over. ch1 as a standing st, 1sc in each st across (a total of 10sc). (10)
  4. Row 4Turn over. Ch1 as a standing st, sc2tog over next 2 sts, 6sc, sc2tog.Step by step Step by step: Turn over. Ch1 as a standing st, sc2tog over next 2 sts, 6sc, sc2tog.
  5. Row 5Turn over. Ch1 as a standing st, sc2tog over next 2 sts, 4sc, sc2tog.Step by step Step by step: Turn over. Ch1 as a standing st, sc2tog over next 2 sts, 4sc, sc2tog.
  6. Row 6Turn over. Ch1 as a standing st, sc2tog over next 2 sts, 2sc, sc2tog.Step by step Step by step: Turn over. Ch1 as a standing st, sc2tog over next 2 sts, 2sc, sc2tog.
  7. Round 7Around the Head: ch1 as a standing st, work 5sc evenly spaced along the left side edge (1sc in each of the next 5 rows). Ch3, sk1 (the bottom row). Bottom side: 2slst, ch2, 2slst, ch2, 2slst. Ch3, sk1 (the bottom row). Work 5sc evenly spaced along the right side edge (1sc in each of the next 5 rows). Top side: work 4sc. Slst to the first ch1 at the end, and fasten off.

Step by step Step by step: ch1 as a standing st. Work 5sc evenly spaced along the left side edge (1sc around each of the next 5 rows). Ch3, sk1 (the bottom row). Now comes the bottom side: 2slst, ch2, 2slst, ch2, 2slst. This will create a wavy edge just like a real jellyfish. Ch3, sk1 (the bottom row). Work 5sc evenly spaced along the right side edge (1sc around each of the next 5 rows). For the top side, work 4sc. Slst to the first ch1 at the end, and fasten off.

Granny Square Background

I used dark blue yarn for the granny square background to create a sea vibe, but feel free to choose your favorite color.

  1. Round 1magic loop, ch3 (count as 1dc), 3dc+ch3; [4dc+ch3] repeat 3 times, omit the final ch3, work ch1+1hdc to join the top of the first ch3.
  2. Round 2-3ch3 to begin (count as 1dc), 1dc in the same corner. Work 1dc in each st around, (2dc+ch3+2dc) in each corner as you go. When you reach the end of the round and return to the starting corner, 2dc into the starting corner, join the round with ch1, 1hdc into the top of the beginning ch3.
  3. Round 4Work as above for sides and corners. When you return to the starting corner, work 2dc+ch3, then slst to the top of the first true dc. Fasten off.

Jellyfish Tentacles

Make 3

We create three tentacles for this jellyfish. You can change the number of the tentacles based on your own preference. Each tentacle is worked along both sides of one starting chain: back loops on the way down, front loops on the way back.

  1. Tentaclech11, return, sk5 and BLO (from 6th to 2nd ch): slst, (ch1, 2slst) repeat 2 times. Work 2slst in the final ch to work on the opposite of this chain; FLO (from 2nd to 6th ch): (2slst, ch1) repeat 2 times, slst.Step by step Step by step: Fasten off, and we use the wrong side. Make three tentacles in this manner.

Assembly

Step 1

Sew the head and tentacles onto the granny square, then add a cute face.

Step 2

You can also stitch on two blush spots using pink yarn for extra charm.

Step 3

Remember that the tentacles are fastened off and used wrong side out, so sew each one down with that face showing.

Important notes

All abbreviations in this pattern use US crochet terms. If you normally read UK terms, remember that our single crochet is your double crochet, and our double crochet is your treble — check before you start row 1 or the head will come out the wrong size

The finished Jellyfish Granny Square is about 3.46 × 3.46 inches when worked in dk sport wool with a 3.00 mm hook. Gauge is not critical for a single decorative square, but it matters a lot if you are making dozens for a blanket — make one square first and measure before committing to a color haul

You will need five colors in total: one for the jellyfish head, one for the tentacles, one dark blue for the granny background to create a sea vibe, plus small amounts of dark yarn for the face and pink for the blush spots. Scraps are perfect for everything except the background

Work the jellyfish head, the three tentacles and the granny square background as completely separate pieces. Nothing is joined as you go — assembly happens at the very end with a darning needle, which means you can lay everything out and audition the tentacle placement before committing a single stitch

You can change the tentacle positions to show different emotions. Sweeping all three to one side makes the jellyfish look like it is gliding through a current, while spreading them evenly makes it look like it is hovering happily. Pin them with stitch markers and look at the square from a distance before sewing

The number of tentacles is completely up to you. Three is the balanced default, but the construction is identical for each one, so add or remove them freely to suit your square. Just make sure you have enough space along the bottom edge of the bell for them to sit without overlapping

Round 7 is the round that makes the jellyfish look like a jellyfish. The bottom-side sequence of 2slst, ch2, 2slst, ch2, 2slst creates the wavy edge just like a real jellyfish, so resist the urge to substitute a straight row of single crochet here

You can use this pattern for an ocean-themed blanket or pillow cover with different positions. Use the same background blue for every square but vary the jellyfish colors and tentacle positions — the repeated background is what makes a set of character squares read as one cohesive piece rather than a scrapbook

More photos

Crochet jellyfish granny square pattern for ocean lovers — photo 2
Crochet jellyfish granny square pattern for ocean lovers — photo 3
Crochet jellyfish granny square pattern for ocean lovers — photo 4
FAQs

Frequently asked questions

Do I need to stuff the jellyfish head?

No stuffing at all. The head is worked flat in rows of single crochet and sewn directly onto the granny square background, so it lies as a soft appliqué rather than a 3D shape. The slight loft comes naturally from the fabric sitting on top of the blue square

Why do my tentacles curl so much — did I do something wrong?

The curl is completely intentional and is exactly what you want. Working slip stitches into the back loops going down the chain and the front loops coming back up creates uneven tension that makes the strip spiral on its own. If yours curls tightly, gently stretch it while pinning it in place before sewing

How do I add the face so it looks neat?

Use a darning needle and a dark scrap yarn to embroider two small eyes and a simple smile once the head is sewn down, keeping the stitches close together so they read clearly from a distance. Then add two small pink blush spots below the eyes with a few satin stitches each — that tiny detail is what makes the jellyfish look charming rather than plain

What does BLO mean and why does this pattern use it?

BLO stands for back loop only, meaning you insert your hook under just the back loop of the stitch or chain instead of both loops. In row 1 of the head it leaves a free ridge along the bottom edge, and in the tentacles it is what forces that satisfying spiral curl

Can I use the jellyfish on its own without the granny square?

Absolutely. Make just the head and tentacles, sew them onto a tote bag, a plain sweater, a baby hat, or a plain crocheted cushion cover, and skip the background entirely. The pieces are worked separately anyway, so nothing about the construction changes

One at a time —

Get the next pattern

Tested round by round before it is sent. No spam.