Made and counted by Wren —

Octopus Granny Square – Free Crochet Pattern

Crochet an adorable octopus granny square with this free pattern — simple sc increases, 3 colors, and a 4.3-inch finished square perfect for blankets

EasyLevel
2-3 HoursTime
3.00 mmHook
DKYarn
Jump to the pattern

About this pattern

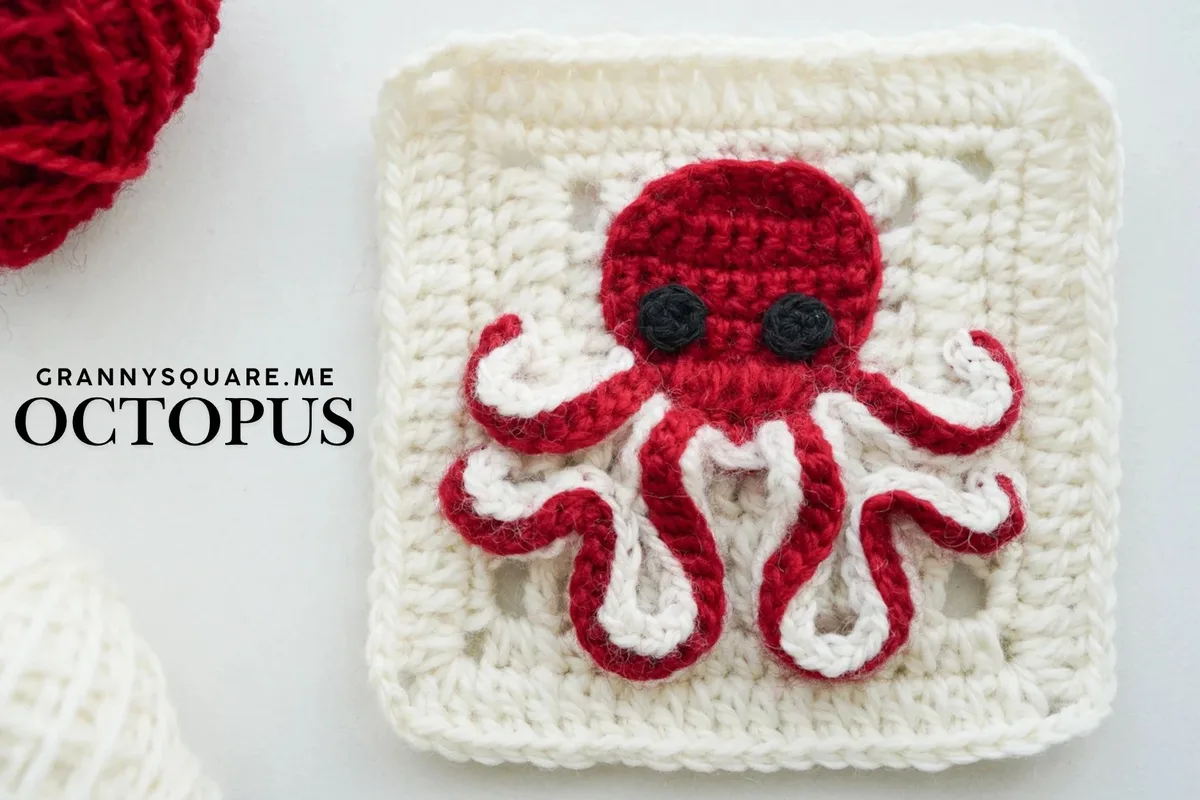
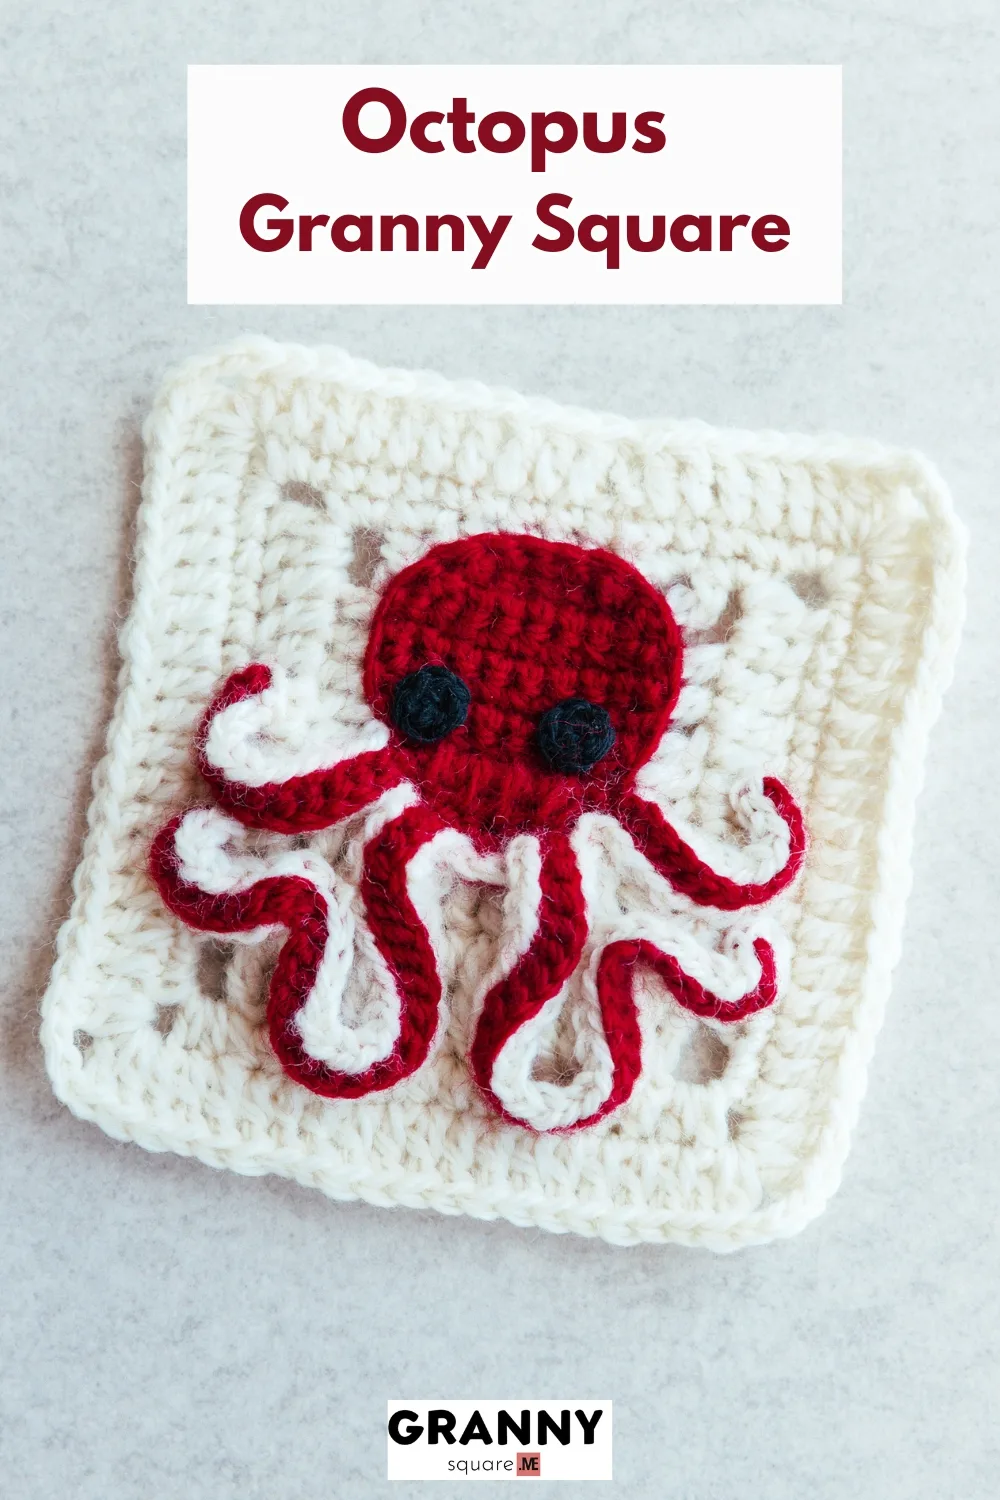
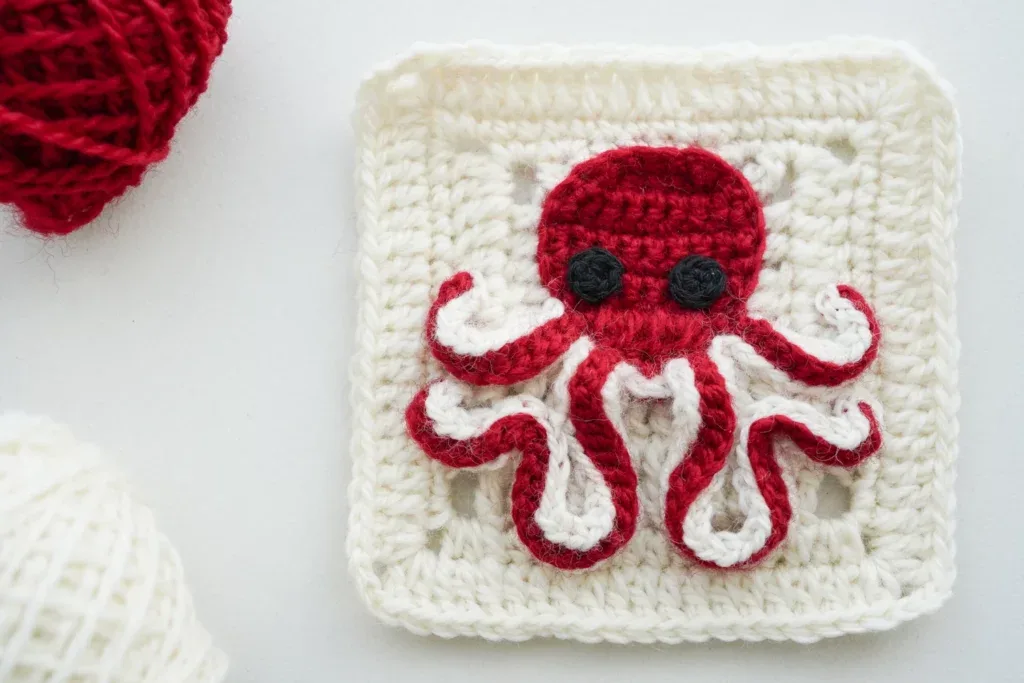
There's something instantly charming about a granny square with a little friend hiding inside it, and this free octopus granny square pattern delivers exactly that. Worked in three colors with a 3.00mm hook, the design is built from four parts — a round octopus body (head) worked back and forth in eight rows, four playful tentacles finished with puff stitches and a picot, a solid granny square background, and a pair of little crocheted eyes. It's perfect for crocheters building an ocean-themed blanket, decorating a nursery, or anyone who loves animal squares with real personality

Skill-wise, this pattern sits comfortably in advanced-beginner territory. The body is shaped with nothing but chains, single crochet, and simple increases and decreases, while the tentacles add easy slip-stitch chains, small puff stitches and a picot, and the square background uses familiar hdc, dc and tr rounds. The clever part is the construction: the body grows from a five-chain start, widens with single crochet increases, cruises through steady 8-stitch rows, then tapers back down with matching decreases. If you can keep an even tension and count to eight, you can absolutely make this. Expect around two to three cozy hours from first chain to final seam

The finished square measures approximately 4.3 x 4.3 inches, a lovely standard size for joining into blankets, cushion covers, or wall hangings. Worked with a 3.00mm hook, the fabric comes out dense and structured, so the octopus detail stays crisp instead of sinking into the background. One square makes a sweet keepsake on its own; a whole set becomes an unforgettable baby blanket. Either way, it's the kind of handmade gift that ocean lovers genuinely treasure

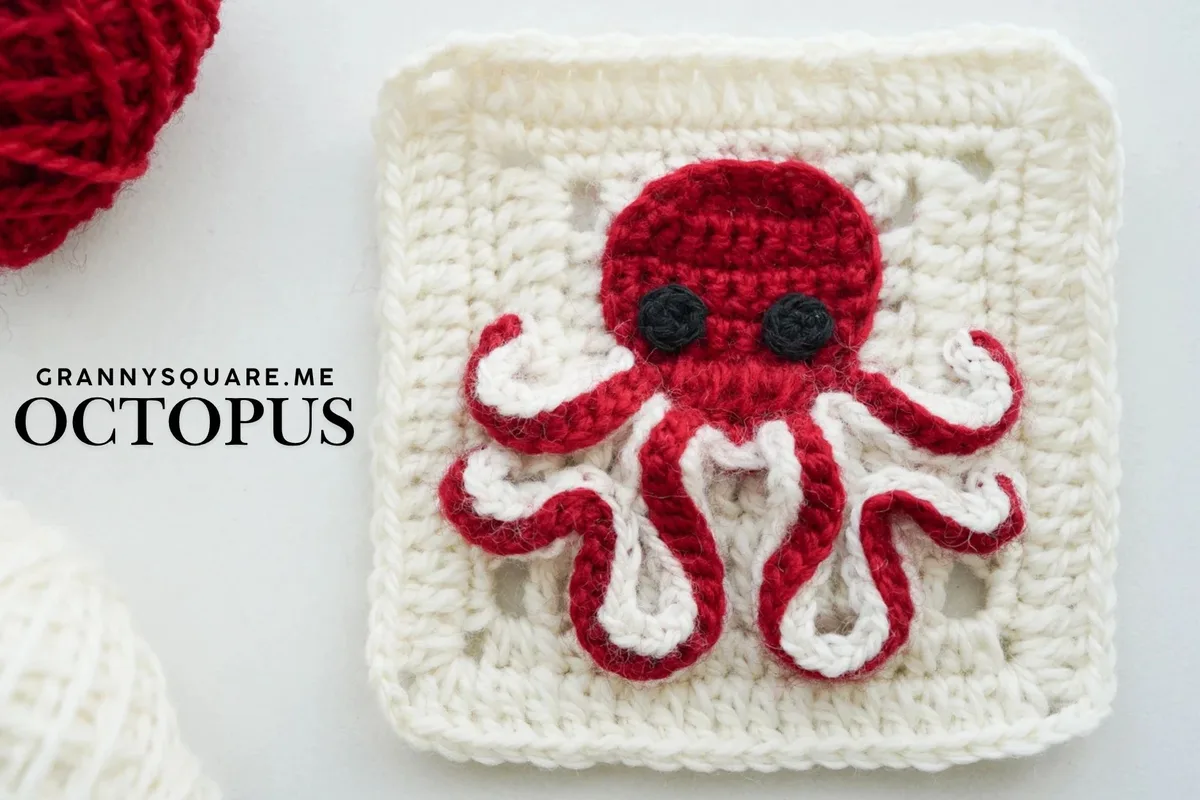
You'll find the octopus in the center of the granny square has a round head with two cute little black eyes — and the most interesting part is the playful legs. All four tentacles are attached on the granny square background, so you can change the position of the tentacles to create different emotions. How about a blanket of octopuses with different postures? That would be super interesting

Variations

The three-color setup makes this square endlessly customizable. For a classic under-the-sea look, try a coral-pink octopus floating on an aqua background with a sandy cream accent — Scheepjes Catona is brilliant here because its enormous shade range nails those beachy tones. For a modern nursery, flip to a lavender octopus on soft mint, or go bold with a mustard octopus on deep navy for serious contrast. Because each square only sips yarn, this is also a dream stash-buster: raid your DK scraps and make every square in the blanket a different color story. Size-wise, you have two easy levers. The quickest is a yarn swap: work the same pattern in worsted weight with a 4.00mm hook — Stylecraft Special Aran or Paintbox Simply Aran both work beautifully — and the square grows to roughly 5.5 inches without changing a single stitch. If you'd rather scale the pattern itself, add one extra increase row at the start of the body so you're working 10 single crochets across instead of 8, add a matching extra decrease row at the end, and work an extra round on the main motif so the background keeps up. For themed sets, crochet nine squares in a rainbow gradient for a striking sampler, keep the octopus in one signature color across every square for a coordinated blanket, or work the whole thing in moody teals and charcoals for a grown-up deep-sea throw. Because the tentacles are sewn on, you can also give every octopus in a set a different posture — curl them, wave them, or let them trail — so each square shows its own emotion. A tiny embroidered smile, added with the same darning needle you use for assembly, finishes any version off perfectly

I have a soft spot for granny squares that sneak a little personality into a blanket, and this octopus square is exactly that. What hooked me — pun fully intended — is how clever the construction is: you start with just a chain of five, skip that fifth chain, and suddenly you're shaping the body with tidy single crochet increases. The middle rows are pure relaxation: turn, chain, and work eight single crochets across, again and again, the kind of rhythm you can keep going while chatting or unwinding in the evening. Then the decrease rows mirror everything back down, so the piece stays perfectly symmetrical without any fussy math. Because the pattern is built from four separate parts, there's a lovely moment at the end where you thread your darning needle, sew everything together, and watch a flat stack of shapes become an actual octopus. And since the finished square is only 4.3 inches, it's a genuine one-evening make that happily eats up scraps from three different colors in your stash
Common mistakes

  • Working into the fifth chainThe pattern opens with ch 5, then skips the 5th chain and works a single crochet increase into the 4th chain from the hook. That skipped chain is doing the job of a turning chain. Count carefully back from your hook before placing the first stitch — starting one chain off throws the stitch count for every row that follows
  • Losing the 8-stitch count on the straight body rowsThe middle section is simply 8 single crochets per row, but it's easy to accidentally work into the turning chain and creep up to 9, or miss the last stitch and shrink to 7. Count to eight out loud on every row before turning, and if your edges start slanting, recount immediately — the wobble always comes from a miscounted row
  • Skipping the first stitch after the standing chainThis pattern uses the chain as a standing stitch, then works the single crochet increase into that very same first stitch. If you treat the chain like a normal turning chain and skip ahead, you lose your increase and the shaping flattens out. Chain, then go right back into the first stitch of the row
  • Loose, gappy single crochet decreases on the tapering rowsThe sc decreases at both ends of the closing rows can leave little holes if worked loosely. Pull the first loop of each decrease snug before completing the stitch, and keep your tension consistent with the increase rows so the top half of the shape mirrors the bottom half cleanly
  • Pieces that don't fit together at assembly timefour separate parts — the eight-row body, the tentacle piece, the four-round square, and the eyes — tension drift between pieces is the top cause of a lumpy finished square. Use the same 3.00mm hook throughout, crochet all parts in one or two sittings if you can, and lay everything against the square before sewing to check proportions
  • Sewing the parts on before dealing with your yarn tailsThree colors means plenty of ends. Weave in every tail except your designated sewing tails before assembly — trapped ends create bumps under the octopus. Leave one long tail on each small piece and use that with your darning needle for a seamless-looking attachment

The pattern

Written out round by round

Materials

  • Yarn of your choice - 3 colors
  • A crochet hook, we are using a 3.00mm hook
  • Darning Needle
  • Scissors

Abbreviations

  • ch = chain stitch
  • sc = single crochet
  • inc = increase
  • dec = decrease
  • ch-sp = chain space
  • Sl St = slip stitch for joining for different round.
  • st = stitch
  • sp = space
  • hdc = half double crochet
  • dc = double crochet
  • tr = treble crochet
  • pic = picot

The Octopus Body (Head)

Four parts are included in this pattern – the octopus body (head), the tentacles, the basic solid square and the eyes. In Part One, we'll create that cute round body (head) by mixing increases and decreases while flipping our work back and forth. This clever back-and-forth technique is what gives our octopus that perfectly rounded dome shape. To finish it off, we'll work a round of single crochet for a nice, clean edge.

  1. Row 1Start with a knot, ch5, sk the 5th ch, sc inc in the 4th ch, 2sc, sc inc.
  2. Row 2Turn over. ch + sc inc, 4sc, sc inc (8).Step by step Step by step: Turn over, ch as a standing st. Then sc inc in this st, 4sc, sc inc. (8)
  3. Rows 3-5For each round, turn over first, ch to start, sc in each st (8sc in total for one round).
  4. Row 6Turn over, ch + sc dec, 4sc, sc dec (6).Step by step Step by step: Flip the workpiece, ch as a standing st. Then sc dec over this and next st, 4sc, sc dec. (6)
  5. Row 7Turn over, ch + sc dec, 2sc, sc dec (4).Step by step Step by step: Turn over, ch as a standing st. Then sc dec over this and next st, 2sc, sc dec. (4)
  6. Row 8Turn over, ch + sc inc, 2sc, sc inc, make 16 sc along the edge for a neat look, sl st to the top of the first sc.Step by step Step by step: Turn over, ch as a standing st. Then sc inc in this st, 2sc, sc inc, make 16 sc along the edge for a neat look, sl st to the top of the first sc.

The Octopus Tentacles

In this part we create the tentacles: make chains of different lengths, then switch colors and slip stitch around each chain to make them nice and chunky. Once completed, arrange those tentacles however you like and sew them in place — make them swirl and curve like they're floating in the ocean. Beyond the tentacles, we've designed 4 puff stitches and a picot to capture a real octopus's appearance. These details boost the cuteness factor while pulling the whole design together.

  1. Round 1ch13. sk the 13th ch, sl st in each of the remaining 12ch back to the beginning. *work 2-hdc-puff in the next st (from Round 7 of the Head part) to encase Round 8* repeat 4 times. sl st to the next sc, ch13 in this st, sk the 13th ch, sl st in each of the remaining 12ch back to the beginning, fasten off.Step by step Step by step: ch13. Then sk the 13th ch, sl st in each of the remaining 12ch back to the beginning, then sl st to the next st. Next, *work 2-hdc-puff in the next st (from Round 7 of the Head part) to encase Round 8* repeat 4 times, sl st to the next sc, ch13, sk the 13th ch, sl st in each of the remaining 12ch back to the beginning, then sl st to the next st, fasten off.
  2. Round 2Join new yarn in the right-most puff. *ch30, sk the 30th ch, sl st in each of the remaining 29ch back to beginning*, sl st to the same puff; sl st to the 2nd puff, work ch-2 pic and slst to the same puff; sl st to the next puff, rep from * to *, sl st to next st, fasten off.Step by step Step by step: Join new yarn in the first puff of the right side. Then *ch30, sk the 30th ch, sl st in each of the remaining 29ch back to beginning*, sl st to the same puff; sl st to the next 2nd puff, work ch-2 pic and slst to the same puff; sl st to the next puff, rep from * to *, sl st to the next st, fasten off.
  3. Round 3Flip. Insert hook where rightmost tentacle meets body, join new yarn through the outer loop of this tentacle at this junction. Only sl st in the outer loop along this tentacle. sl st in outer loops along remaining tentacles and in back loops around the octopus's lower body, fasten off.Step by step Step by step: Turn over. Insert hook where the rightmost tentacle meets the body, join new yarn through the outer loop of this tentacle at this junction. Now make sl st — only sl st in the outer loop along this tentacle. Then sl st in outer loops along the remaining tentacles and in back loops around the octopus's lower body, fasten off.

The Square & The Eyes

This part completes the square with a cream-colored granny base. This background choice is strategic: contrasting beautifully with the octopus body while harmonizing with the white tentacle trim. Your octopus looks like it's genuinely swimming across the square.

  1. Round 1BLO for this round. Join new yarn in the st to the left of the top 4 sts, ch2, dc in next st, ch3, 2hdc, 2dc, dc+tr, tr inc, ch3, tr inc, 4dc, tr inc, ch3, tr inc, tr+dc, 2dc, 2hdc, ch3, dc, ch2, sl st to the next st.
  2. Round 2ch as a standing st, 4sc, 2sc in the next ch-sp, 2sc+ch3+2dc in the next ch-sp, 8dc, 2dc+ch3+2tr in the next ch-sp, 8tr, 2tr+ch3+2dc in the next ch-sp, 8dc, 2dc+ch3+2sc in the next ch-sp, 2sc in the next ch-sp, sl st to the top of the first sc.
  3. Round 3ch as a standing st+sc, 7sc, 2sc+ch3+2sc in the next ch-sp, 12sc, 2sc+ch3+2hdc in the next ch-sp, 12hdc, 2hdc+ch3+2sc in the next ch-sp, 12sc, 2sc+ch3+2sc in the next ch-sp, 4sc, sl st to the top of the first sc.
  4. Round 4ch3 (count as dc) to start, dc in the remaining sts, while 2dc+ch3+2dc in each corner sp. Finally sl st to the top of the first ch3, fasten off.The Eyes In the final part, once you attach two big eyes created with 6 single crochets to our octopus, you'll find it instantly transforms from a cute craft to a character. Eyes (make 2) Start with a magic ring, ch as a standing st, 6sc in this loop, pull the tail tightly, sl st to the top of the first sc, leave the yarn to attach. Attach the two eyes to complete your octopus.

Assembly Position the four tentacles with gentle curves to create a natural swimming effect, then sew each one firmly to the granny square.

Important notes

💡 Gauge: the completed granny square measures approximately 4.3 x 4.3 inches

💡 The 3.00mm hook is chosen to create a firm, structured fabric with DK-weight yarn. If your square feels floppy or the stitches look open, go down to a 2.75mm or 2.5mm hook — a granny square with an appliqued friend needs body to hold its shape

💡 When you fasten off the tentacle piece and each eye, leave tails of at least 12 inches. Those become your sewing yarn, which means fewer ends to weave in and an attachment that perfectly matches the piece it's holding

💡 Drop a stitch marker into the first single crochet of each row in the body section. Turned rows with standing chains can make the row-start hard to read, and the marker instantly settles any argument about where the row begins

💡 Pause after the increase rows and confirm you have 8 single crochets across before starting the straight section — every following row depends on that count being right

💡 Block your finished square to 4.3 x 4.3 inches before joining it to others. A quick steam or wet block sharpens the corners, flattens the single crochet fabric, and makes seaming a whole blanket dramatically easier

💡 Pin all the pieces in place on the square and look at the whole layout before threading your darning needle. It's much easier to nudge a pinned piece a few stitches over than to unpick a sewn one

More photos

Octopus Granny Square – Free Crochet Pattern — photo 2
Octopus Granny Square – Free Crochet Pattern — photo 3
Octopus Granny Square – Free Crochet Pattern — photo 4
FAQs

Frequently asked questions

What size is the finished octopus granny square?

Worked with a 3.00mm hook as written, the completed granny square measures approximately 4.3 x 4.3 inches. Swapping to worsted yarn and a 4.00mm hook brings it up to roughly 5.5 inches if you want bigger blanket squares

Is this pattern suitable for beginners?

Yes — it's a great step-up project for advanced beginners. The body uses only chains, single crochet, and basic increases and decreases, while the tentacles and square add simple puff stitches, a picot, and taller stitches like hdc, dc and tr. The trickiest moments are the ch-5 start and sewing the pieces together neatly

How much yarn do I need for one square?

Very little — this is a true scrap-buster. Small amounts of three colors, around 15-20 grams total, will comfortably cover the body, tentacles, square, and eyes, so leftover balls from other projects are ideal

How do I join these squares into a blanket?

A simple whip stitch through the back loops with your darning needle gives a flat, nearly invisible seam. If you prefer a defined ridge between squares, a single crochet join in the background color looks lovely and adds structure

What does 'ch as a standing st' mean in this pattern?

It means the chain at the start of the row stands upright in place of a taller turning chain, and you then work your first single crochet increase directly into that same first stitch rather than skipping it. This keeps the edges straight while preserving the stitch count

One at a time —

Get the next pattern

Tested round by round before it is sent. No spam.