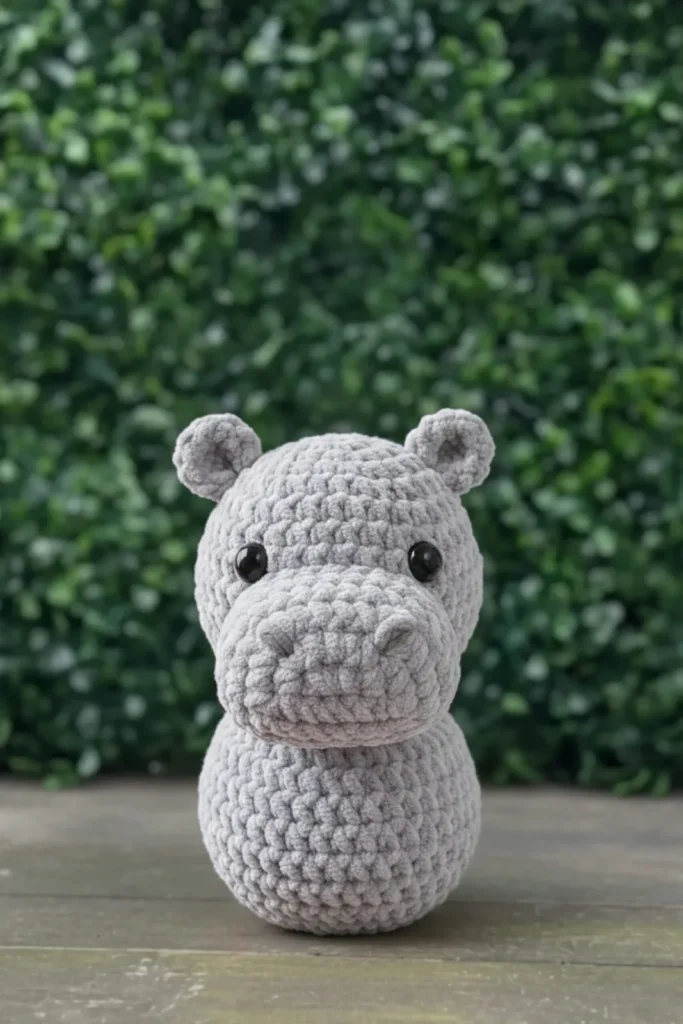
Made and counted by Wren —

Crochet hippo amigurumi with shaped eye sockets and ears

Worsted-weight crochet pattern for a 19cm hippo amigurumi with shaped eye sockets and no-sew ears.

Crochet hippo amigurumi with shaped eye sockets and ears
IntermediateLevel
4-6 hoursTime
4.5 mmHook
WorstedYarn
Jump to the pattern

About this pattern

This intermediate amigurumi hippo pattern combines bobble stitches, front-loop muzzle attachment, and internal eye-socket shaping across five sections: head, muzzle, eye sockets, neck transition, and a 9-round oval lower body. Ears are crocheted directly onto Row 4 of the head, with no sewing needed. Completion takes 4–6 hours, and the finished piece measures approximately 19 cm (7.5 inches) tall.

This hippo amigurumi builds in five worked sections: a 10-round head, a 4-round muzzle attached through free front loops from Rows 8 and 10, a 3-round eye-socket shaping step worked between Rows 12 and 13, a 4-round neck transition, and a 9-round oval lower body. Ears form directly on Row 4 of the head with a chain-3 and single double crochet, skipping separate sewing. Eye placement is marked between stitches 12–13 and 17–18 on Rows 6–7 before the sockets are shaped. Finished height runs about 19 cm (7.5 inches).
The pattern

Written out round by round

Materials

  • Yarn: Bernat #5 Bulky Weight Yarn — Grey (main color) and a small amount of Black
  • Hook: 4.5mm (Size 7) Crochet Hook
  • Stitch marker
  • Sewing needle
  • Scissors
  • Fiberfill stuffing
  • Plastic safety eyes (12mm)

Abbreviations

  • BO = Default = 4 loops. BO (2 loops) is a smaller stitch used only in the Muzzle section.

Head Section

Round 16SC in a MR (6)
Round 26INC (12)
Round 3(SC, INC) 6 times (18)
Round 4(SC, INC) 9 times (27)
Round 527SC (27)
Round 6(8SC, INC) 3 times (30)
Round 730SC (30)
Round 87SC, 3INC, SC, BLO 8SC, SC, 3INC, 7SC (36)
Round 936SC (36)
Round 1014SC, BLO 8SC, 14SC (36)Mark between Rows 6–7: First eye between stitches 12 and 13; Second eye between stitches 17 and 18.

Creating Eye Sockets

Eye sockets are created after completing Row 12 , before starting Row 13.

Defining the points on the head: Point A: First eye position (between stitches 12–13 at R6–7)

Point B: Second eye position (between stitches 17–18 at R6–7)

Point C: Directly opposite Point A on the other side of the head Point D: Directly opposite Point B on the other side of the head

Steps: Thread a long yarn from the neck through the head to Point A, exit at Point C Re-enter from Point B to Point D, then return to the neck

Pull the yarn firmly to create clear indentations at A and B Tie a secure knot and hide the yarn tail inside the head Attach 12mm safety eyes at Points A and B

Round 11(2SC, DEC) 9 times (27)
Round 12(SC, DEC) 9 times (18)

⭐ Stuff the head firmly now before continuing.

Round 133SC, 2DEC, 4SC, 2DEC, 3SC (14)

Neck and Body Transition

Round 14FLO for all sts: (SC, INC) 7 times (21)Rows 15–16: 21SC (21) — 2 rows total
Round 17(INC, 2SC) 7 times (28)
Round 1828SC (28)
Round 1928SC (28)

Lower Body (Oval Shape)

Round 20(3SC, INC) 7 times (35)
Round 2135SC (35)
Round 22(4SC, INC) 7 times (42)Rows 23–25: 42SC (42) — 3 rows total
Round 26(4SC, DEC) 7 times (35)
Round 2735SC (35)
Round 28(3SC, DEC) 7 times (28)

⭐ Stuff the body firmly now before continuing.

Round 29BLO for all sts, (2SC, DEC) 7 times (21)
Round 30(SC, DEC) 7 times (14)
Round 317DEC (7)Cut the yarn and close the gap with a yarn needle. Weave in ends securely.

Part 2: Ears

The ears are worked directly onto the head — no sewing required! Make 2 (one Right Ear, one Left Ear).

Right EarAttach Grey yarn at Row 4 of head. Chain 3. 1 DC in the same stitch. Chain 3 and slst in the same stitch.
Left EarAttach Grey yarn at Row 4 on opposite side — repeat the same steps.Cut yarn and hide any excess.

Part 3: Muzzle

Correction Note: Attach yarn to the free FLO left from Row 8 and Row 10 (NOT Row 11). These are the correct free front loops for muzzle attachment.

Attach Grey yarn to the free FLO from Row 8 and Row 10, starting from Row 10 on the right side.

Round 1Ch1, SC in same st, 7SC, 2SC between FLO rows of R8 and R10, 8SC, 2SC between FLO rows of R8 and R10 (20)
Round 220SC (20)
Round 3(SC, DEC) 4 times, BO (2 loops), DEC, SC, BO (2 loops), DEC, SC (14)
Round 47DEC (7)

⭐ Stuff lightly before closing.

Cut yarn and weave through FLO to close the hole. Hide yarn tail.

Part 4: Tail

Correction Note: All 5 chains are fully accounted for in the steps below.

Attach Grey yarn to the 1st stitch between Rows 26–27 (back of body).

TailChain 6. Begin at the 2nd chain from hook: Chain 2 (stitch 1): SC. Chain 3 (stitch 2): HDC. Chain 4 (stitch 3): HDC. Chain 5 (stitch 4): DC. Chain 6 (stitch 5): SLST into the 5th chain (last remaining chain). SLST to the next body stitch to secure.Cut yarn and hide excess.

Part 5: Embroidery Details

These finishing touches bring your hippo's face to life!

Eyelashes Use black yarn. Work 3–4 small straight stitches radiating upward from each eye. Secure and hide yarn tail.

Nostrils Use black yarn. Create two small horizontal stitches on top of the muzzle. Space evenly on snout surface.

Assembly

Step 1Getting the shaping just right makes a huge difference in the finished hippo. Keep these tips in mind:
Step 2Stuffing the upper body (chest): Pack it firmly so the neck and chest hold their shape.
Step 3Lower body stuffing: Distribute the fiberfill evenly for a satisfying oval silhouette, using extra stuffing in Rows 22–25 where the body is widest.
Step 4Muzzle: Stuff lightly but with enough firmness to hold the rounded shape. Center it on the face for a symmetrical look. The BO (2 loops) stitches naturally create subtle nostril indentations — don't flatten them!

Tester's notes

12mm safety eyes go into sockets marked between stitches 12–13 and 17–18 on Rows 6–7, and this marking must happen before Round 12 is finished.

Row 4 of the head is the attachment point for both ears — place a stitch marker there as soon as the row is complete so it isn't lost under later rounds.

Rows 22–25 of the lower body are the widest part of the oval; pack fiberfill more densely there than in the rest of the body to prevent sagging.

The muzzle's correct free front loops come from Row 8 and Row 10, not Row 11 — check the loop source twice before starting Muzzle Row 1.

Prepare one skein of each required color (Grey main color and a small amount of Black) before beginning. Grey yarn is used throughout the head, muzzle, ears, tail, and body; Black yarn is only needed for the embroidered eyelashes and nostrils in Part 5.

This pattern uses standard US crochet terminology.

Work in progress

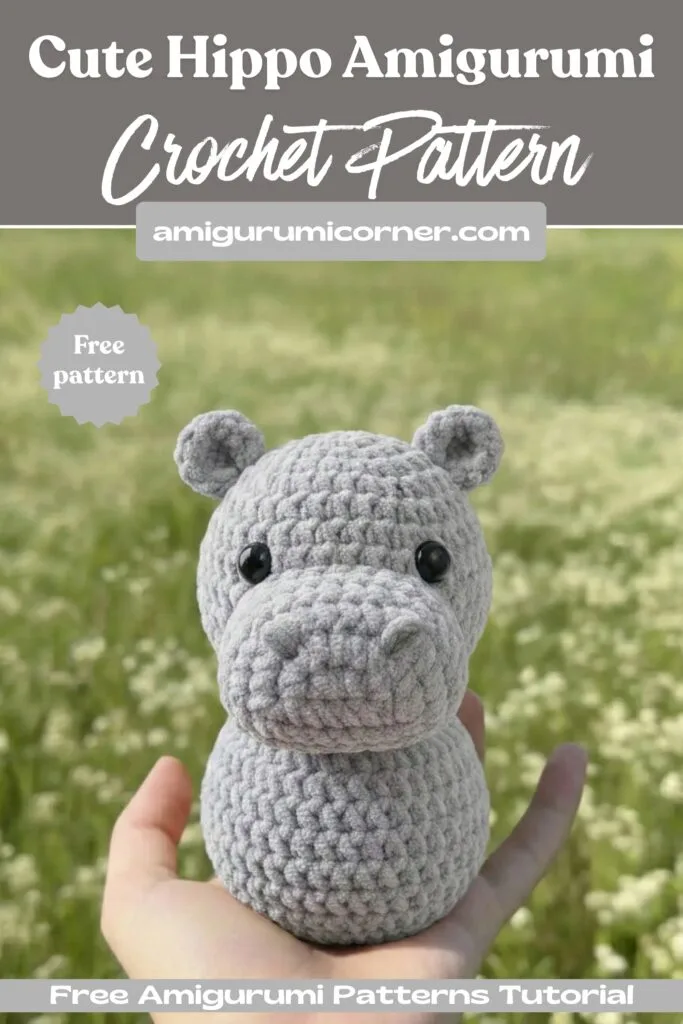
Crochet hippo amigurumi with shaped eye sockets and ears — photo 2
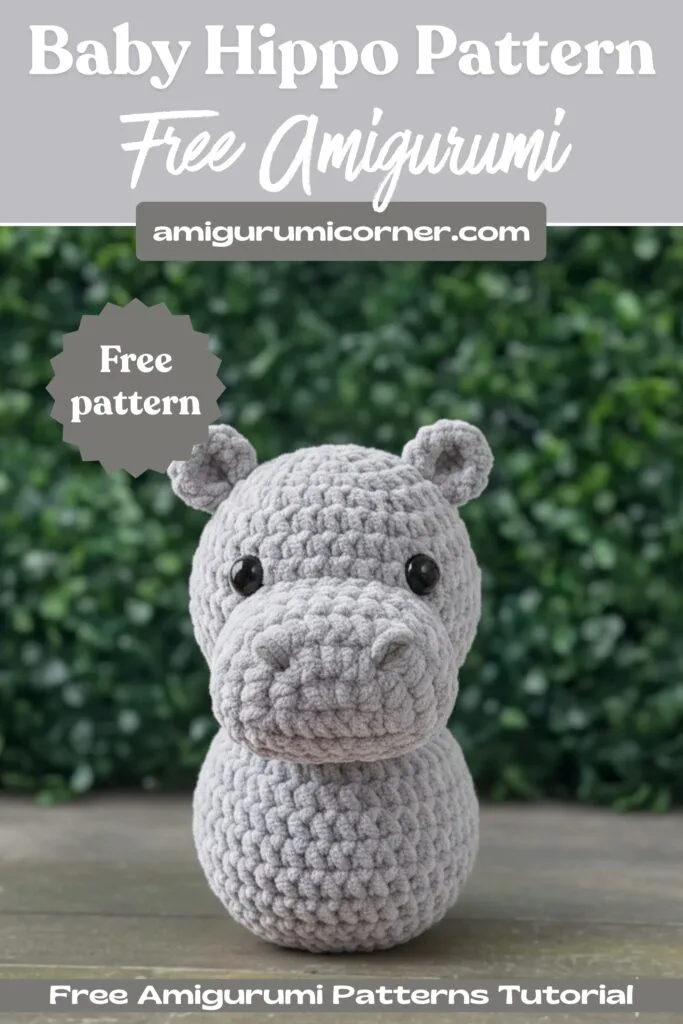
Crochet hippo amigurumi with shaped eye sockets and ears — photo 3

At a glance

Rounds33
Parts8
LevelIntermediate
Time4-6 hours
Hook4.5 mm
YarnWorsted

Gauge check

After Round 5 of the head (27 stitches), the fabric should sit flat with no visible gaps between stitches when held up to light.

If stitches are loose enough to show stuffing through the fabric, drop to a hook size smaller; if the round cups instead of lying flat, move up one hook size.

Stitch-count checkpoints

  • Head Section · Round 3: 18 sts
  • Head Section · Round 6: 30 sts
  • Head Section · Round 9: 36 sts
  • Head Section · Round 10: 36 sts
  • Creating Eye Sockets · Round 11: 27 sts
  • Creating Eye Sockets · Round 12: 18 sts

If something looks wrong

Eyes sit crooked or too close together.
Sockets were marked off from the wrong stitches; recheck Points A and B against stitches 12–13 and 17–18 on Rows 6–7, then re-thread the yarn through the neck to correct the position before continuing past Round 12.
Muzzle looks off-center or gapped at the sides.
The yarn was attached to Row 11's free loops instead of Row 8 and Row 10; unpick and reattach starting from Row 10 on the right side as specified for Muzzle Row 1.
Lower body looks lopsided instead of an even oval.
Stuffing was distributed unevenly across the 9 rounds; remove excess fiberfill and redistribute, adding extra firmness only at Rows 22–25 where the body is widest.

Yarn substitutions

Cotton, worsted weightBobble stitches show more defined texture and the fabric has less give than acrylic, so slightly lighter stuffing holds shape; hook size stays the same.
Acrylic, DK weightFinished hippo runs smaller than the stated 19 cm; drop to a hook one size down from the pattern's usual size to keep stitches dense enough for stuffing.
Wool-blend, worsted weightDrape softens and the piece needs firmer stuffing at Rows 22–25 to avoid slouching; hand-wash-only care stays unchanged and hook size stays the same.
FAQs

Questions

Why are the eye sockets shaped between Rows 12 and 13 instead of just inserting the safety eyes directly?

The socket step recesses the 12mm eyes slightly below the surrounding rounds for a rounder eye profile instead of a flat, glued-on look. Points A through D are marked at Rows 6–7 and the yarn is pulled through the head before Round 13 continues.

Can the ears be sewn on separately instead of worked directly onto Row 4?

The pattern is written for direct attachment at Row 4 with a chain-3 and 1 DC, which skips a sewing step entirely. Sewing them on separately is possible, but Row 4 is the only marked attachment reference given, so matching placement takes extra care.

How much fiberfill does the lower body need compared to the muzzle?

Rows 22–25 of the lower body get the most stuffing since that is the widest section of the 9-round oval. The muzzle needs only light stuffing, just enough to hold its rounded shape without distorting the front-loop attachment seam.

One at a time —

Get the next pattern

Tested round by round before it is sent. No spam.