Made and counted by Wren —

Crochet frog amigurumi with a one-piece spiral body

US D-3/3.0mm hook, worsted plush yarn—crochet a frog amigurumi with sewn-on legs and eyes.

Crochet frog amigurumi with a one-piece spiral body
IntermediateLevel
4-6 hoursTime
3.0 mmHook
WorstedYarn
Jump to the pattern

About this pattern

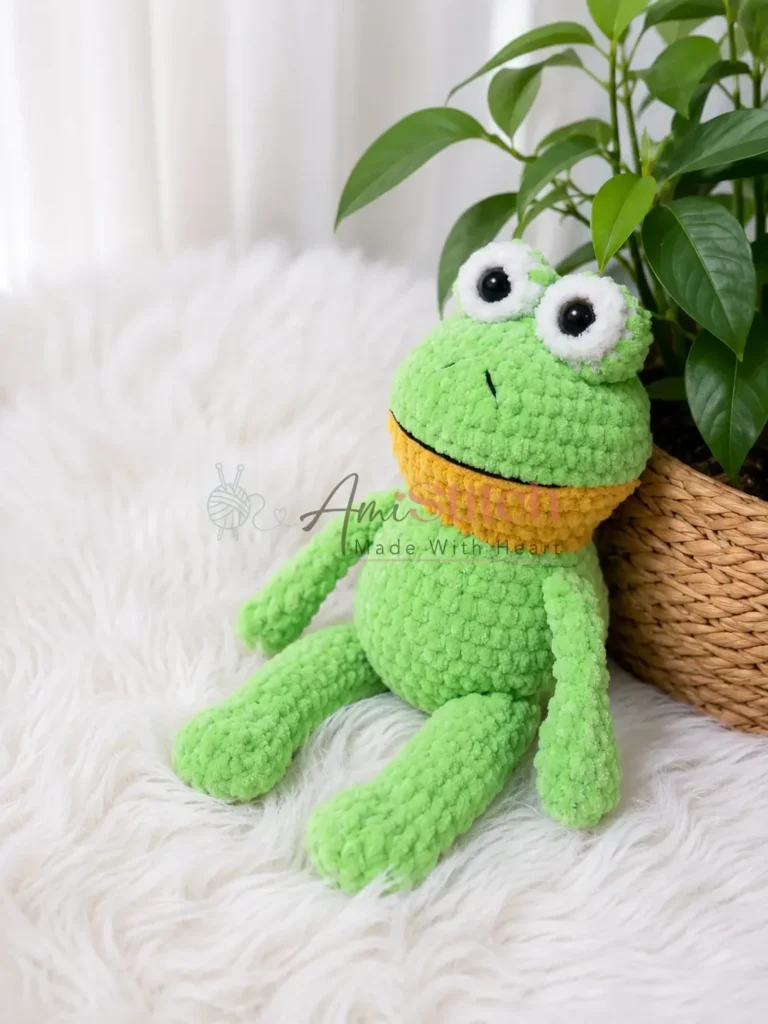
This pattern makes a stuffed frog amigurumi from plush yarn, worked almost entirely in continuous spiral rounds with a stitch marker tracking round starts. The body and head form one 22-round piece; back legs, front legs, and eyes are separate parts sewn on afterward. A US D-3/3.0 mm hook, polyester fiberfill, and black yarn for facial details round out the materials list.

This amigurumi frog works as one continuous piece for the body and head—22 rounds in a spiral, no seams—then four more components (back legs, front legs, eyes) that get sewn on after stuffing. The back legs start as a 10-stitch oval base, decrease to 5, and run 14 rounds total before fastening off unstuffed. The single skein of green plush yarn covers the main body; white and yellow stay in small amounts for accents. Stitch count accuracy in the first few rounds (6 sc in MR, doubling to 12) sets up every round that follows.

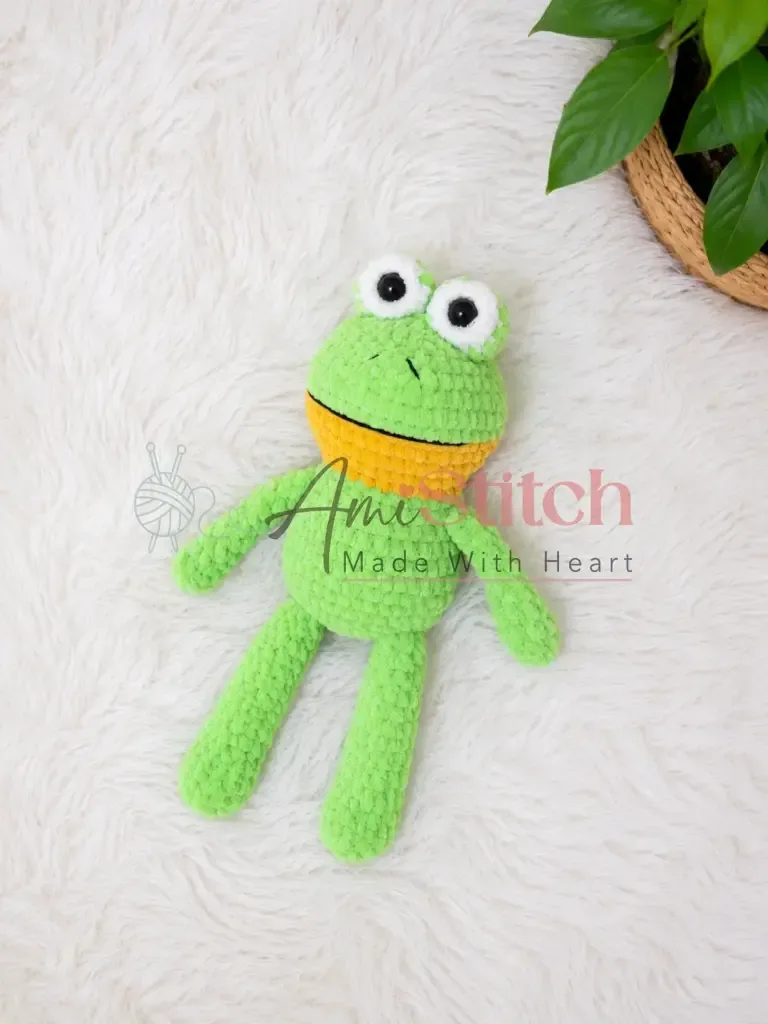
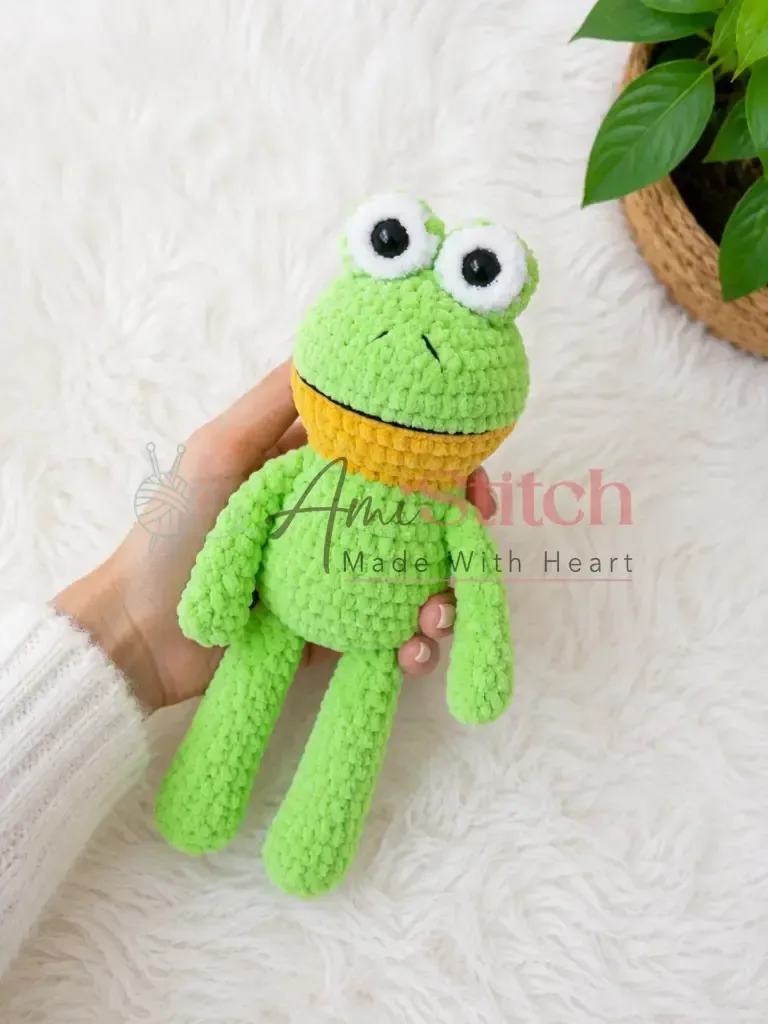
Finished size: approximately 20 cm (about 8 inches) tall, with a distinctive yellow belly and raised eyes giving the seated frog its character.
The pattern

Written out round by round

Materials

Yarn

  • Plush yarn in green (1 skein), white (small amount), and yellow (small amount)

Hook

  • US size D-3 / 3.0 mm

Safety eyes

  • 12 mm (approximately 1.2 cm), 2 total

Stuffing

  • Polyester fiberfill
  • Black yarn or embroidery thread: For stitching the nostrils and mouth
  • Yarn needle / tapestry needle
  • Scissors
  • Stitch marker

Abbreviations

  • ch = Chain
  • dec = Invisible Decrease (insert hook through front loops of next 2 sts, pull up a loop, yo, draw through all 3 loops)
  • inc = Increase (2 sc in same stitch)
  • MR = Magic Ring
  • sc = Single Crochet
  • sl st = Slip Stitch
  • st / sts = Stitch / Stitches

Body & Head (make 1)

Begin with green yarn.

Round 16 sc in MR. (6)
Round 2inc in each st around. (12)
Round 3sc, inc repeat 6 times around. (18)
Round 42 sc, inc repeat 6 times around. (24)
Round 53 sc, inc repeat 6 times around. (30)
Round 64 sc, inc repeat 6 times around. (36)
Rounds 7–11sc in each st around. (36)
Round 124 sc, dec repeat 6 times around. (30)
Round 13sc in each st around. (30)
Round 143 sc, dec repeat 6 times around. (24)Switch to yellow yarn.
Round 153 sc, inc repeat 6 times around. (30)
Round 164 sc, inc repeat 6 times around. (36)
Round 175 sc, inc repeat 6 times around. (42)
Round 186 sc, inc repeat 6 times around. (48)Switch to green yarn.
Rounds 19–20sc in each st around. (48)
Round 216 sc, inc repeat 6 times around. (42)
Round 225 sc, dec repeat 6 times around. (36)
Round 234 sc, dec repeat 6 times around. (30)
Round 243 sc, dec repeat 6 times around. (24)Stuff the piece firmly with fiberfill now.
Round 252 sc, dec repeat 6 times around. (18)
Round 26sc, dec repeat 6 times around. (12)
Round 27dec 6 times around. (6)Fasten off and close the opening. Weave in the end.

Back Legs (make 2)

Round 1Ch 5. Starting in the 2nd ch from the hook: 3 sc across, 4 sc in the last ch (working around the end of the chain), then 3 sc back along the other side of the foundation chain. (10)
Rounds 2–4sc in each st around. (10)
Round 5dec 5 times around. (5)
Rounds 6–14sc in each st around. (5)Do not stuff. Fasten off, leaving a long yarn tail for sewing.

Front Legs (make 2)

Round 1Ch 5. Starting in the 2nd ch from the hook: 3 sc across, 4 sc in the last ch (working around the end of the chain), then 3 sc back along the other side of the foundation chain. (10)
Rounds 2–4sc in each st around. (10)
Round 5dec 5 times around. (5)
Rounds 6–11sc in each st around. (5)Do not stuff. Fasten off, leaving a long yarn tail for sewing.

Eyes (make 2)

Begin with white yarn.

Round 16 sc in MR. (6)
Round 2inc in each st around. (12)Switch to green yarn.
Rounds 3–4sc in each st around. (12)Insert the 12 mm safety eye into the magic ring at the center of the white section and secure the backing.Stuff the eye piece lightly.
Round 5dec 6 times around. (6)Fasten off, close the opening, and leave a long yarn tail for sewing.

Assembly

Step 1Position the back legs on either side of the lower body (the green section below the yellow belly). The oval foot shape should face outward. Sew each leg securely in place using its yarn tail and a tapestry needle, working whipstitch around the opening edge.
Step 2Position the front legs on either side of the upper body, just below the point where the yellow belly section begins. Sew them in place the same way.
Step 3Place both eye pieces on top of the head, evenly spaced and facing forward. Sew each one down firmly using its yarn tail.
Step 4Using black yarn or embroidery thread and a tapestry needle, embroider two small nostrils near the front of the face and a simple curved mouth beneath them.
Step 5Weave in all remaining yarn ends.

Tester's notes

US D-3 / 3.0 mm is the starting hook size for plush yarn here; gauge is not critical for this project, but stitches should be tight enough that no stuffing shows through—if you can see gaps, go down a hook size.

A stitch marker is non-negotiable: the body, head, and legs all work in continuous spiral rounds with no join, so a dropped marker means a miscounted round by the time you reach round 10 or later.

22 rounds make up the entire body and head as a single piece with no seam, so check the stitch count at the end of each round rather than catching an error later.

Back legs begin with a 10-stitch oval foundation, decrease to 5 by round 5, then hold steady through round 14, and the pattern notes say not to stuff these pieces at all before sewing them flat.

Work in progress

Crochet frog amigurumi with a one-piece spiral body — photo 2
Crochet frog amigurumi with a one-piece spiral body — photo 3

At a glance

Rounds34
Parts4
LevelIntermediate
Time4-6 hours
Hook3.0 mm
YarnWorsted

Gauge check

After round 2 of the body (12 sc total), stretch the fabric gently and check that no fiberfill would show through the gaps between stitches once stuffed.

If stitches look loose or gapped at this point, drop to a smaller hook than the US D-3 / 3.0 mm called for and redo the first two rounds before continuing.

Stitch-count checkpoints

  • Body & Head (make 1) · Rounds 7–11: 36 sts
  • Body & Head (make 1) · Round 18: 48 sts
  • Body & Head (make 1) · Round 26: 12 sts
  • Body & Head (make 1) · Round 27: 6 sts
  • Back Legs (make 2) · Round 1: 10 sts
  • Back Legs (make 2) · Rounds 2–4: 10 sts

If something looks wrong

The head-to-body transition puckers
Increases from round 2 onward likely bunched together instead of spacing evenly around the 12 sc; re-spread the increase rounds so each inc lands at a regular interval before moving past round 22.
Fiberfill shows through the fabric on the body or head.
Stitches are sitting too loose for the plush yarn at a US D-3 / 3.0 mm hook; drop to a smaller hook or tighten tension until the gaps close before stuffing further.
The back legs sit crooked or twist when sewn on.
The 10-stitch oval foundation (3 sc across, 4 sc in the last ch, 3 sc back) wasn't split evenly; recount each side of the oval before round 2 so it reads 3/4/3.
The round count drifts partway through a piece.
The stitch marker moved late instead of right after finishing each round; since there is no join row to recheck against, shift the marker to the first stitch of the new round immediately, every round.

Yarn substitutions

Cotton, worsted weightProduces firmer, less forgiving stitches than plush yarn, so stuffing shows through less easily; may need a hook a size down from the US D-3 / 3.0 mm to keep the same tight fabric.
Standard acrylic, worsted weightKeeps a similar weight and hook size close to US D-3 / 3.0 mm but drops the brushed, fuzzy surface of plush yarn, so seams and color changes read more visibly.
Chenille or velvet-style yarn, bulkyThicker single strand likely calls for sizing up from the US D-3 / 3.0 mm hook, and the one skein of green estimated for this pattern may run short since chenille covers less length per weight.
FAQs

Questions

Can I use regular worsted weight yarn instead of plush yarn for this frog?

Yes, you can substitute standard worsted weight yarn and the stitch counts will remain exactly the same. Keep in mind that the finished frog will have a slightly different texture and may end up a little smaller than the stated 20 cm, since plush yarn tends to crochet up with more loft and volume. You may also want to drop down to a 2.5 mm or 3.0 mm hook to keep your stitches tight enough for amigurumi.

What is the best way to close the opening at the end of Round 27 on the body?

After fastening off, thread the yarn tail onto your tapestry needle and weave it through the front loops of each remaining stitch around the opening, then pull gently to draw them closed — the same technique used to close a magic ring. Pull firmly until the hole disappears, then weave the tail securely into the body before trimming.

My eye pieces look uneven after sewing. How can I fix this?

The easiest fix is to use pins or stitch markers to position both eye pieces on the head before sewing a single stitch. Step back and look at the frog straight-on to check symmetry. If one eye sits higher or at a different angle, adjust the pin and re-check. Sewing through the base of the eye piece in a full circle, rather than just tacking it at a few points, also helps it sit flat and even.

The legs of my frog are floppy. Is that normal?

Yes, completely normal and intentional. The legs are not stuffed, which gives them a soft, poseable quality that adds to the frog's character. If you prefer slightly firmer legs, you can insert a small amount of stuffing into the upper portion before sewing them closed and attaching them to the body — just enough to give them a little structure without making them too stiff.

One at a time —

Get the next pattern

Tested round by round before it is sent. No spam.