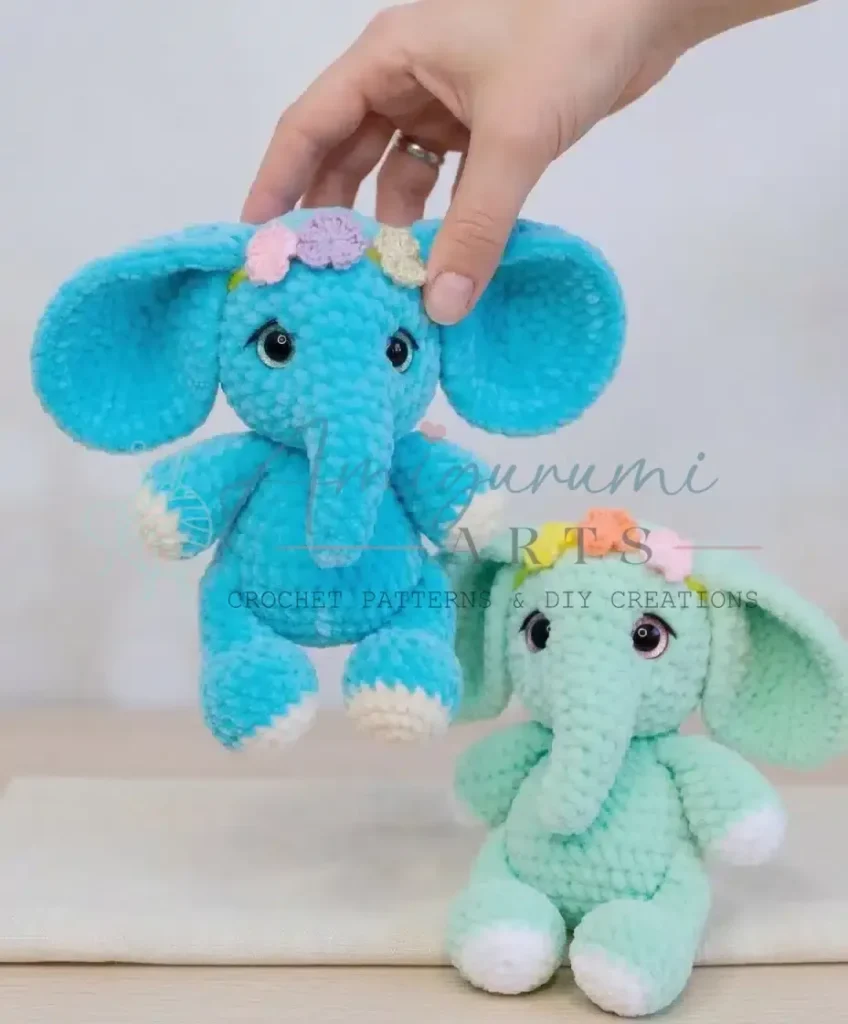
Made and counted by Wren —

Crochet an amigurumi elephant with a chenille trunk

3.5 mm hook, super bulky chenille yarn: build an amigurumi elephant with a shaped trunk, ears, and jointed legs.

Crochet an amigurumi elephant with a chenille trunk
IntermediateLevel
6-9 hoursTime
3.5 mmHook
Super BulkyYarn
Jump to the pattern

About this pattern

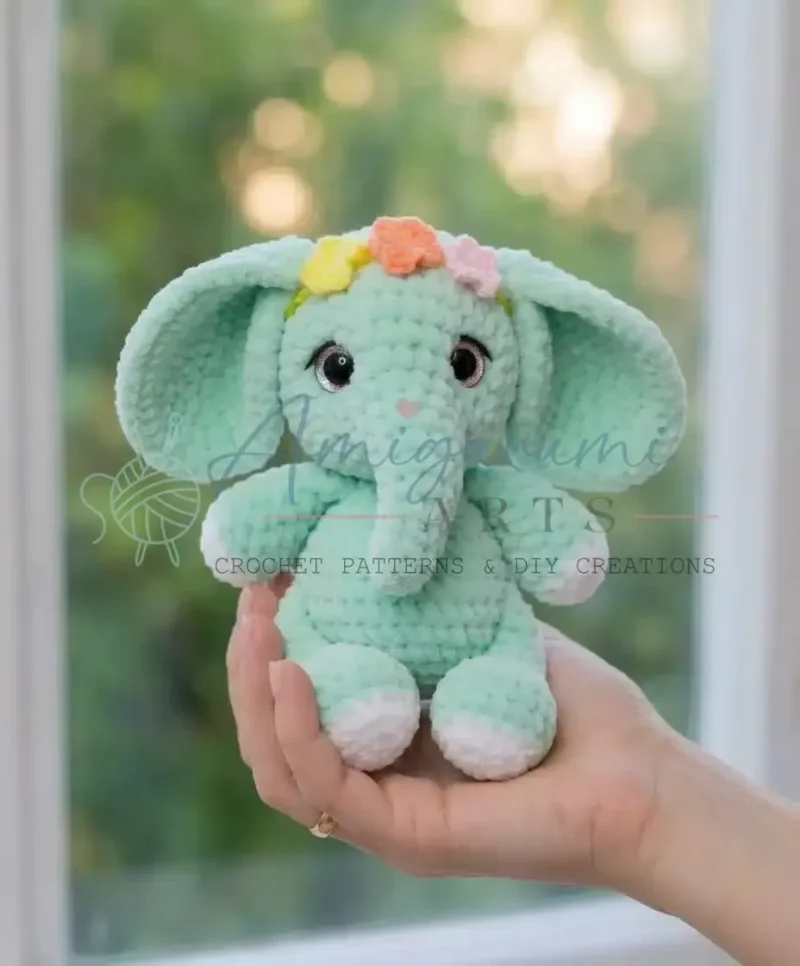
This amigurumi elephant pattern uses super bulky chenille yarn for the main color and DK or light worsted yarn for contrasting feet, worked with a 3.5 mm hook. The head takes 24 rounds and shapes the trunk and mouth; the body takes 14 rounds and joins the legs; lower and upper legs each take 8 rounds and are made in pairs; the ears take 7 rounds and are made in pairs. Safety eyes measure 16 mm, and fiberfill stuffing happens during assembly, not after.
The pattern

Written out round by round

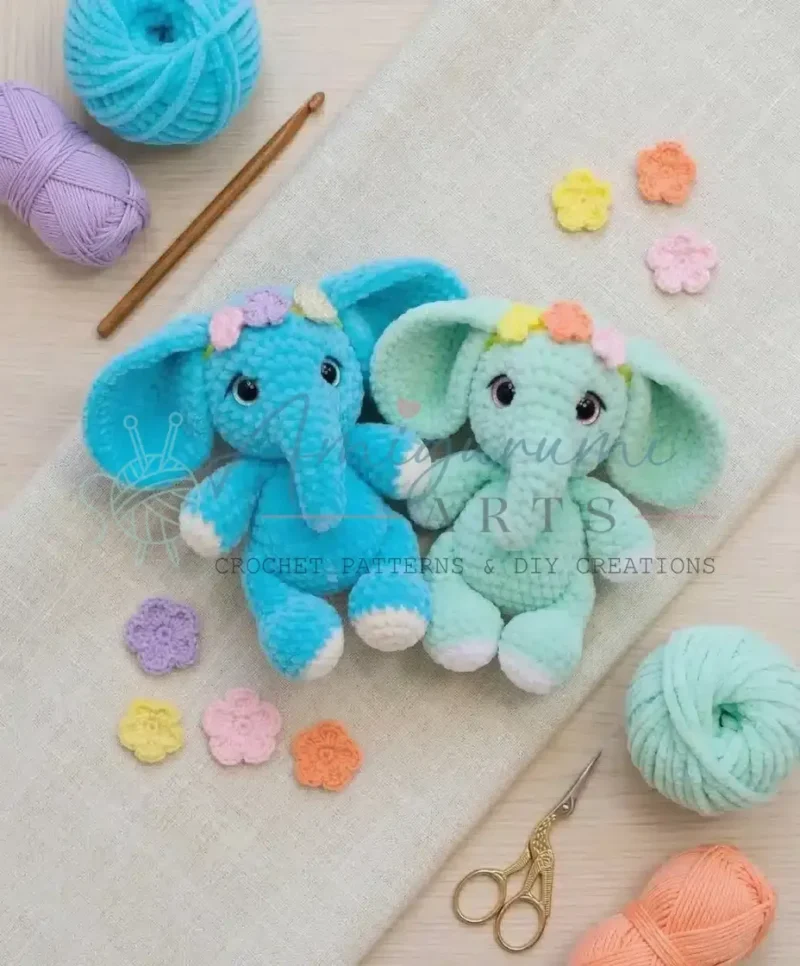
Materials

  • Super Bulky Chenille Yarn: In your main color (e.g., grey, blue, pink)
  • DK or Light Worsted Weight Yarn: In a contrasting color for the feet and details (e.g., white, cream, or a lighter shade of your main color)
  • Crochet Hook: 3.5 mm
  • Safety Eyes: 16 mm
  • Polyester Fiberfill Stuffing: For filling your elephant

Tapestry Needle

  • For sewing parts and weaving in ends
  • Scissors

Stitch Marker

  • To keep track of your rounds
  • Strong Thread and Long Needle: For facial indentations (optional, but recommended for expression)

Pins

  • For holding pieces in place during assembly

Abbreviations

  • MR = magic ring
  • ch = chain
  • sl st = slip stitch
  • sc = single crochet
  • inc = increase (2 sc in same stitch)
  • dec = decrease (single crochet 2 stitches together)
  • BLO = back loop only

Head

Using your main color yarn, we’ll start by shaping the trunk, which is a unique and charming feature of this elephant.

Round 1In a magic ring, sc 6 (6)
Round 2Sc 6 (6)
Round 3Sc 5, inc 1 (7)
Round 4Sc 6, inc 1 (8)
Round 5Sc 7, inc 1 (9)
Round 6Sc 8, inc 1 (10)
Round 7Sc 9, inc 1 (11)
Round 8Sc 10, inc 1 (12)
Round 9Sc 2, sl st 6, sc 4 (12)This row with the slip stitches forms the sweet little mouth for your elephant!
Round 10(Sc 1, inc 1) 6 times (18)
Round 11(Sc 2, inc 1) 6 times (24)
Round 12(Sc 3, inc 1) 6 times (30)
Round 13(Sc 4, inc 1) 6 times (36)
Rounds 14–19Sc 36 (36) 6 rounds Now is a great time to gently stuff the trunk. Insert your safety eyes between Rnds 12 and 13, approximately 11 stitches apart (measure from the post of the eye). The 6 slip stitches you made in Rnd 9 form the elephant’s mouth, so use that as a guide for your eye placement.
Round 20(Sc 4, dec 1) 6 times (30)
Round 21(Sc 3, dec 1) 6 times (24)
Round 22(Sc 2, dec 1) 6 times (18)Stuff the head very firmly now, paying special attention to the area between the eyes and gently shaping the cheeks.
Round 23(Sc 1, dec 1) 6 times (12)Continue to stuff the head firmly until it is complete, making sure it has a lovely, round shape.
Round 24Dec 6 times (6)Sl st to close. Fasten off, leaving a tail. Weave the tail through the remaining stitches and pull tight to close. Weave in the yarn end.

Your head is looking adorable already, with that sweet little trunk taking shape!

Lower Legs (Make 2)

We’ll start these with your contrasting color for a lovely little “sock” effect.

Round 1In a magic ring, sc 6 (6)
Round 2Inc 6 times (12)
Round 3(Sc 1, inc 1) 6 times (18)
Round 4Change to main color. In BLO, sc 18 (18)
Rounds 5–7Sc 18 (18)
Round 8Sc 3, dec 6 times, sc 3 (12)Stuff lightly, using your fingers to gently push the stuffing into the sides of the leg to give it shape.
Round 9Sc 4, dec 2 times, sc 4 (10)
Rounds 10–13Sc 10 (10)Sc 1 more stitch to bring the seam to the side/back. Stuff the leg firmly about two-thirds full. Flatten the opening and sc 5 through both layers to close. Fasten off and cut yarn. Weave in the yarn end.

Such sturdy little legs for your elephant!

Upper Legs (Make 2)

Again, starting with your contrasting color for a charming touch.

Round 1In a magic ring, sc 6 (6)
Round 2Inc 6 times (12)
Round 3Change to main color. In BLO, sc 12 (12)
Rounds 4–5Sc 12 (12)
Round 6(Sc 4, dec 1) 2 times (10)
Round 7Sc 10 (10)Stuff the piece firmly with fiberfill.
Round 8(Sc 3, dec 1) 2 times (8)
Round 9Sc 8 (8)Flatten the opening and sc 4 through both layers to close. Fasten off and cut yarn. Weave in the yarn end.

These upper legs are just perfect for little hugs!

Body

Using your main color yarn, we’ll create a lovely plump body, attaching the legs as we go!

Round 1In a magic ring, sc 6 (6)
Round 2Inc 6 times (12)
Round 3(Sc 1, inc 1) 6 times (18)
Round 4(Sc 2, inc 1) 6 times (24)
Round 5(Sc 3, inc 1) 6 times (30)
Round 6(Sc 4, inc 1) 6 times (36)
Round 7Ch 8. Starting in the 2nd chain from hook, sl st 7 along the chain (this creates the tail). Then continue to sc 36 around the body (36)What a clever way to add a little tail!
Round 8Sc 7, sc 5 through both the body and one Lower Leg, sc 12, sc 5 through both the body and the other Lower Leg, sc 7 (36)
Round 9(Sc 4, dec 1) 6 times (30)
Round 10Sc 30 (30)
Round 11(Sc 3, dec 1) 6 times (24)
Round 12(Sc 2, dec 1) 6 times (18)Begin stuffing the body now, ensuring it’s nice and plump.
Round 13Sc 18 (18)
Round 14Sc 4, sc 4 through both the body and one Upper Leg, sc 5, sc 4 through both the body and the other Upper Leg, sc 1 (18)Sl st to close. Fasten off, leaving a long tail for sewing the head to the body.

Your elephant’s body is taking shape beautifully!

Ears (Make 2)

Using your main color yarn, we’ll make two large, expressive ears.

Round 1In a magic ring, sc 6 (6)
Round 2Inc 6 times (12)
Round 3(Sc 1, inc 1) 6 times (18)
Round 4(Inc 1, sc 2) 6 times (24)
Round 5(Sc 3, inc 1) 6 times (30)
Round 6Sc 1, inc 1, (sc 4, inc 1) 5 times, sc 3 (36)
Round 7(Sc 5, inc 1) 6 times (42)Sl st to close. Fasten off, leaving a long tail for sewing the ear.

These ears are going to give your elephant so much character!

Assembly

Step 1Now for the magical part, bringing all your crocheted pieces into a charming elephant!
Step 2Facial Indentation (Optional but Recommended): This step adds so much personality! Thread a long needle with strong thread (matching your main color if possible). Insert the needle under the trunk, where you made the 6 slip stitches. Bring the needle out just under one of the safety eyes. Re-insert the needle just above that same eye, and bring it out above the other eye. Then, insert the needle just below the second eye, and bring it out under the trunk, close to where you started. Gently pull the ends of the thread to create a subtle indentation around the eyes and to pull the trunk down slightly. Tie a few secure knots and hide the ends inside the head.
Step 3Embroider Features: Using your DK weight yarn, embroider sweet little eyebrows above the eyes and perhaps a tiny line for eyelids if you like. This adds to their gentle expression.
Step 4Attach the Head: Use pins to securely position the head onto the body. I like to use two pins to make sure it’s perfectly straight. Once you’re happy with the placement, use the long tail from the body to sew the head firmly in place. As you sew, make sure to add extra fiberfill into the neck area to keep the head stable and prevent it from wobbling. Remove the pins once the head is fully attached.
Step 5Attach the Ears: The ears are so fun because you can customize their look! You can fold them into a “teardrop” shape or attach them fully open, higher or lower on the head – it’s entirely up to you and the personality you want your elephant to have. I found a lovely spot by attaching them around Rnd 20 of the head, about 12-13 stitches apart. Use the long tails from the ears and your tapestry needle to securely sew them in place.

Tester's notes

A stitch marker is required, not optional, since every piece works in continuous spirals with no slip-stitch join to mark round ends.

Tension needs to stay tight enough that fiberfill will not peek through the fabric, more important here than matching an exact stitch count.

Color changes happen at set rounds, such as Rnd 4 of the lower leg and Rnd 3 of the upper leg, and should be made on the last yarn-over of the stitch before the new round starts.

Stuffing goes in as each section closes, not at the end, so pack the trunk and lower legs before moving on to later rounds that are harder to reach.

Work in progress

Crochet an amigurumi elephant with a chenille trunk — photo 2
Crochet an amigurumi elephant with a chenille trunk — photo 3

At a glance

Rounds56
Parts5
LevelIntermediate
Time6-9 hours
Hook3.5 mm
YarnSuper Bulky

Gauge check

The pattern gives no gauge swatch, so check tension instead after Rnd 3 of a lower leg, once the count reaches 18 stitches, by holding the fabric up to light.

If stuffing shows through, drop to a smaller hook or tighten tension; if the round cups or curls instead of lying flat, size up until the stitches sit flush.

Stitch-count checkpoints

  • Head · Round 6: 10 sts
  • Head · Round 12: 30 sts
  • Head · Round 24: 6 sts
  • Lower Legs (Make 2) · Round 2: 12 sts
  • Lower Legs (Make 2) · Round 4: 18 sts
  • Lower Legs (Make 2) · Round 8: 12 sts

If something looks wrong

The contrast-color foot ring blurs into
The color change round (Rnd 4 on lower legs, Rnd 3 on upper legs) was worked in both loops instead of back loop only; redo that round in BLO so the front-loop ridge marks the color break.
The trunk looks floppy instead of holding its shape.
The early head rounds (Rnd 1-2, starting at 6 stitches) were under-stuffed before continuing; pack the trunk firmly as those rounds close rather than stuffing the whole head at the end.
The two legs come out different heights.
A round was skipped or double-counted somewhere in the 8-round leg sequence; recount after Rnd 2 (12 stitches on upper legs) and Rnd 3 (18 stitches on lower legs) before continuing.
The 16 mm safety eyes sit crooked once placed.
Eyes were locked in before checking spacing; insert the posts without the backing washer first, hold the head up to compare both sides, then lock once they sit level.

Yarn substitutions

Worsted weight acrylic or cotton blendProduces a visibly smaller elephant than the super bulky main color calls for; drop to a 3.0-3.5 mm hook, keep stitches tight since lighter yarn shows stuffing more easily, and expect a stiffer, less plush drape than chenille.
Bulky weight acrylic, non-chenilleKeeps the finished size close to the original since weight is similar, holds the 3.5 mm hook size, and gives a firmer, less fuzzy surface that hides stuffing lumps better than chenille.
DK or light worsted weight for theShrinks the whole elephant well below the size the pattern's round counts were set for; hook drops to roughly 2.5-3 mm, drape gets stiffer, and more stuffing per round is needed to fill out rounds like the 18-stitch lower leg.
FAQs

Questions

Why does this pattern call for two different yarn weights?

Super bulky chenille builds the main color sections, including the head, body, and most of each leg, while DK or light worsted contrast yarn forms only the lower rounds of each leg for the feet. Mixing weights keeps the feet proportionate instead of oversized, since both lower and upper legs total just 8 rounds each.

How firmly should each leg be stuffed before attaching it to the body?

Lower legs reach 18 stitches by Rnd 3 and upper legs reach 12 stitches by Rnd 2, so stuffing needs to be firm enough to hold that width without collapsing once the body piece presses against it. Underfilled legs will flatten at the seam during assembly.

Can the facial indentation step be skipped?

Yes, the pattern marks it optional, but it is the only step that shapes the area around the 16 mm safety eyes and trunk base after they are set in place. Skipping it leaves a flatter face with less visible expression.

One at a time —

Get the next pattern

Tested round by round before it is sent. No spam.