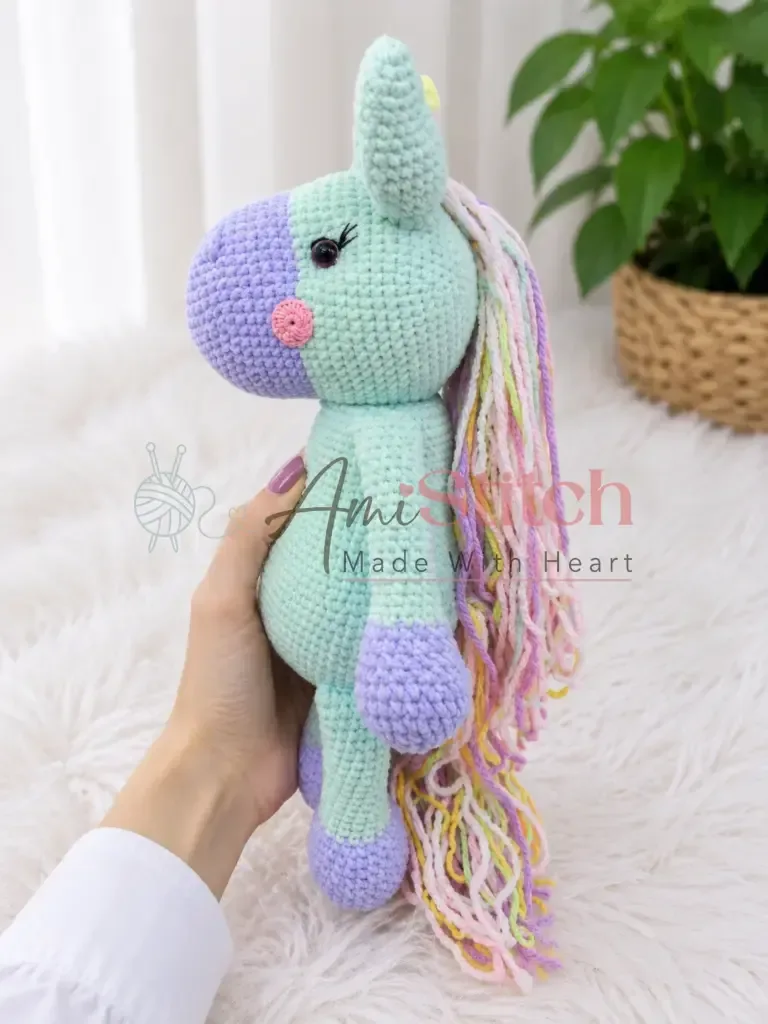
Made and counted by Wren —

Crochet a 45 cm plush amigurumi unicorn keepsake

4.0 mm hook, bulky plush yarn: crochet a 45 cm amigurumi unicorn keepsake.

Crochet a 45 cm plush amigurumi unicorn keepsake
IntermediateLevel
6-9 hoursTime
14 mmHook
BulkyYarn
Jump to the pattern

About this pattern

A 45 cm plush amigurumi unicorn worked in continuous spiral rounds on a 4.0 mm hook for the body and legs, with a 2.0–2.5 mm hook for the velour horn. The body alone runs 15 rounds; legs, ears, horn, and cheeks are worked separately and sewn on with strong sewing thread, not yarn. Materials span bulky plush yarn, velour, and lightweight fluffy yarn in several colors.

The pattern

Written out round by round

Materials

Main color yarn

  • 2 skeins of bulky plush/chenille yarn (100% polyester, approx. 100g / 120–130m per skein) — e.g., Dolce or Dolphin style

Contrast color yarn

  • approx. half a skein of the same weight plush yarn in a second color (used for lower legs, lower head section)

Horn yarn

  • small amount of velour yarn in yellow (100% micro-polyester, approx. 100g / 170m) — e.g., YarnArt Velour

Mane and tail yarn

  • assorted colors of lightweight fluffy yarn (100% micro-polyester, approx. 115m / 50g per skein) — e.g., Alize Softy

Embroidery floss

  • black (for eyelashes and upper eyelid) and pink (for nostrils and cheeks)

Safety eyes

  • 14 mm with colored iris, 2 pieces

Hook sizes

  • US G-6 / 4.0 mm (main body) and US B-1 / 2.0–2.5 mm (horn and cheeks)
  • Strong sewing thread in matching colors (for assembling parts — do not sew plush pieces together with the plush yarn itself)

Tools

  • Yarn needle / tapestry needle
  • Scissors
  • Fiberfill / stuffing
  • Stitch marker

Abbreviations

  • ch = Chain
  • dc = Double Crochet
  • dec = Decrease (invisible decrease: insert hook through front loops of next 2 sts, yo, pull through both loops, yo, pull through remaining 2 loops)
  • inc = Increase (2 sc in same stitch)
  • MR = Magic Ring
  • sc = Single Crochet
  • sl st = Slip Stitch
  • st / sts = Stitch / Stitches

Lower Legs (Make 4)

Begin with contrast color yarn.

Step by step: Begin with contrast color yarn.

Step by step: Begin with contrast color yarn.

Step by step: Work in main color yarn.

Round 16 sc in MR. (6)
Round 2inc in each st around. (12)
Round 3sc, inc repeat 6 times around. (18)Step by step: sc in each st around. (18) [12 rounds total] Fasten off, leaving a long tail for sewing.
Round 42 sc, inc repeat 6 times around. (24)
Round 53 sc, inc repeat 6 times around. (30)
Round 6sc in each st around. (30)
Round 7sc in each st around. (30)
Round 8sc in each st around. (30)
Round 93 sc, dec repeat 6 times around. (24)Step by step: sc in each st around. (54) [7 rounds total] Switch to main color yarn.
Round 10sc in each st around. (24)
Round 11sc in each st around. (24)
Round 122 sc, dec repeat 6 times around. (18)

sc in each st around. (72) [7 rounds total] If you are using safety eyes, insert them now — between the 3rd and 4th rounds of the main color section, with a gap of 22 sts between them.

Step by step: 10 sc, dec repeat 6 times around. (66); 9 sc, dec repeat 6 times around. (60); 8 sc, dec repeat 6 times around. (54); 7 sc, dec repeat 6 times around. (48); 6 sc, dec repeat 6 times around. (42); 5 sc, dec repeat 6 times around. (36); 4 sc, dec repeat 6 times around. (30); sc, dec repeat 6 times around. (12); dec 6 times around. (6).

Stuff the head firmly. Pull the remaining 6 sts closed with a yarn needle through the front loops, pull tight to close the opening, and weave in the end.

Step by step: sc in each st around. (18); sc in each st around. (18); sc in each st around. (18); Stuff the rounded end of the upper leg firmly. Switch to main color yarn.

Stuff the hoof section firmly. Switch to main color yarn.

Round 134 sc, dec repeat 3 times around. (15)Step by step: 3 sc, dec repeat 3 times around. (12).sc in each st around. (12) [17 rounds total] Stuff approximately the first half of the upper leg lightly; leave the remaining upper portion with very minimal stuffing.
Rounds 14–30sc in each st around. (15) [17 rounds total] Stuff approximately the first half of the leg lightly; leave the remaining upper half with very minimal stuffing.

Body

Work in main color yarn throughout. Stuff gradually as you go — add fiberfill little by little each few rounds so it settles evenly.

Round 16 sc in MR. (6)
Round 2inc in each st around. (12)
Round 3sc, inc repeat 6 times around. (18)
Round 42 sc, inc repeat 6 times around. (24)
Round 53 sc, inc repeat 6 times around. (30)
Round 64 sc, inc repeat 6 times around. (36)
Round 75 sc, inc repeat 6 times around. (42)
Round 86 sc, inc repeat 6 times around. (48)
Round 97 sc, inc repeat 6 times around. (54)
Round 108 sc, inc repeat 6 times around. (60)
Round 119 sc, inc repeat 6 times around. (66)
Round 1210 sc, inc repeat 6 times around. (72)Attach the lower legs now. Position each leg so that the color-change join on the leg faces inward (toward the body center) and sits at the midpoint of the leg’s attachment edge.
Round 1315 sc, join first lower leg by working 8 sc through both the body sts and the open edge of the leg simultaneously, 28 sc, join second lower leg by working 8 sc through both layers, 13 sc. (72)
Rounds 14–18sc in each st around. (72) [5 rounds total] Begin decreasing 2 stitches per round, placing the decreases directly above the lower leg attachment points. When the upper legs are joined, these decreases will be concealed beneath them.
Round 19Work 1 dec above each lower leg attachment point, sc in all remaining sts. (70)Continue working decreases of 2 sts per round (1 dec over each lower leg) in each subsequent round until the stitch count reaches 42. At the round where you reach 42 sts, join the upper legs directly above the lower legs.Join upper legs round: 10 sc, join first upper leg by working 6 sc through both layers, 15 sc, join second upper leg by working 6 sc through both layers, 5 sc. (42)Next round: 5 sc, dec repeat 6 times around. (36)Next round: 4 sc, dec repeat 6 times around. (30)Next round: 3 sc, dec repeat 6 times around. (24)Finish stuffing the body firmly and evenly. Fasten off and leave a long yarn tail for seaming to the head.
Horn

Work with yellow velour yarn and a US B-1 / 2.0–2.5 mm hook. Stuff as you go.

Round 16 sc in MR. (6)
Round 22 sc, inc repeat 2 times around. (8)
Round 3sc in each st around. (8)
Round 43 sc, inc repeat 2 times around. (10)
Round 5sc in each st around. (10)
Round 64 sc, inc repeat 2 times around. (12)
Round 7sc in each st around. (12)
Round 82 sc, inc repeat 4 times around. (16) (alternative: continue gradual increases to approx. 15 sts by Rnd 12–15)
Rounds 9–15sc in each st around, continuing gradual increases every other round until you reach 15 sts. (15)Fasten off, leaving a long tail for sewing.

Cheeks (Make 2)

Work with pink embroidery floss and a US B-1 / 2.0 mm hook.

Make a Magic Ring, chain 6, then work 17 treble crochet (tr) stitches into the ring. Close the round with a sl st into the 5th ch of the starting chain.

Fasten off, leaving a tail for sewing.

Assembly

Step 1Face first: Before attaching anything to the head, complete all facial decoration. Embroider the nostrils using pink floss. Using black embroidery floss, embroider the upper eyelid line and lashes above each safety eye.
Step 2Ears: Fold the base of each ear slightly to cup it inward and sew one ear to each side of the head, positioned symmetrically on the top of the head.
Step 3Horn: Sew the horn firmly to the top center of the head, positioned directly between the two ears.
Step 4Cheeks: Sew one cheek circle to each side of the face, just below and slightly outside each safety eye.
Step 5Head to body: Once the face is fully finished, sew the head securely to the top of the body using the yarn tail and a tapestry needle, aligning it centered and upright. Use whipstitch or mattress stitch around the entire circumference for a firm join.
Step 6Mane: Cut or crochet strands of mane yarn in your chosen colors. To make crocheted hair strands: chain 28 (counting the turning chain), then sc back along the chain without any increases. Attach each strand along the top of the head and neck by threading the two yarn ends through a stitch on the head, tying a knot, and tucking the knot inside the head with your needle.
Step 7Tail: Attach mane yarn strands at the base of the body at the back, using the same method as the mane. Adjust thickness and color to your preference.
Step 8Weave in all remaining ends securely.

Tester's notes

Use a stitch marker on every round of every piece; the pattern spirals without joining, so a dropped marker means losing count by round 10 or 15.

Stuff the body gradually across all 15 rounds, adding fiberfill every few rounds rather than packing it in at the end; bulky plush yarn stretches, so overstuffing late distorts stitches already worked.

Do not sew plush pieces together with the plush yarn itself — use strong sewing thread in matching colors for every assembly step, including ears, horn, and cheeks.

Work in progress

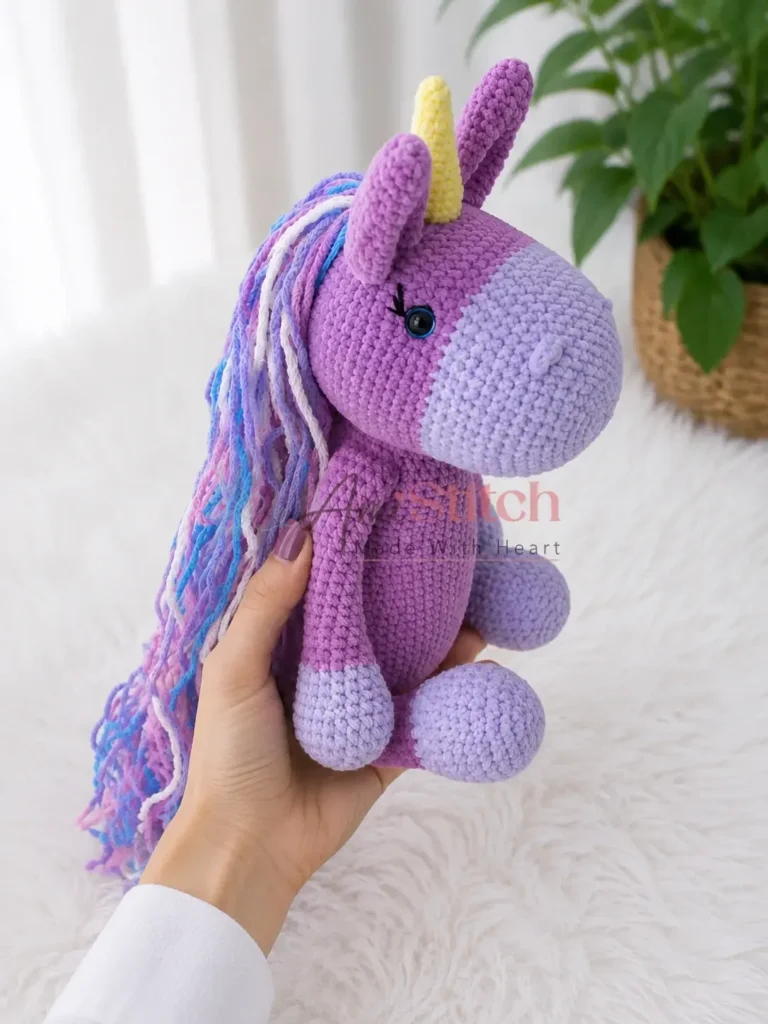
Crochet a 45 cm plush amigurumi unicorn keepsake — photo 2
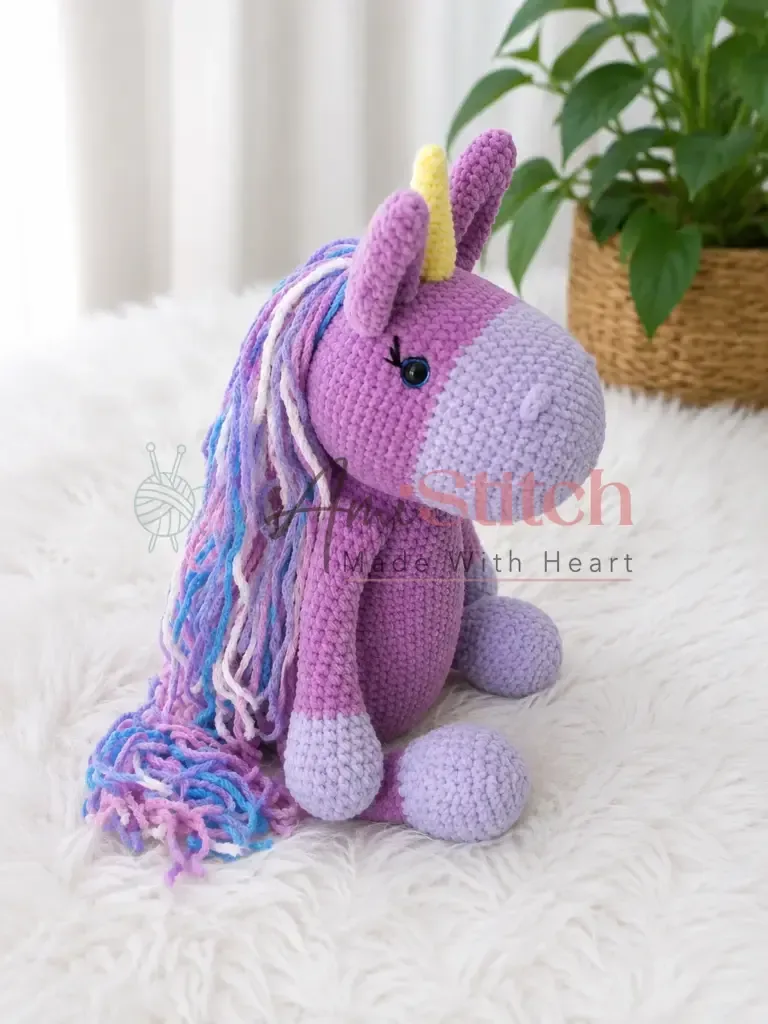
Crochet a 45 cm plush amigurumi unicorn keepsake — photo 3

At a glance

Rounds38
Parts4
LevelIntermediate
Time6-9 hours
Hook14 mm
YarnBulky

Gauge check

After round 4 of the body, count stitches — 6, 12, 18, 24 — and confirm the circle lies flat without a dome or ruffle.

If the chenille yarn splits or stitches look loose enough to show stuffing through gaps, drop to a smaller hook until the fabric closes tight.

Stitch-count checkpoints

  • Lower Legs (Make 4) · Round 4: 24 sts
  • Lower Legs (Make 4) · Round 8: 30 sts
  • Lower Legs (Make 4) · Round 12: 18 sts
  • Lower Legs (Make 4) · Round 13: 15 sts
  • Body · Round 4: 24 sts
  • Body · Round 8: 48 sts

If something looks wrong

The body bulges unevenly or one side sits flatter than the other.
Stuffing was added all at once near the end instead of gradually across the 15 rounds. Unstuff gently and redistribute fiberfill in small amounts every few rounds so it settles evenly.
The horn looks loose or droops instead of standing upright.
The horn was worked on the main 4.0 mm hook instead of the 2.0–2.5 mm hook, leaving the velour stitches too open to hold shape. Rework on the smaller hook and stuff firmly as you go through all 9 rounds.
Seams show ridges or pull apart at the join between parts.
Plush yarn was used to sew pieces together instead of sewing thread; plush fibers slip and do not grip. Resew with strong, matching sewing thread instead.

Yarn substitutions

Smooth worsted-weight acrylic, 4-plyFinished height drops below the pattern's 45 cm target since worsted yarn works denser than bulky plush. Stay on the 4.0 mm hook, but expect visible stitch definition instead of a fused, fur-like surface, and stuffing shows through gaps more easily.
Bulky-weight cotton or cotton-blendDrape stiffens compared to the plush/chenille called for, so ears and horn hold shape better but the body loses the soft slump plush yarn gives. Adjust hook size slightly up or down to match the pattern's stitch counts per round.
Super bulky faux-fur or eyelash yarnStitch definition nearly disappears, making rounds hard to count by eye, so stitch-marker tracking becomes essential. Finished size may run larger than 45 cm unless the hook size comes down to compensate.
FAQs

Questions

Can the horn be worked in the same yarn as the body instead of velour?

The horn is written for yellow velour yarn on a 2.0–2.5 mm hook because velour's dense pile holds the spiral stitches tight over just 9 rounds. Substituting bulky plush yarn on the main 4.0 mm hook produces a thicker, less defined horn that may not taper the same way.

How much main-color yarn does the body actually use?

The materials list calls for 2 skeins of bulky plush/chenille yarn at approximately 100 g and 120–130 m each for the main pieces, covering the body, upper legs, and head. The half-skein of contrast color is sized for the lower legs and lower head section only, not the whole project.

One at a time —

Get the next pattern

Tested round by round before it is sent. No spam.