Made and counted by Wren —

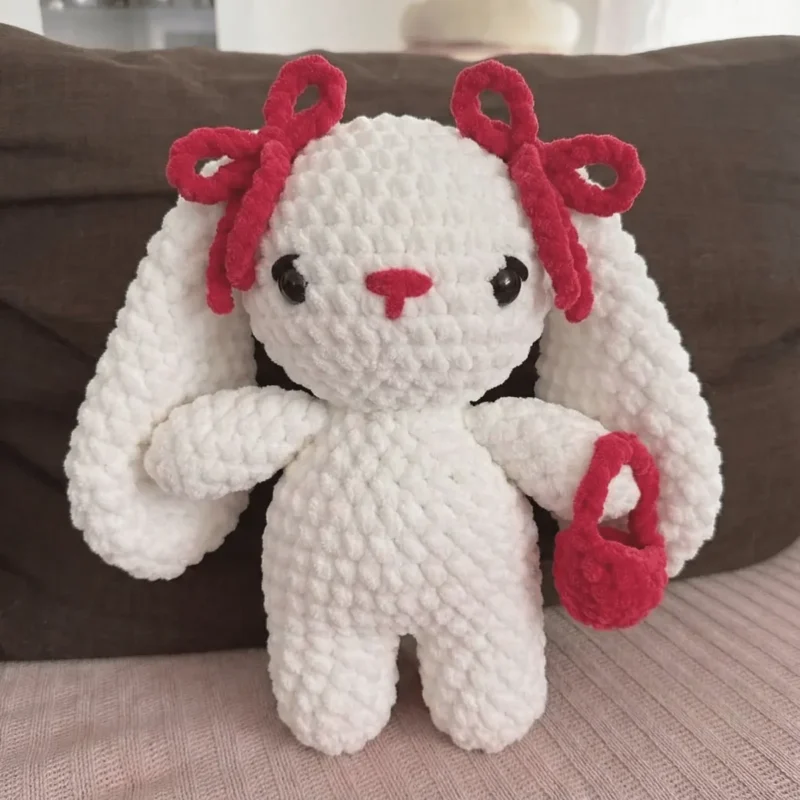
Chunky yarn baby bunny amigurumi with two-hook ears

4mm and 4.5mm hooks, chunky yarn crochet a baby bunny amigurumi with bow and purse accents.

Chunky yarn baby bunny amigurumi with two-hook ears
IntermediateLevel
4-6 hoursTime
4 mmHook
ChunkyYarn
Jump to the pattern

About this pattern

This pattern makes a stuffed baby bunny amigurumi worked in continuous rounds from a magic ring, using two hook sizes: 4mm for the head, body, arms, and legs, and 4.5mm for the ears. The head is shaped over 15 rounds with safety eyes added between rounds 10 and 11. The ears grow from a 6-stitch ring to 24 stitches before 15 rounds of decreases bring them back to 10 stitches. Two legs are worked individually, joined, and continued as one piece through 18 rounds to form the body. Arms finish at 10 stitches and are joined to the body. Optional bow and tiny purse accessories need only basic chaining and single crochet rounds.

This baby bunny amigurumi builds from a magic ring in continuous rounds, using two hook sizes: a 4mm hook for the head, body, arms, and legs, and a 4.5mm hook reserved for the ears, which gives them a lovely drape. The head is shaped over 15 rounds, with safety eyes added between rounds 10 and 11. The ears grow from a 6-stitch ring to a 24-stitch round before 15 rounds of decreases bring them back down to 10 stitches. Two legs are worked individually, then joined and continued as one piece through 18 rounds to form the body. Arms are worked separately, then joined to the body. The pattern works with any yarn weight as long as the hook size is matched to it.
The pattern

Written out round by round

Materials

  • 4mm crochet hook (for the body, head, arms, and legs)
  • 4.5mm crochet hook (specifically for the ears)
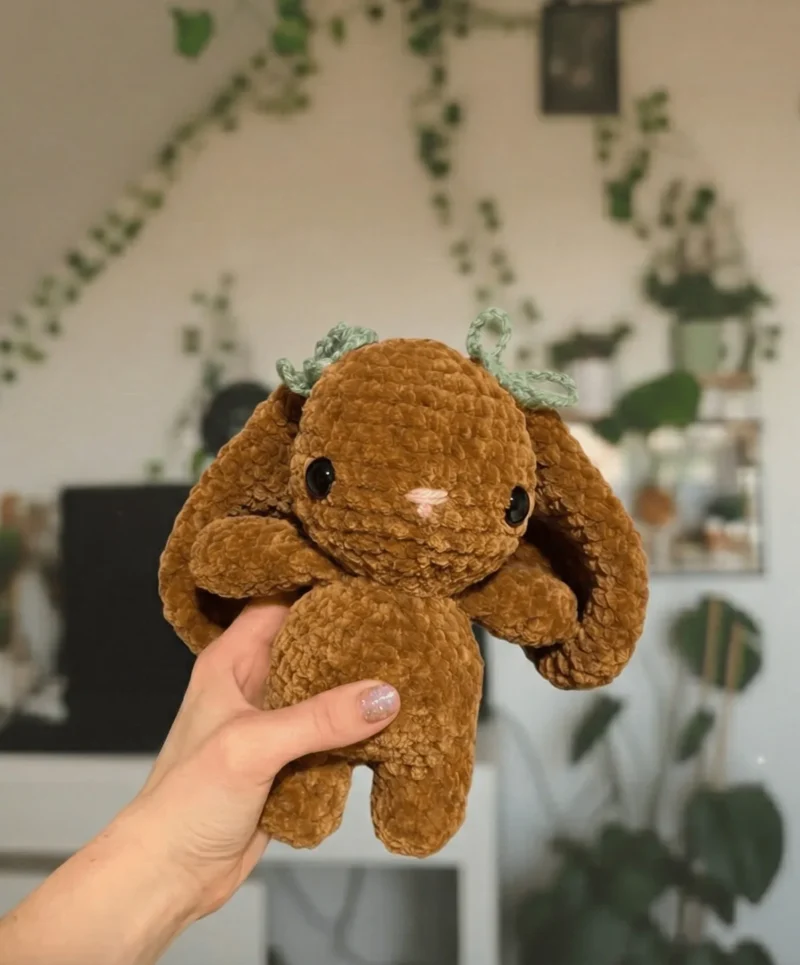
  • Chunky weight yarn in your choice of color (Premier Parfait Chunky in Mushroom works beautifully)
  • Pink yarn for the nose and optional blush details
  • Safety eyes
  • Polyfil or stuffing material
  • Tapestry needle for assembly
  • Scissors
  • Stitch marker (optional but helpful)

Abbreviations

  • MR = magic ring
  • sc = single crochet
  • inc = increase
  • dec = invisible decrease
  • BLO = back loop only
  • FO = fasten off
  • R = round

Crafting the Head

The head is where your bunny’s personality begins to shine. Start with a magic ring and work in continuous rounds:

Round 1Single crochet 7 stitches in magic ring (7)
Round 2Increase around (14)
Round 3Single crochet, increase, repeat 7 times (21)
Round 4Single crochet 2, increase, repeat 7 times (28)
Round 5Single crochet 3, increase, repeat 7 times (35)
Rounds 6–12Single crochet around (35)

Important: Add safety eyes between rounds 10 and 11, spacing them 8 stitches apart.

Round 13Single crochet 3, decrease, repeat 7 times (28)
Round 14Single crochet 2, decrease, repeat 7 times (21)Begin stuffing the head at this point.
Round 15Decrease, then single crochet 2 and decrease 4 times, single crochet, decrease (15)Finish stuffing and fasten off, leaving a long tail for sewing the head to the body.

Creating the Arms

Make two identical arms using your 4mm hook:

Round 1Single crochet 5 in magic ring (5)
Round 2Increase around (10)
Round 3Single crochet around in back loops only (10)
Rounds 4–8Single crochet around (10) for 5 rounds totalStuff lightly and fasten off with a long tail. Flatten the top of the arm to create a sewing surface that will make attachment to the body easier.(10)

Forming the Distinctive Ears

Switch to your 4.5mm hook for the ears—this larger hook gives them a lovely drape:

Round 1Single crochet 6 in magic ring (6)
Round 2Increase around (12)
Round 3Single crochet, increase, repeat 6 times (18)
Round 4Single crochet 2, increase, repeat 6 times (24)
Rounds 5–7Single crochet around (24) for 3 rounds(24)

Continue with decreases

Round 8Single crochet 10, decrease, repeat twice (22)
Rounds 9–10Single crochet around (22)
Round 11Single crochet 9, decrease, repeat twice (20)
Round 12Single crochet around (20)
Round 13Single crochet 8, decrease, repeat twice (18)
Round 14Single crochet around (18)
Round 15Single crochet 7, decrease, repeat twice (16)
Round 16Single crochet around (16)
Round 17Single crochet 6, decrease, repeat twice (14)
Round 18Single crochet around (14)
Round 19Single crochet 5, decrease, repeat twice (12)
Round 20Single crochet around (12)
Round 21Single crochet 4, decrease, repeat twice (10)
Round 22Single crochet around (10)Do not stuff the ears. Fasten off with a long tail and flatten the top for easier attachment.

Individual Legs

Create two legs first, then join them to form the body:

Round 1Single crochet 6 in magic ring (6)
Round 2Increase around (12)
Round 3Single crochet around in back loops only (12)
Rounds 4–6Single crochet around (12) for 3 roundsFasten off the first leg. For the second leg, after completing round 6, chain 2 and keep it on your hook.(12)

Joining and Body Construction

Round 7Single crochet into the next stitch on the first leg, single crochet 11 around first leg, single crochet into each of the 2 chains, single crochet 12 around second leg, then single crochet into the other side of each of the 2 chains (28)
Round 8Single crochet 13, increase, repeat twice (30)
Rounds 9–11Single crochet around (30) for 3 rounds(30)
Round 12Single crochet 13, decrease, repeat twice (28)
Round 13Single crochet around (28)
Round 14Single crochet 8, decrease, repeat twice, single crochet 8 (26)
Round 15Decrease, then single crochet 6 and decrease 3 times (22)
Round 16Single crochet around (22)
Round 17Single crochet 5, decrease, repeat 3 times, single crochet (19)
Round 18Single crochet 2, decrease, repeat 4 times, single crochet 3 (15)Begin stuffing and continue as you go. Fasten off leaving a long tail and finish stuffing.

Assembly

Step 1Attach the head to the body using your long tail and tapestry needle.
Step 2Sew the ears to the head between rounds 4 and 5. You may need to angle them slightly between the rows. Position the back of the ears about 6 stitches apart, though you can adjust this spacing for different looks.
Step 3Attach the arms to round 17 of the body (the last round).
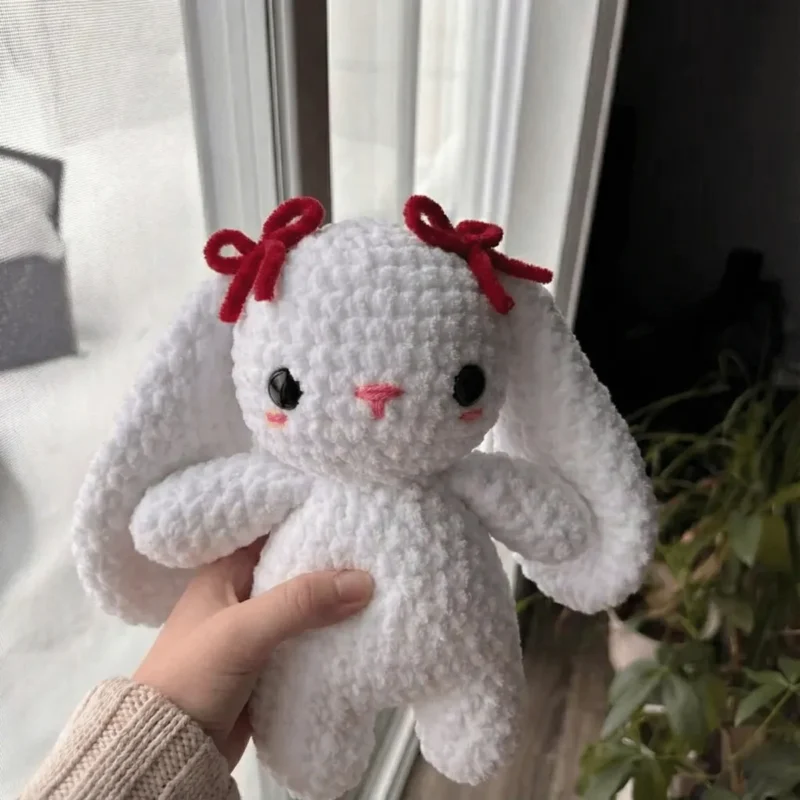
Step 4Embroider the nose using pink yarn between the eyes, approximately 2-3 stitches away from each eye.
Step 5Optional: Add blush under the eyes for extra cuteness.
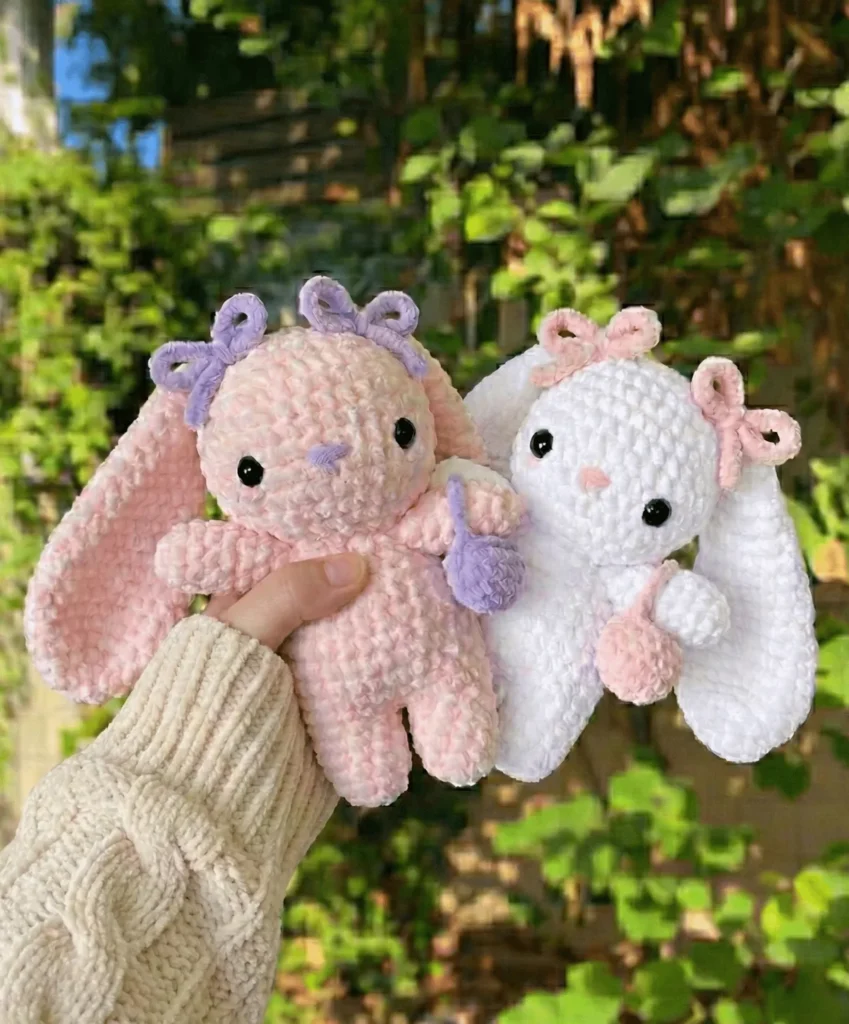
Step 6Adorable Bows: Chain 40 or adjust the length to measure approximately 8-9 inches. Fasten off and either weave in ends or double knot them. Insert your hook into the stitch just in front of your bunny’s ear, pull the bow through, tie a knot, and then tie your bow. Position as desired.
Step 7Tiny Purse: Round 1 : Single crochet 6 in magic ring (6)
Step 8Round 2 : Increase around (12)
Step 9Round 3 : Single crochet around in back loops only (12)
Step 10Round 4 : Single crochet around (12) Keep the last loop on your hook, fold the purse in half, and single crochet the next stitch and last stitch together. Chain 10 for the strap. While folded in half, single crochet the last two stitches of the purse together. Fasten off and weave in ends.

Tester's notes

Maintain consistent tension throughout your work for an even appearance.

Stuff firmly but not too tightly to maintain the bunny’s soft, cuddly feel.

Use stitch markers to track your rounds if you find it helpful.

Take your time with assembly—proper positioning makes all the difference.

Customize freely—try different yarn colors, eye placements, or bow styles.

Work in progress

Chunky yarn baby bunny amigurumi with two-hook ears — photo 2
Chunky yarn baby bunny amigurumi with two-hook ears — photo 3
Chunky yarn baby bunny amigurumi with two-hook ears — photo 4

At a glance

Rounds46
Parts6
LevelIntermediate
Time4-6 hours
Hook4 mm
YarnChunky

Stitch-count checkpoints

  • Crafting the Head · Round 3: 21 sts
  • Crafting the Head · Rounds 6–12: 35 sts
  • Crafting the Head · Round 15: 15 sts
  • Creating the Arms · Round 1: 5 sts
  • Creating the Arms · Round 2: 10 sts
  • Creating the Arms · Round 3: 10 sts
FAQs

Questions

Can a different yarn weight replace the chunky yarn called for?

Yes—you can use yarn of any weight as long as you match it with the appropriate hook size, keeping the same two-hook relationship: one hook for the body pieces, one size up for the ears.

How does the second leg attach to the body?

After round 6 of the second leg, a chain-2 is made and held on the hook instead of being fastened off. Round 7 then works into both legs and the two chains together, joining them into one continuous body piece.

One at a time —

Get the next pattern

Tested round by round before it is sent. No spam.