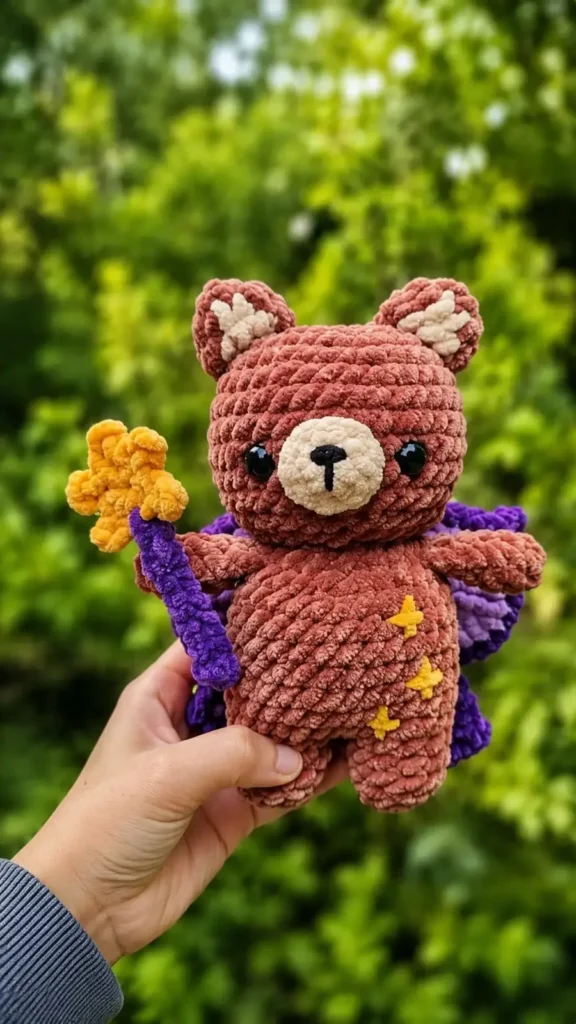
Made and counted by Wren —

Chenille fairy bear amigurumi pattern with wand and wings

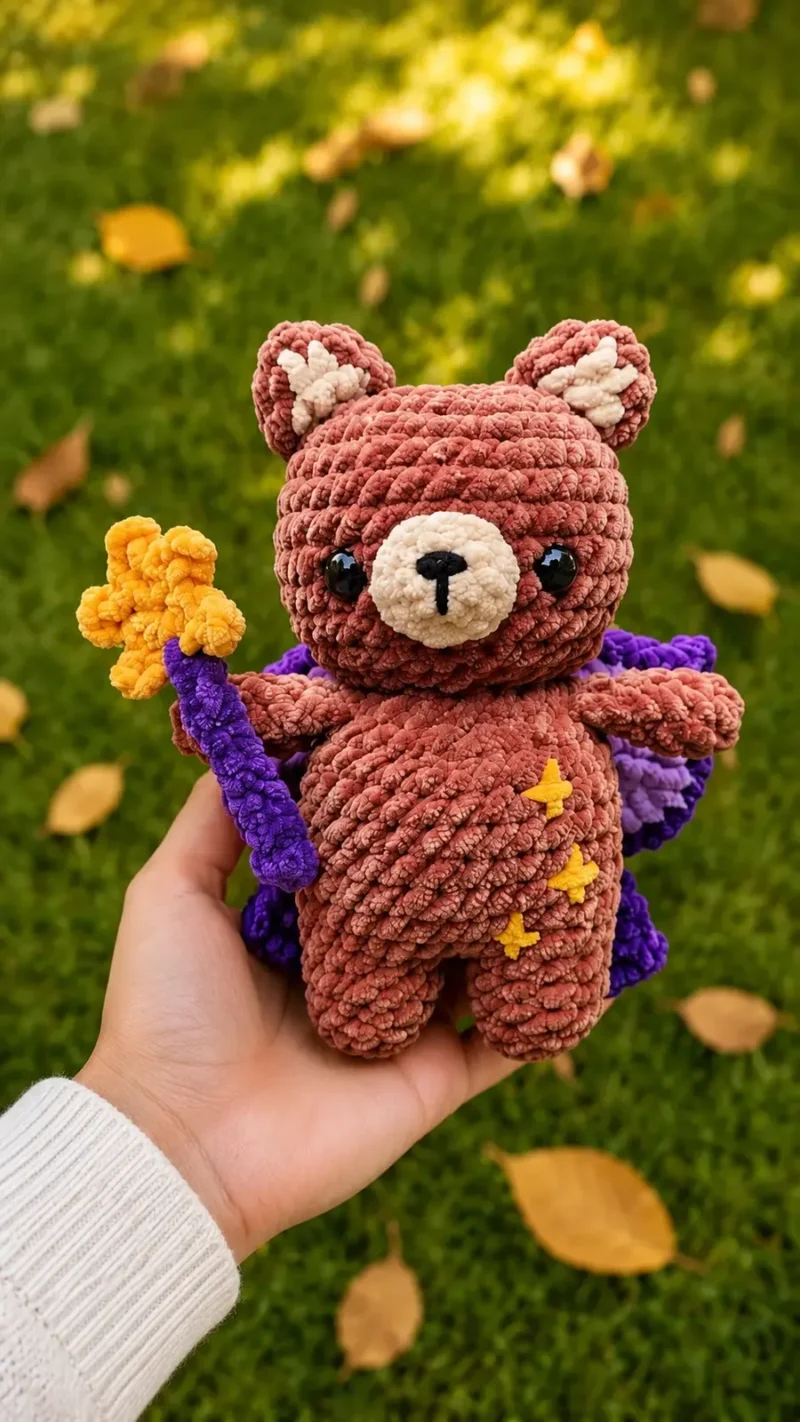
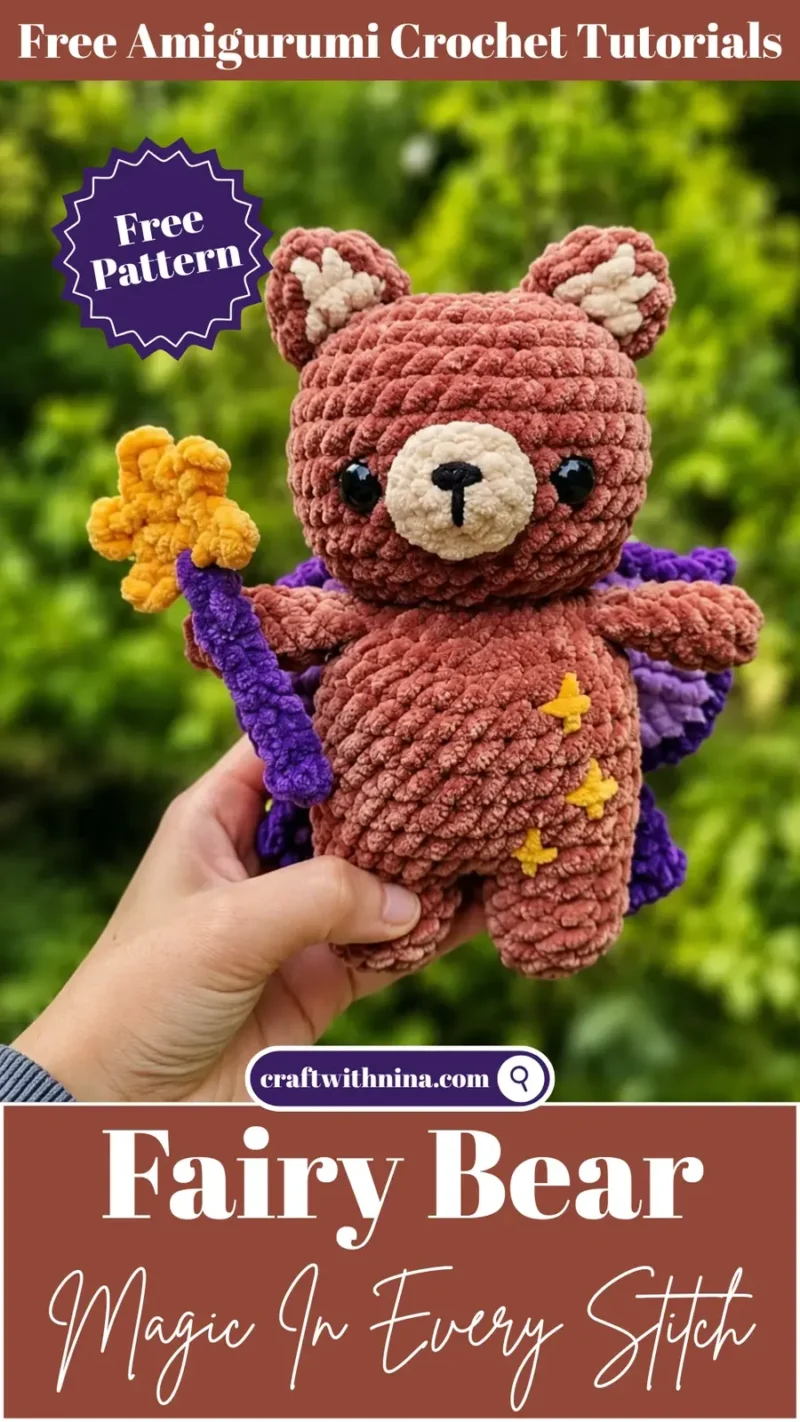
5mm hook, size 4 chenille yarn: crochet a 6-7 inch fairy bear amigurumi with wings, ears, snout, arms, and a star wand.

Chenille fairy bear amigurumi pattern with wand and wings
IntermediateLevel
4-6 hoursTime
5 mmHook
WorstedYarn
Jump to the pattern

About this pattern

This pattern makes a 6- to 7-inch fairy bear amigurumi from size 4 medium chenille yarn and a 5mm hook, with the head and body each worked in 13 rounds from a magic ring. Separate pieces — two arms, two ears, a snout, four wing pieces, and a star wand — sew on afterward, along with 12mm safety eyes and black cotton or acrylic embroidery for the face and stars.

This fairy bear amigurumi works up from a magic ring in continuous rounds, with the head and body each running 13 rounds in chenille yarn, plus two arms, two ears, a snout, four wing pieces, and a separate star wand assembled afterward. The arms fold flat and close unstuffed at round 6 before sewing to the neck. Finished with 12mm safety eyes and black cotton or acrylic embroidery for facial details, the bear stands 6 to 7 inches tall when made with a 5mm hook and size 4 medium chenille yarn.
The pattern

Written out round by round

Materials

  • Hook: 5mm
  • Brown chenille size 4 medium
  • Purple chenille size 4 medium
  • Dark purple chenille size 4 medium
  • Yellow chenille size 4 medium
  • Beige chenille size 4 medium
  • Black cotton/acrylic yarn
  • 12mm safety eyes
  • Stuffing
  • Tapestry needle
  • Stitch markers
  • Scissors

Abbreviations

  • R = round
  • st = stitch
  • mr = magic ring
  • ch = chain
  • sc = single crochet
  • hdc = half double crochet
  • dc = double crochet
  • sl st = slip stitch
  • inc = increase
  • dec = decrease
  • FO = fasten off
  • cc = change color

Head

Use brown yarn

Round 18sc in a mr (8)
Round 28inc (16)
Round 3(sc, inc)x8 (24)
Round 4(3sc, inc)x6 (30)
Round 5(2sc, inc, 2sc)x6 (36)R6-10: 36sc (36) – 5 rounds
Round 11(4sc, dec)x6 (30)
Round 12(3sc, dec)x6 (24)
Round 13(4sc, dec)x4 (20)Cut yarn, FO with invisibile join.Insert safety eyes on R9-10, 5 visible sts apart.Add fiber fill, stuff a lot to get a rounded face.

Body

Use brown yarn

Round 15sc in a mr (5)
Round 25inc (10)
Round 3BLO 10sc (10)
Round 410sc (10)Cut yarn and FO with an invisibile join.Make another leg but this time don’t cut the yarn and ch2.
Round 5Insert the hook in any of the first leg sts and make 10sc, 2sc in the 2ch, 10sc, 2sc in the 2ch (24)
Round 62sc, inc, (5sc, inc)x3, 3sc (28)R7-11: 28sc (28) – 5 rounds
Round 12(5sc, dec)x4 (24)Start stuffing as you go, when you stuff the feet remember to keep them flat.
Round 13(4sc, dec)x4 (20)Finish stuffing.Cut yarn leaving a long tail for sewing.

Arms (x2)

Use brown yarn

Round 14sc in a mr (4)
Round 24inc (8)R3-5: 8sc (8) – 3 rounds
Round 6fold the arm and close it making 4sc (4) don’t stuff the armCut yarn leaving a long tail.(4)

Ears (x2)

Start with brown yarn

Round 16sc in a mr (6)
Round 22inc, sc, cc to beige sc in the same st. sc, cc to brown sc in the same st. 2inc (12)
Round 32sc, dec, sc, cc to beige 3sc, cc to brown dec, 2sc (10)Cut yarn leaving a long tail for Sewing.

Snout

Use beige yarn

Round 15sc in a mr (5)
Round 25inc (10)Cut yarn leaving a long tail for sewing and make an invisible join.

Wings

Small part – left side: Use purple yarn

Round 18sc in a mr (8)
Round 28inc (16)Cut yarn and make an invisible join
Round 3Insert hook in any of the circle’s sts and with dark purple yarn make (sc, inc)x2, inc, (sc, hdc)in the same st, dc, ch2 sl st in the 2nd ch from the hook and sl st in the upper part of the dc, (hdc,sc)in the same st, (sc, inc)x4, sl st (26)Cut yarn leaving a long tail for sewing.Small part – right side: Use purple yarn
Round 18sc in a mr (8)
Round 28inc (16)Cut yarn and make an invisible join
Round 3Insert hook in any of the circle’s sts and with dark purple yarn make (sc, inc)x4, (sc, hdc)in the same st, dc, ch2 sl st in the 2nd ch from the hook and sl st in the upper part of the dc, (hdc,sc)in the same st, (sc, inc)x2, inc, sl st (26)Cut yarn leaving a long tail for sewing.

Big part – left side: Use purple yarn

Round 18sc in a mr (8)
Round 28inc (16)
Round 3(sc, inc)x8 (24)Cut yarn and make an invisible join
Round 4insert the hook in any of the circle’s sts and with dark purple yarn make (2sc, inc)x3, sc, (sc, hdc)same st, dc, ch2, sl st in the 2nd ch from the hook, sl st in the upper part of the dc, (hdc, sc)same st, (2sc, inc)x3, 2sc, sl st. (32)Cut yarn leaving a long tail for sewing.Big part – right side: Use purple yarn
Round 18sc in a mr (8)
Round 28inc (16)
Round 3(sc, inc)x8 (24)Cut yarn and make an invisible join
Round 4insert the hook in any of the circle’s sts and with dark purple yarn make (2sc, inc)x3, 2sc, (sc, hdc)same st, dc, ch2, sl st in the 2nd chain from the hook, sl st in the upper part of the dc, (hdc, sc)same st. (2sc, inc)x3, sc, sl st. (32)Cut yarn leaving a long tail for sewing.

Star wand

Start with yellow yarn

Round 1inside a mr make sc, (dc, picot st, sc)x4, for the last tip dc, picot st and sl st in the first sc changing color to dark purple.
Round 2ch 11, starting from the 2nd ch from the hook 10sl st, sl st in the base where you made the sl st.Cut yarn and FO just the yellow threads, we’ll use the dark purple yarn to sew the star wand to the bear’s hand

Assembly

Step 1Sew the head to the body
Step 2Sew ears between R3-5
Step 3Sew arms where there’s the neck
Step 4Sew snout between R9-11
Step 5Sew the star wand using the purple threads going through the first 4sts of the wand, and then insert them in the 3rd round of the bear’s hand in different places (horizontally) and FO.
Step 6Sew the wings’ smaller part on R8-9 in the center, close to each other
Step 7Sew the bigger part just up the small parts, start Sewing in the same st you sewed the small part
Step 8Add the stars to the body using yellow yarn, you can make as many stars as you like

Tester's notes

5mm hook: match it to the size 4 medium chenille strand; anything smaller drags on the plush fibers and splits the yarn.

Every round start: move the stitch marker before working the first stitch of the new round, since chenille's texture buries the stitch tops.

5 chenille colors plus black cotton or acrylic for embroidery: keep the black yarn strictly for facial features and stars so lines stay crisp against the fuzzy body.

6 to 7 inches finished height depends on stuffing firmness: pack the head and body solid, but leave both arms unstuffed after the round 6 fold-and-close.

Magic ring closure: pull the tail slowly on chenille pieces; a hard yank strips fiber off the center cord and leaves a thin patch right at the center.

Work in progress

Chenille fairy bear amigurumi pattern with wand and wings — photo 2
Chenille fairy bear amigurumi pattern with wand and wings — photo 3

At a glance

Rounds40
Parts7
LevelIntermediate
Time4-6 hours
Hook5 mm
YarnWorsted

Gauge check

The pattern gives no swatch gauge, but round 2 of the body should read 10 sc and round 2 of the arms should read 8 sc; count stitches at these points before continuing.

Stitch-count checkpoints

  • Head · Round 2: 16 sts
  • Head · Round 4: 30 sts
  • Head · Round 11: 30 sts
  • Head · Round 13: 20 sts
  • Body · Round 2: 10 sts
  • Body · Round 4: 10 sts

If something looks wrong

The head or body ring shows a bald patch at the very center.
The tail was pulled too hard when closing the magic ring, stripping fiber off the center cord. Pull the tail slowly and stop as soon as the hole closes, with no extra tension after that. Alternatively, chain two and work the first round of single crochets directly into the second chain from the hook instead of using a magic ring.
Individual stitches are impossible to
Chenille's fuzzy texture hides the stitch tops. Place a stitch marker at the start of every round and count stitches at the end of each one before moving on.
The finished bear tips over instead of sitting upright.
The feet are overstuffed or left rounded on the bottom. Stuff the feet lightly and flatten the base before closing so the bear rests flat.
The wings or ears sit off-center once stitched down.
The pieces were sewn before checking placement. Pin all pieces with sewing pins first, confirm symmetry, then stitch them down.

Yarn substitutions

Cotton chenille, size 4 mediumSimilar plush texture with a softer drape; keep the same 5mm hook and stuffing amount, since the stitch counts do not change.
Velvet or plush polyester, size 4 mediumComparable weight and hand feel with less shedding at the magic ring; hold the 5mm hook and expect the same 6- to 7-inch result.
Standard worsted-weight acrylic, size 4, non-chenilleDrop to a 3.5mm hook for tighter fabric since smooth yarn shows gaps that chenille hides; the bear will turn out smaller, but stitch counts and assembly stay identical. Facial embroidery contrast will be less pronounced against the flatter surface, so pack stuffing slightly firmer to hold shape.
FAQs

Questions

Can I use standard acrylic worsted weight yarn instead of plush chenille yarn?

Yes, you can easily use medium weight cotton or acrylic yarn with a 3.5mm hook. Your bear will turn out smaller, but the stitch counts and assembly remain identical.

How do I prevent my chenille yarn from snapping when closing the magic ring?

You can chain two and work your first round of single crochets directly into the second chain from your hook instead of making a standard magic ring.

Are 12mm safety eyes safe for baby toys?

Safety eyes can be a choking risk for babies and toddlers under three years old. If you are making this bear for a very young child, embroider the eyes with black yarn instead.

Do I need to stuff the arms and wings?

No, the arms and wings are designed to lay flat against the body, so they do not require any fiber fill stuffing.

What is the best way to secure color changes on the ears?

When changing colors on the ears, carry the yarn loosely inside the ear pieces. Since the ears are sewn flat, the hidden yarn ends will stay inside.

One at a time —

Get the next pattern

Tested round by round before it is sent. No spam.