Notions
6mm black safety eyes, one pair per snake Polyester fiberfill stuffing Stitch marker (a scrap of contrasting yarn works perfectly)
Yarn needle for weaving in ends Scissors
Gauge: Gauge is not critical for amigurumi, but your fabric should be tight enough that stuffing does not show through. If you can see white fiberfill peeking between stitches, go down a hook size.
Abbreviations and Stitch Definitions
Let me break down every stitch and term you will encounter in this pattern. Even if you know these by heart, a quick refresher never hurts.
Ch = Chain. Wrap yarn over hook, pull through the loop on your hook. This creates the foundation for your work.
Sc = Single crochet. Insert hook into stitch, yarn over and pull up a loop (two loops on hook), yarn over and pull through both loops.
Inc = Invisible increase, also called a single crochet increase. Work two single crochet stitches into the same stitch. This adds one stitch to your round.
Dec = Invisible decrease. Insert hook through the front loops only of the next two stitches, yarn over and pull through both front loops, yarn over and pull through both loops on hook. This removes one stitch and creates a nearly invisible decrease.
Magic ring = Also called a magic circle or adjustable ring. A technique for starting amigurumi that leaves no hole in the center. I will explain this in detail below.
Sl st = Slip stitch. Insert hook into stitch, yarn over, pull through stitch and loop on hook in one motion.
FO = Fasten off. Cut yarn and pull tail through final loop to secure.
Understanding Continuous Rounds
This entire snake is worked in continuous rounds, which means you never join at the end of a round. You simply keep spiraling upward. This creates a seamless look perfect for amigurumi.
Here is the key: always use a stitch marker. Move it up to the first stitch of each new round as you go. Without a marker, you will quickly lose track of where your rounds begin and end. Trust me on this one. I have frogged more amigurumi than I care to admit because I thought I could keep count in my head.
A simple loop of contrasting yarn works better than a plastic marker for amigurumi. It sits flat against your work and does not snag.
How to Make a Magic Ring
The magic ring is the best way to start amigurumi because it closes completely with no hole. If this technique is new to you, take it slow.
1. Make a loop with your yarn, leaving a 6 inch tail. The working yarn should cross over the tail.
2. Insert your hook through the center of the loop, from front to back.
3. Grab the working yarn and pull it through the loop.
4. Chain one to secure. This chain does not count as a stitch.
5. Work your single crochet stitches into the ring, crocheting over both the ring and the tail.
6. Pull the tail to close the ring completely.
If magic rings make you anxious, you can chain 2 and work your first round stitches into the second chain from the hook. It leaves a tiny hole, but it works.
Autumn Harvest Snake Plush Pattern Instructions
This pattern is worked from the nose to the tip of the tail in one continuous piece. You will stuff the snake as you go, adding small amounts of fiberfill every few rounds to ensure even distribution.
Head Section
Round 1Make a magic ring. Work 6 sc into the ring. Pull tail to close. Place stitch marker in first stitch. (6 sts)
Round 2Inc in each stitch around. (12 sts)
Round 3*Sc 1, inc* repeat around. (18 sts)
Round 4*Sc 2, inc* repeat around. (24 sts)
Round 5to 8: Sc in each stitch around. (24 sts) Work these four rounds even to build the head shape.Insert safety eyes between Rounds 6 and 7, positioned about 5 to 6 stitches apart. The placement is slightly forward on the head, giving your snake a curious expression. Secure the backs firmly before continuing.
Round 9*Sc 2, dec* repeat around. (18 sts)
Round 10Sc in each stitch around. (18 sts) Begin stuffing the head now. Add enough fiberfill to make it firm but not stretched. The head should feel rounded and full.
Body Section
The body maintains a consistent width for most of its length before tapering into the tail. This is where you will find your rhythm.
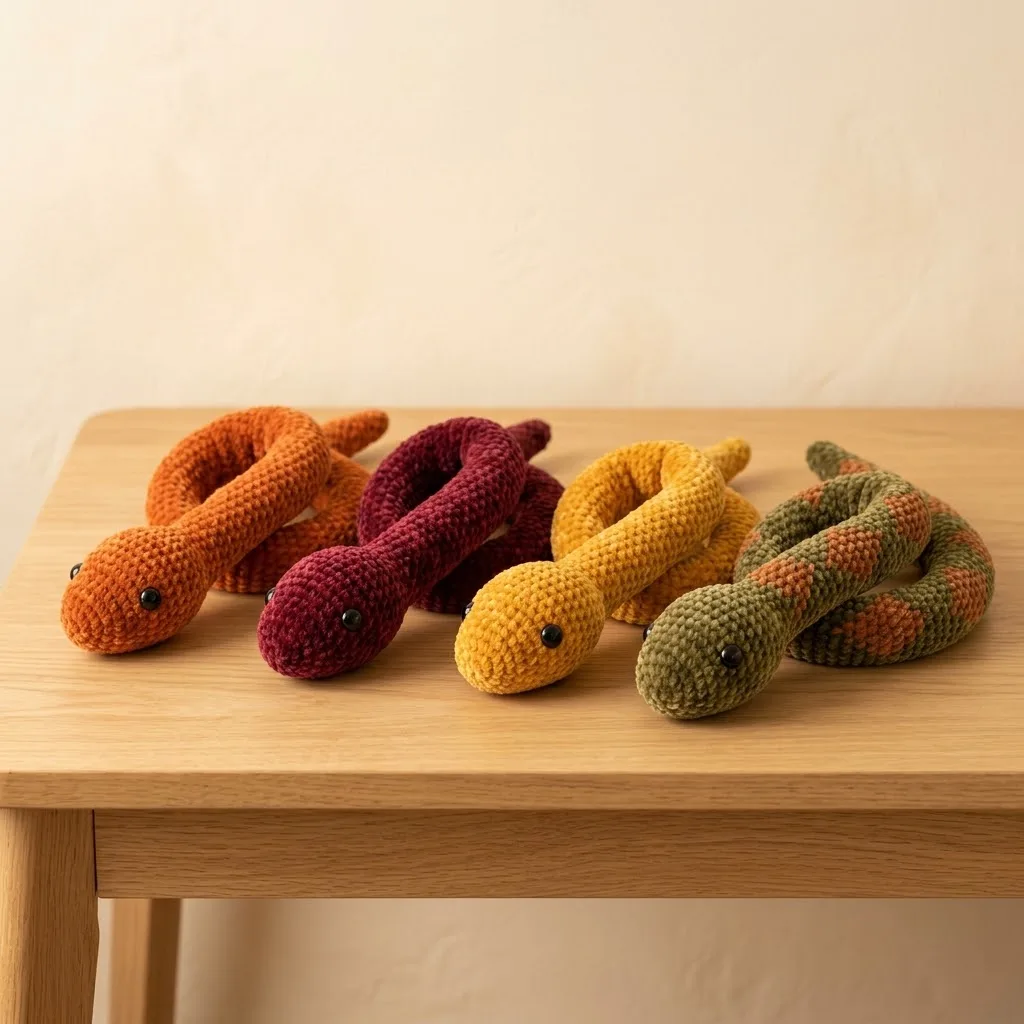
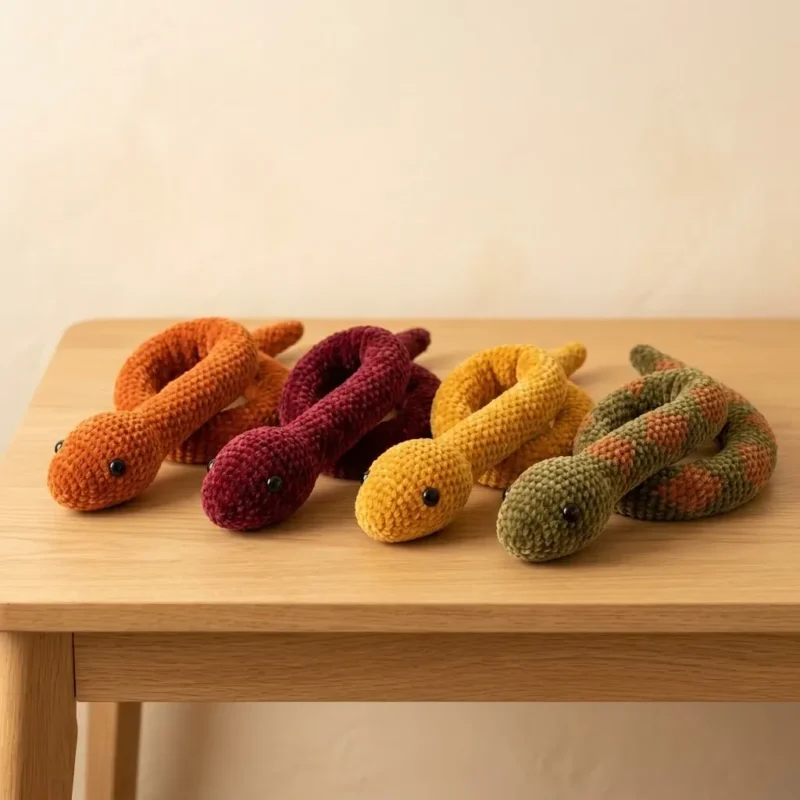
Round 11to 45: Sc in each stitch around. (18 sts) That is 35 rounds of straight single crochet. Put on a podcast, grab a cup of coffee, and enjoy the meditative repetition. This is the relaxing part of the project.Stuffing tip: Add small amounts of fiberfill every 8 to 10 rounds. Do not wait until the end, or you will struggle to reach back into a narrow tube. Keep the stuffing even and moderately firm throughout the body.For the striped variation shown in olive and orange, change colors every 3 to 4 rounds. Carry the unused color loosely up the inside of your work, or cut and rejoin for cleaner color changes.
Tail Section Now you will gradually decrease to create the tapered tail.
Round 46*Sc 7, dec* repeat around. (16 sts)
Round 47to 50: Sc in each stitch around. (16 sts)
Round 51*Sc 6, dec* repeat around. (14 sts)
Round 52to 55: Sc in each stitch around. (14 sts)
Round 56*Sc 5, dec* repeat around. (12 sts)
Round 57to 60: Sc in each stitch around. (12 sts) Continue stuffing as you go. The tail needs less stuffing than the body to allow flexibility.
Round 61*Sc 4, dec* repeat around. (10 sts)
Round 62to 64: Sc in each stitch around. (10 sts)
Round 65*Sc 3, dec* repeat around. (8 sts)
Round 66to 68: Sc in each stitch around. (8 sts)
Round 69*Sc 2, dec* repeat around. (6 sts)
Round 70to 72: Sc in each stitch around. (6 sts) Add final bits of stuffing to the tail tip. Keep it light so the tail remains flexible and can curl naturally.
Round 73Dec around. (3 sts) Fasten off. Cut yarn leaving a 6 inch tail. Thread through remaining stitches, pull tight to close, and weave in the end securely.
Finishing Your Crochet Snake Plush
Weave in all yarn ends using your yarn needle. For amigurumi, I like to weave the needle through the stuffing inside the body, bringing it out a few inches away, then trimming close. This hides the ends completely inside.
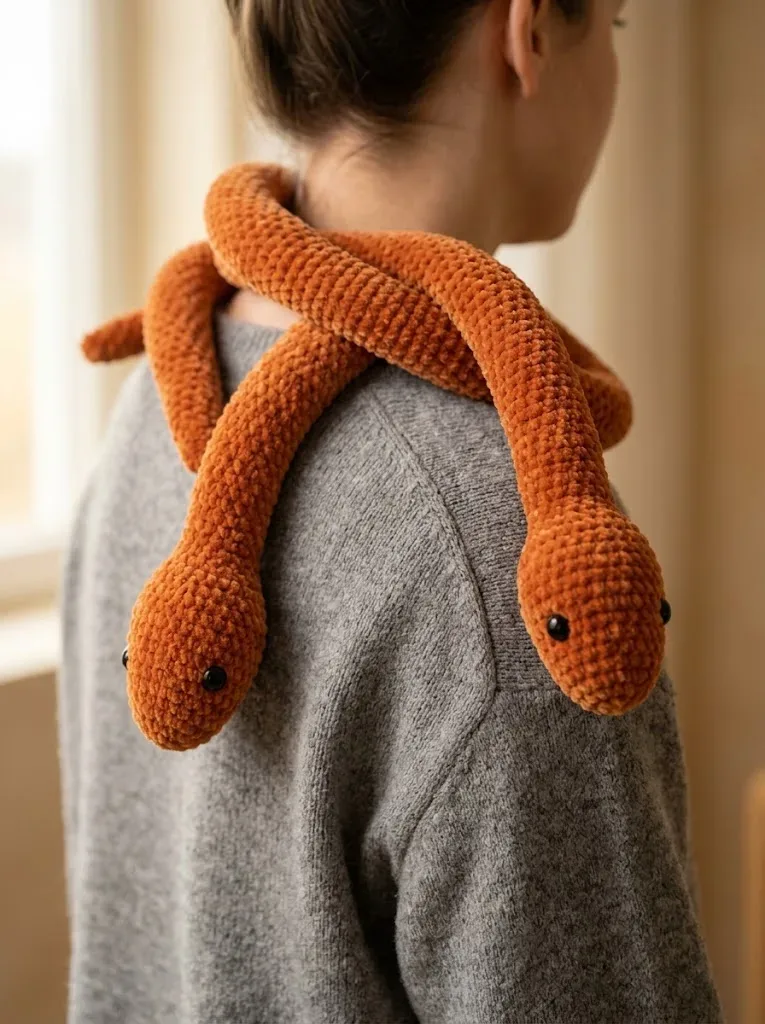
Give your snake a gentle squeeze and reshape as needed. The body should curl naturally into loops and S shapes. You can pose it however you like for display.
Optional Embellishments
Forked tongue: Chain 8 in red or pink yarn. Slip stitch back down 3 chains. Chain 4 more. Slip stitch back to the base. Fasten off and sew to the underside of the head, just below the nose.
Embroidered eyes: For baby safe snakes, skip the safety eyes and embroider simple black French knots or satin stitch circles instead.
Belly detail: Some crafters add a lighter colored panel along the underside. This requires working flat and sewing, which increases the difficulty significantly. I prefer the all over color for simplicity.
Tips for Amigurumi Success
Tension matters. Keep your stitches consistent and tight throughout. If your tension naturally loosens as you relax into a project, be mindful of this and adjust.
Count your stitches. At least for the first few rounds, count at the end of every round. Once you are in the body section with its steady 18 stitch rounds, you can relax a bit.
Stuff as you go. I cannot emphasize this enough. It is so much easier to add stuffing in small amounts than to try cramming it through a tiny opening at the end.
Use good lighting. Counting stitches in dark yarn is challenging. Work near a window or under a bright lamp.
Customization Ideas for Your Snake Crochet Pattern One of my favorite things about this pattern is how easy it is to personalize.
Length: Add or subtract rounds in the body section to make longer or shorter snakes. Each round adds approximately a quarter inch of length.
Size: For a chunky snake, use bulky weight yarn and a 5mm hook. For a tiny snake, try fingering weight yarn and a 2.5mm hook.
Colors: Go wild. Rainbow gradients, sports team colors, neon brights for kids. These snakes look amazing in every palette.
Texture: Swap single crochet for half double crochet for a slightly softer, squishier texture. You will need to adjust your stitch counts slightly.
Final Thoughts on This Autumn Harvest Snake Pattern
I hope this step by step crochet tutorial helps you create your own little snake family. These plush snakes are genuinely one of my favorite amigurumi designs because they are simple, satisfying, and endlessly customizable. Whether you make one in a solid autumn shade or a whole collection in every color of the rainbow, I know you will love how they turn out.
The continuous round construction makes this a fantastic project for crocheters who want to practice amigurumi techniques without complicated assembly. No sewing arms. No attaching ears. Just straightforward single crochet from start to finish.
Thank you so much for choosing this pattern. It means the world to me that you are here, making things with your hands and sharing your creativity. If you make a snake, I would absolutely love to see it. Tag me on Instagram or share a photo in my Facebook group. Seeing your finished projects is honestly the best part of my day.
If this Autumn Harvest Snake Plush pattern caught your eye, go ahead and save it to your Pinterest boards so you can find it when you are ready to start. And please drop a comment below if you make one. I read every single comment and love hearing how your projects turn out.