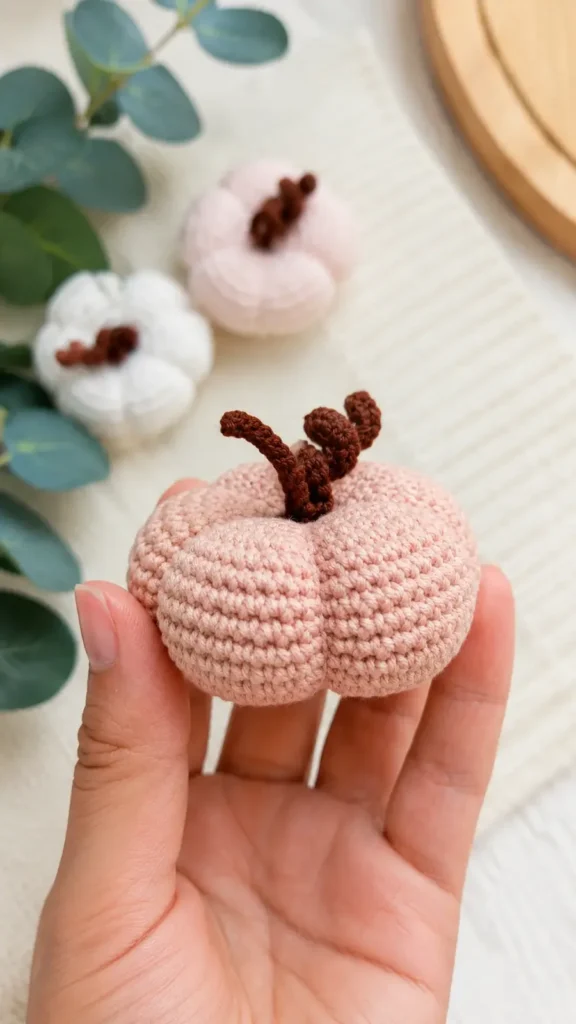
Made and counted by Wren —

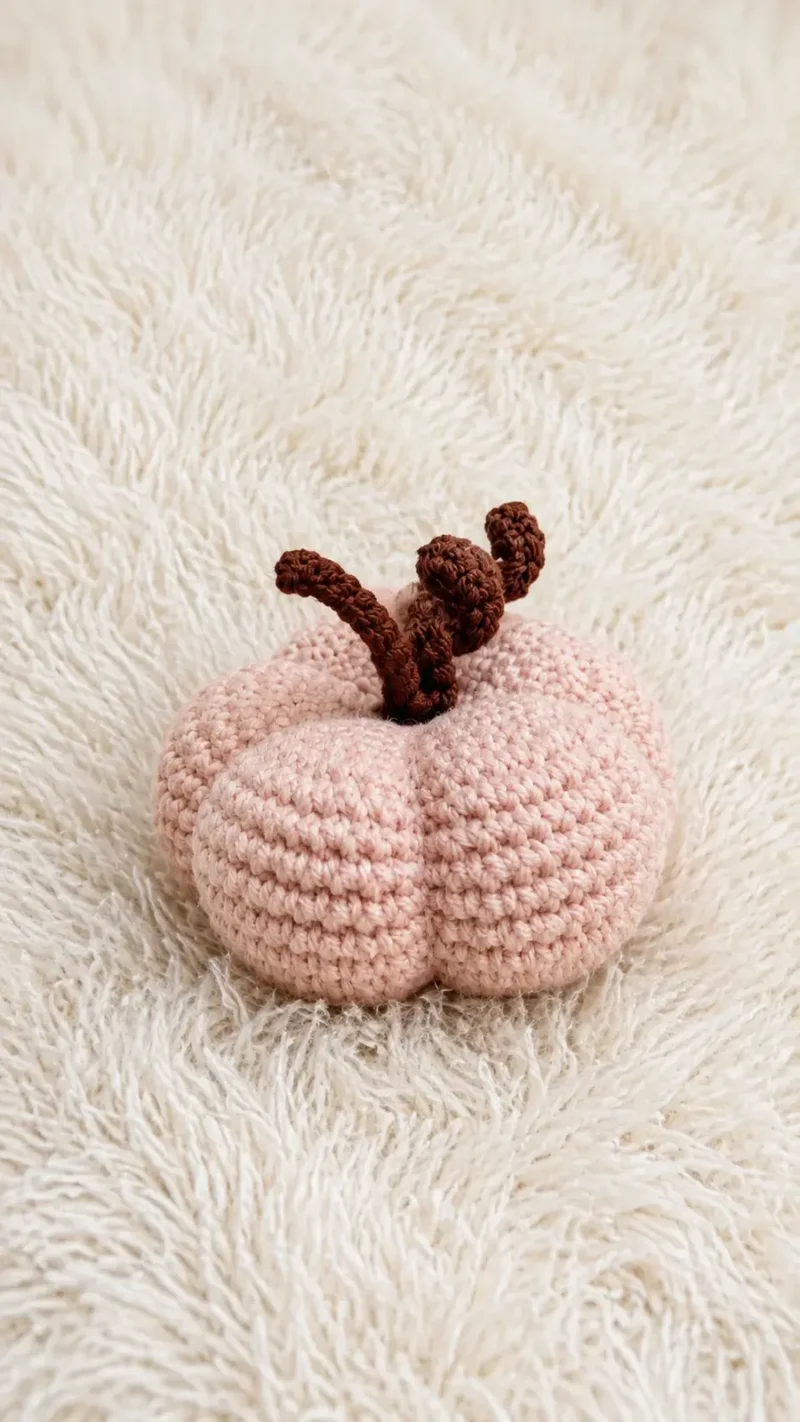
Amigurumi pumpkin pattern with a chained stem and tendril

2-2.5mm hook, DK-weight yarn: 13-round amigurumi pumpkin with chained stem and looped tendril.

Amigurumi pumpkin pattern with a chained stem and tendril
BeginnerLevel
2-3 hoursTime
2.5 mmHook
DKYarn
Jump to the pattern

About this pattern

A crocheted amigurumi pumpkin worked in continuous single crochet over 13 rounds, starting from a magic ring of 10 stitches and increasing to 40 before shaping back down. Materials include orange yarn for the body, green yarn for a 17-chain tendril and an 11-loop chain stem, a 2-2.5mm hook, a yarn needle, and fiberfill. Assembly is two steps: attach the stem and tendril, then finish.

This amigurumi pumpkin builds from a magic ring worked in continuous single crochet, doubling to 20 stitches by round 2 and 40 by round 4 before the piece decreases back down over 13 total rounds. A single green chain of 17 stitches, worked with 2 single crochet in each stitch, forms the curling tendril, while a finger-chain stem uses 11 repeat pulls of the loop-through motion. One pumpkin body, one tendril, and one stem assemble into a single palm-sized decoration, with fiberfill added before the ridges get cinched tight.
The pattern

Written out round by round

Materials

YarnArt Jeans

  • 85, (160m/50g) – orange

Gazzal Baby cotton

  • 3449, (165m/50g) – green
  • Crochet hook 2-2,5 mm
  • Yarn needle
  • Scissors
  • Stitch marker
  • Fiberfill

Abbreviations

  • mr = magic ring
  • ch = chain stitch
  • sc = single crochet
  • inc = increase
  • dec = decrease
  • (…) x n = repeat the section in brackets n times

Pumpkin

Use orange yarn.

Round 110 sc in a mr (10)
Round 210 inc (20)
Round 320 sc (20)
Round 420 inc (40)
Rounds 5–640 sc (40) – 2 rounds
Round 7(1 sc, inc) x 20 (60)
Rounds 8–1660 sc (60) 9 rounds
Round 17(1 sc, dec) x 20 (40)
Round 1840 sc (40)
Round 1920 dec (20)
Round 2020 sc (20)Stuffing: Stuff the pumpkin no too tight.
Round 2110 dec (10)
Round 225 dec (5)Fasten off, leaving a long tail.Shaping: Divide the pumpkin into 5-6 parts. Next, insert a long needle into the middle of the last round and take it out of the opposite side right out of the magic ring. Then insert the needle in the same direction, tighten the thread strongly but carefully so as not to break it. Draw the needle through the middle of the pumpkin several times to form sections.

Tendril

Use green color.

Setup: Ch 17

Row 1start from the 2nd ch from the hook – 2 sc in each stitch

Stem

Use green color.

Step 1: Leave a long tail and make the first chain stitch.

Step 2: Throw a free tail on the hook.

Step 3: Pull the yarn through the two loops.

Step 4: Again, throw the tail on the hook and pull the yarn through two loops. Repeat it 11 times or until you reach the desired length of the stem.

Assembly

Step 1Step 1: Sew the stem and tendril to the pumpkin.
Step 2Step 2: The pumpkin is ready!

Tester's notes

Finished size: The finished size will vary depending on your choice of yarn and hook size, but it typically yields a lovely palm-sized pumpkin perfect for seasonal decor.

Pattern note: Use orange yarn for the main pumpkin body and green yarn for the stem and tendril.

Tip: Stuff the pumpkin lightly so it stays squishy and easy to pull the shaping threads through.

Tip: Use a strong tapestry needle when wrapping the yarn around the outside to pull the ridges tight.

Tip: Maintain a steady tension so your single crochet stitches stay tight, preventing stuffing from showing.

Tip: Feel free to experiment with different shades of orange, cream, or rust yarn for a natural look.

Tip: Keep a stitch marker handy to easily keep track of the start of each continuous round.

Work in progress

Amigurumi pumpkin pattern with a chained stem and tendril — photo 2
Amigurumi pumpkin pattern with a chained stem and tendril — photo 3

At a glance

Rounds14
Parts3
LevelBeginner
Time2-3 hours
Hook2.5 mm
YarnDK

Gauge check

After round 1, count stitches before moving on: 10 single crochet should sit snugly in the magic ring with no gaps between stitches.

Stitch-count checkpoints

  • Pumpkin · Round 3: 20 sts
  • Pumpkin · Round 17: 40 sts
  • Pumpkin · Round 20: 20 sts
  • Pumpkin · Round 22: 5 sts

If something looks wrong

The center hole never closes after round 1.
The magic ring was not pulled tight before starting round 2's 10 increases. Pull the tail firmly until all 10 stitches sit flush, then proceed.
The tendril curls too tightly or barely curls at all.
Tension on the 17-chain row, worked with 2 single crochet in each stitch, controls the curl. Loosen or tighten that one row rather than changing hook size mid-piece.
Stuffing shows through the fabric once
Single crochet tension was too loose across the 13 rounds. Redo the body with a smaller hook within the 2-2.5mm range or tighten stitch tension.
The finger-chain stem won't hold its shape.
Fewer than 11 loop-through repeats or uneven tension in the chain causes this. Recount to 11 repeats and pull each loop to matching tightness before trimming the tail.

Yarn substitutions

Sport-weight cotton, approximately 125-150m/50gProduces a smaller pumpkin than the 160m/50g orange yarn calls for, needs slightly less fiberfill, and pairs with a 2mm hook to keep the same tight gauge.
DK-weight acrylic, approximately 165m/50gMatches the pattern's 165m/50g green yarn yardage closely, keeps the piece close to palm-sized, and works with the 2-2.5mm hook range as written.
Worsted-weight wool blend, approximately 100-120m/50gYields a larger pumpkin than the original 160m/50g yarn, takes more fiberfill to fill the extra volume, and calls for a hook closer to 2.5mm or slightly above to keep stitches dense.
FAQs

Questions

Can I use a different yarn weight for this project?

Yes, you can use any yarn weight you prefer! Just make sure to select a corresponding hook size so your stitches stay nice and tight.

How do I make the pumpkin sections look even?

Space your yarn wraps evenly around the pumpkin ball before pulling the yarn tail tight to secure each section.

Do I need to make the tendril?

The tendril is completely optional, but it adds a charming, rustic touch to the finished top near the stem.

Is this pattern suitable for beginners?

Yes, this project relies on basic stitches like single crochet, increases, and decreases, making it very approachable.

How do I clean my finished crochet pumpkin?

Spot clean gentle areas with a damp cloth and mild soap, then allow it to air dry completely.

One at a time —

Get the next pattern

Tested round by round before it is sent. No spam.