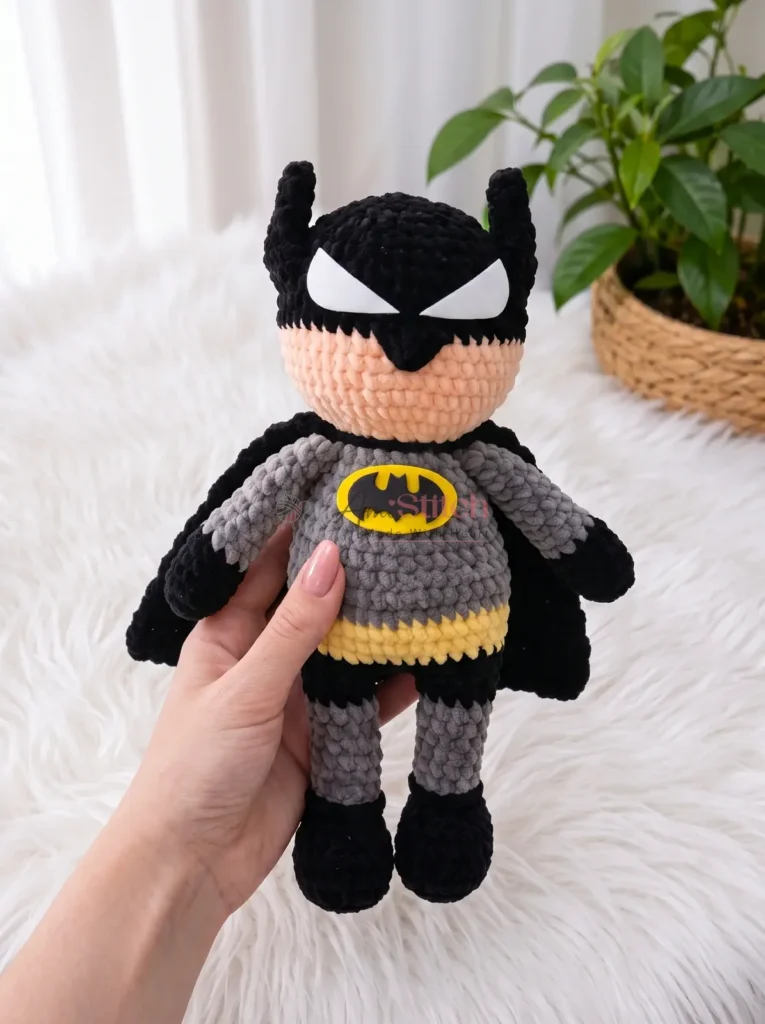
Made and counted by Wren —

Amigurumi Batman crochet doll construction and sizing notes

US G-6 / 4.0 mm hook, worsted weight yarn — amigurumi Batman doll with joined legs, spiral body, sewn-on cape.

Amigurumi Batman crochet doll construction and sizing notes
IntermediateLevel
4-6 hoursTime
4.0 mmHook
WorstedYarn
Jump to the pattern

About this pattern

An amigurumi Batman pattern worked in worsted weight yarn with a US G-6 / 4.0 mm hook. Arms run 5 rounds, legs 11, body 13, head 12, ears 7, and cape 12, all in continuous spiral. Legs join into the body at a 32-stitch count, stuffing happens as rounds progress, and the cape attaches last with its starting yarn tail.

This amigurumi Batman doll builds in six separate pieces — arms, legs, ears, and a cape — plus one continuous body-and-head unit that starts the moment both legs are joined. Legs work first, 11 rounds each in black, then a chain-4 bridge links them into Body Round 1 at a 32-stitch count before the head continues upward through 12 more rounds. Work in a continuous spiral throughout, with a stitch marker tracking round starts since the joins happen without slip stitches. The cape and ears finish separately and attach last, after stuffing is locked into the legs and body.
The pattern

Written out round by round

Materials

Yarn

  • Worsted weight yarn in black, gray, skin/flesh tone, and a small amount of yellow (the original uses Himalaya Dollfin Baby)

Hook

  • US G-6 / 4.0 mm

Stuffing

  • Polyfill / fiberfill

Yarn needle

  • Blunt-tipped tapestry needle for sewing parts together

Hot glue gun

  • For attaching foam eyes and emblem
  • Scissors

Abbreviations

  • BLO = Back Loop Only
  • ch = Chain
  • dec = Decrease (invisible decrease: insert hook in front loop of next 2 sts, yo, pull through, yo, pull through 2 loops)
  • FLO = Front Loop Only
  • hdc = Half Double Crochet
  • inc = Increase (2 sc in same stitch)
  • MR = Magic Ring
  • sc = Single Crochet
  • sl st = Slip Stitch
  • st / sts = Stitch / Stitches

Arms (Make 2)

Begin with black yarn.

Round 1Ch 2, work 6 sc in the 2nd ch from hook. (6)
Round 2inc in each st around. (12)
Rounds 3–6sc in each st around. (12) At the end of Rnd 6, switch to gray yarn.
Round 74 sc, dec repeat 2 times around. (10)
Rounds 8–16sc in each st around. (10) (9 rounds total) Fasten off with a sl st and cut yarn. Stuff the arm to about two-thirds full with fiberfill.

Legs (Make 2)

Begin with black yarn.

Round 1Ch 6. Starting in the 2nd ch from hook, work along the foundation chain: inc, 3 sc, 3 sc in the last ch; continue along the opposite side of the chain: 4 sc. (12)
Round 22 inc, 3 sc, 3 inc, 3 sc, 1 inc. (18)
Round 3sc, inc repeat 2 times, 3 sc, sc, inc repeat 3 times, 4 sc, inc. (24)
Rounds 4–5sc in each st around. (24) At the end of Rnd 5, work 3 extra sc to shift the round start point.
Round 67 sc, sc, dec repeat 3 times, 8 sc. (21)
Round 77 sc, 3 dec, 8 sc. (18)
Round 8sc, dec repeat 6 times around. (12)
Round 9sc in each st around. (12) Switch to gray yarn.
Round 10sc in each st around, working in BLO. (12)
Rounds 11–16sc in each st around. (12) Switch to black yarn.
Round 17sc in each st around. (12)For the first leg: fasten off and cut yarn. For the second leg: do not cut yarn — you will use it to begin the body.

Body

Continuing from the second leg with black yarn.

Chain 4 from the second leg, then join to the first leg so both legs face the same direction and begin working:

Round 112 sc around the first leg, 4 sc across the ch-4 bridge, 12 sc around the second leg, 4 sc across the other side of the ch-4 bridge. (32) Stuff both legs firmly with fiberfill. Continue stuffing the body as you go.
Rounds 2–3sc in each st around. (32) Switch to yellow yarn.
Round 47 sc, inc repeat 4 times around. (36)
Round 55 sc, inc repeat 6 times around. (42)
Round 6sc in each st around. (42) Switch to gray yarn.
Round 7sc in each st around. (42)
Round 85 sc, dec repeat 6 times around. (36)
Rounds 9–10sc in each st around. (36)
Round 114 sc, dec repeat 6 times around. (30)
Round 12sc in each st around. (30)
Round 133 sc, dec repeat 6 times around. (24)
Round 14sc in each st around. (24)Rnd 15: Attach the arms into this round as you work. (24) Crochet the arms in at the sides of the body by working through the arm opening and the body stitch together.
Round 162 sc, dec repeat 6 times around. (18) Switch to skin/flesh-tone yarn and continue directly into the head.

Head

Continuing from the body in skin/flesh-tone yarn.

Round 1inc in each st around. (36)
Round 25 sc, inc repeat 6 times around. (42)
Round 36 sc, inc repeat 6 times around. (48)
Rounds 4–7sc in each st around. (48) (4 rounds) Switch to black yarn. Begin stuffing the head and neck firmly as you go.
Rounds 8–11sc in each st around. (48) (4 rounds)(48)
Round 126 sc, dec repeat 6 times around. (42)
Round 135 sc, dec repeat 6 times around. (36)
Round 144 sc, dec repeat 6 times around. (30)
Round 153 sc, dec repeat 6 times around. (24)
Round 162 sc, dec repeat 6 times around. (18)
Round 17sc, dec repeat 6 times around. (12)
Round 186 dec around. (6)Pull the opening closed and weave in the end.

Ears (Make 2)

Work in black yarn.

Round 1Ch 2, work 6 sc in the 2nd ch from hook. (6)
Round 2sc in each st around. (6)
Round 3sc, inc repeat 3 times around. (9)
Round 42 sc, inc repeat 3 times around. (12)
Round 53 sc, inc repeat 3 times around. (15)
Rounds 6–7sc in each st around. (15)
Round 87 sc worked through both layers (fold the ear flat and crochet the front and back loops together to close the base), ch 1.Fasten off, leaving a long yarn tail for sewing. Sew the ears to the head between Rnds 9 and 12, positioning them so they stand upright and hold their shape securely.

Cape

Work flat in back-and-forth rows with black yarn. Leave a long yarn tail at the beginning for sewing the cape to the figure.

Row 1: Ch 11, turn.

Round 210 sc across. (10)
Round 310 hdc across. (10)
Round 4inc (in hdc), 8 hdc, inc. (12)
Round 512 hdc across. (12)
Round 6inc, 10 hdc, inc. (14)
Round 714 hdc across. (14)
Round 8inc, 12 hdc, inc. (16)
Round 916 hdc across. (16)
Round 10inc, 14 hdc, inc. (18)
Round 1118 hdc across. (18)
Round 12inc, 16 hdc, inc. (20)
Rounds 13–2020 hdc across. (20) (8 rows) Ch 1, fasten off and weave in the end.

Assembly

Step 1Attach the cape: Using the long yarn tail left at the start of the cape, sew it between the head and body, centering it along the back.
Step 2Embroider the nose: Using black yarn (a plush or velvet yarn gives the best texture), embroider a small triangle in the center of the face on the skin-tone section.
Step 3Finish the boot cuffs: With gray yarn, work a round of 12 sc in FLO around Rnd 10 of each leg. This creates the raised cuff edge. Fasten off and weave in the end.
Step 4Attach the eyes: Cut eye shapes from white craft foam. Cut the bat emblem from yellow and black craft foam. Use hot glue to adhere them to the face and chest.
Step 5Weave in all remaining ends.

Tester's notes

4.0 mm (US G-6) hook holds all parts to the same gauge; sizing it up or down changes finished diameter across all six pieces, including the 32-stitch body base.

12 rounds make up both the head and the cape — don't confuse round counts between the two pieces when checking stitch totals mid-pattern.

3 extra sc at the end of Leg Rnd 5 shift the round's starting point; skip this and every later round in the leg lands on the wrong side.

Stuffing goes in twice: legs get stuffed firmly before Body Rnd 1 closes the ch-4 bridge, then the body gets topped up as rounds continue — check firmness at the neck before starting the head.

Work in progress

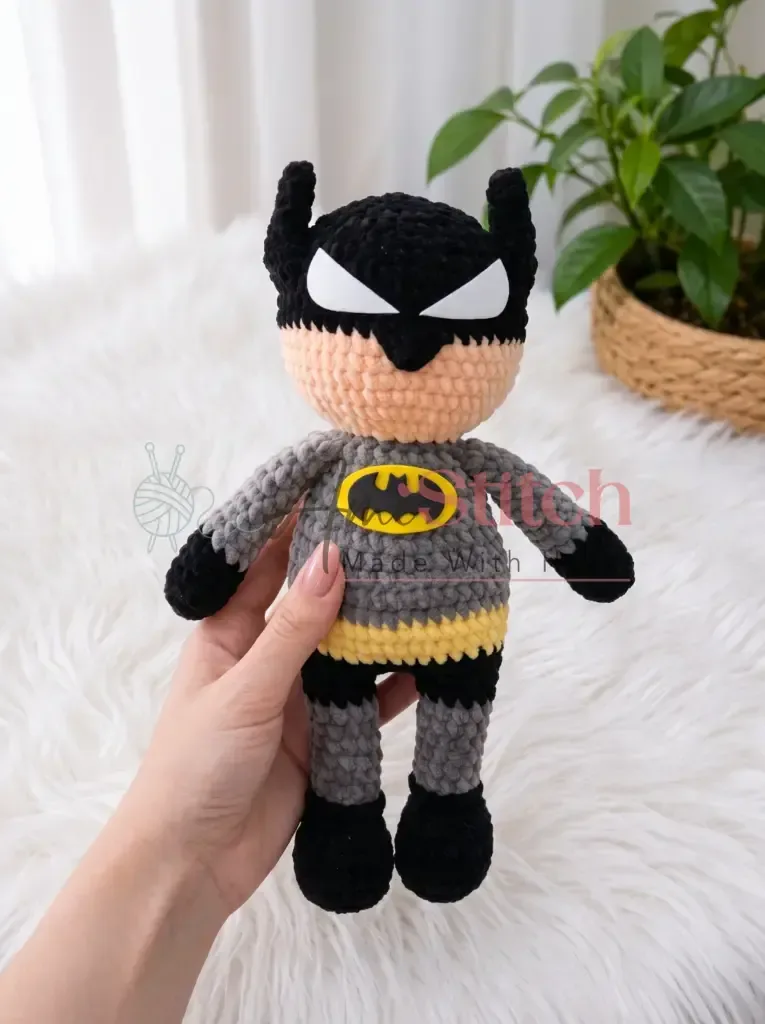
Amigurumi Batman crochet doll construction and sizing notes — photo 2
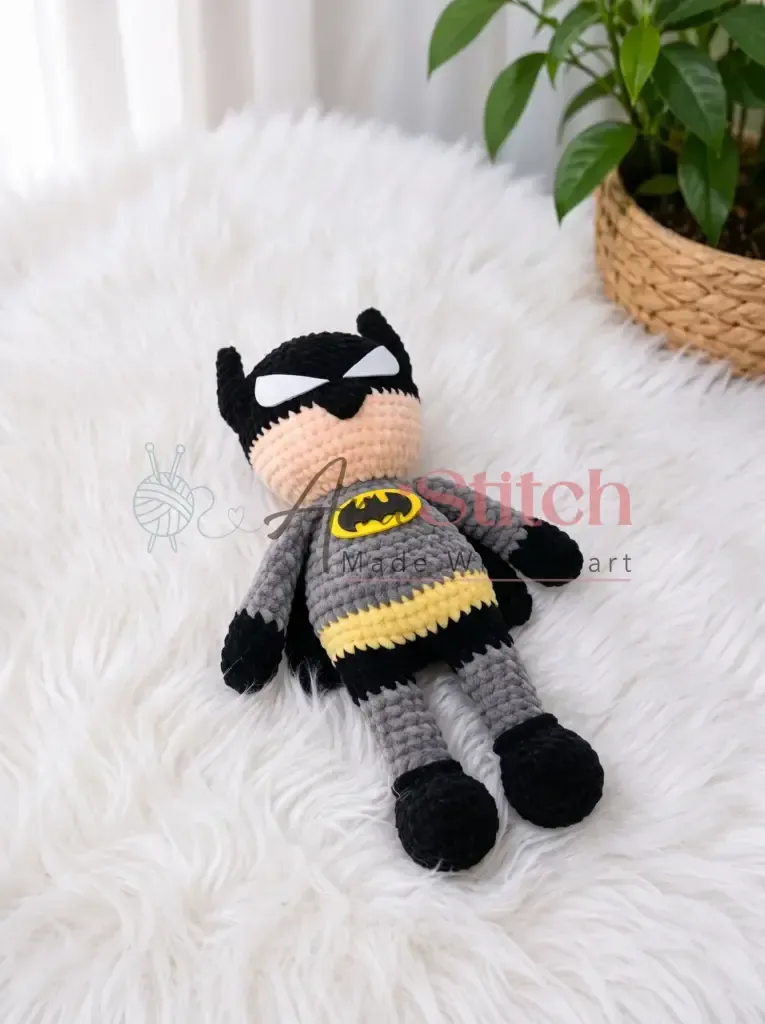
Amigurumi Batman crochet doll construction and sizing notes — photo 3

At a glance

Rounds60
Parts6
LevelIntermediate
Time4-6 hours
Hook4.0 mm
YarnWorsted

Gauge check

After Leg Rnd 3, count stitches: the round should land on 24 before moving into Rnds 4–5 worked even.

If the count runs high or low there, the chain-6 start or an increase got skipped — unravel back to Rnd 1 rather than correcting mid-round, since every later round count depends on that base.

Stitch-count checkpoints

  • Arms (Make 2) · Round 1: 6 sts
  • Arms (Make 2) · Round 2: 12 sts
  • Arms (Make 2) · Round 7: 10 sts
  • Legs (Make 2) · Round 2: 18 sts
  • Legs (Make 2) · Round 6: 21 sts
  • Legs (Make 2) · Round 8: 12 sts

If something looks wrong

The two legs face different directions once the body starts.
The ch-4 bridge at Body Rnd 1 has to sit on the same side of both legs before joining; recount the 4 sc worked across each side of the bridge and unpick the join if they're mismatched.
The boot cuff lies flat instead of standing up.
The cuff round needs to go into the front loops only of Leg Rnd 10, not the full stitch or a different round; redo the 12 sc FLO round into the correct loops.
The ears cup or curl instead of sitting flat against the head.
Tension across the 7 rounds is uneven, usually too tight on later rounds; work the whole ear at one consistent tension and block lightly before sewing on.
Stitch count is off by Body Rnd 4 (should read 36).
Increases got lost in the spiral without a round marker; recount from Rnd 1 using a marker at the start of every round and compare against the stated 32 and 36 counts.

Yarn substitutions

Cotton, worsted weightStitches show more definition but the fabric stiffens and drapes less; stuffing shows through gaps more easily, so a slightly smaller hook than the 4.0 mm called for keeps stitches tight enough to hide fill.
Acrylic, worsted weightClosest match to the original fiber and weight; keep the 4.0 mm hook and stitch counts as given, with no change to stuffing amount needed.
Acrylic or acrylic-blend, DK weightFinished doll comes out smaller than the stated round counts suggest; drop to a 3.5 mm hook to keep stitches dense, and use less stuffing per piece since the cavity shrinks with the lighter yarn.
FAQs

Questions

Why do the legs get stuffed before the body is even started?

Body Rnd 1 closes both legs into the ch-4 bridge, which narrows access to the leg cavity almost immediately. Stuffing firmly at that point is the only chance to pack the legs evenly before the opening shrinks.

What holds the foam eyes and emblem in place?

The materials list calls for attaching foam eyes and an emblem but doesn't specify a single method. Follow whatever hardware comes with the foam eyes, and sew the emblem on by hand with matching yarn.

Does the cape get worked while already attached to the body?

No. The cape works independently across its own 12 rounds, separate from the body and head. Once finished, its starting yarn tail sews it in place between the head and body, centered along the back.

One at a time —

Get the next pattern

Tested round by round before it is sent. No spam.