Made and counted by Wren —

Spiral Shell Cord Crochet Pattern: Easy Step-by-Step Guide

Learn to crochet a spiral shell cord with this easy step-by-step guide. Perfect trim for clothing, bags, and home decor with a nautical touch.

IntermediateLevel
2-3 HoursTime
Light/DKYarn
Jump to the pattern

At a glance

Start with your foundation stitches to establish the base length your spiral shell cord will grow from.

Work the first row of single crochet evenly along the base, keeping consistent tension throughout.

Move into the second row of double crochet, letting the new stitches build on top of the previous row.

Continue into the third row, watching the chain-5 shell spaces begin to form across the fabric.

Complete the fourth row, working the graduated stitches into each chain-5 space to lock in the shell shape.

Repeat Rows 3 and 4 along the length of your cord until you reach your desired length.

Fasten off leaving a generous tail, then weave in all loose ends neatly along the inside curve.

Block the finished cord to enhance stitch definition and shape before trimming or attaching it to your chosen project.

About this pattern

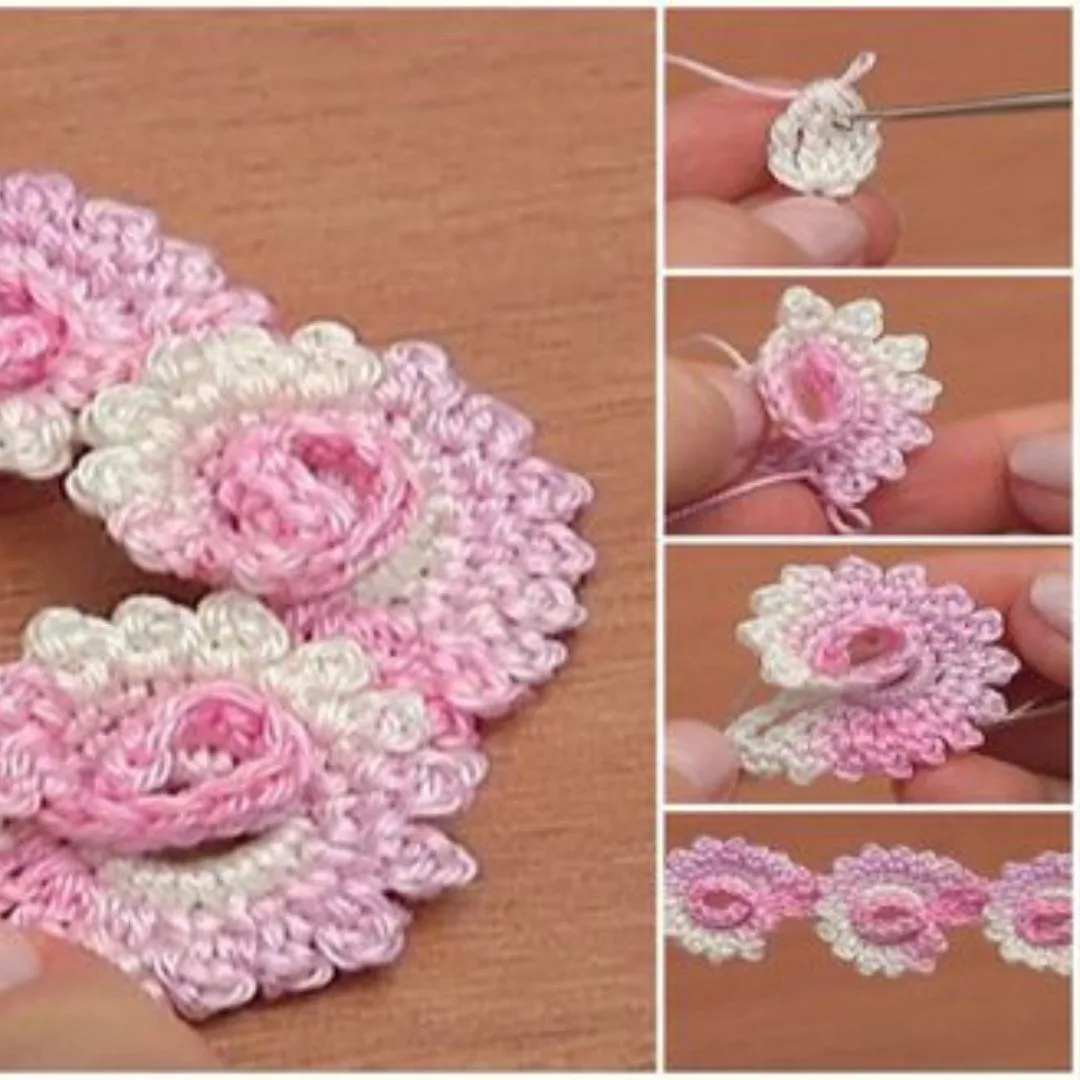
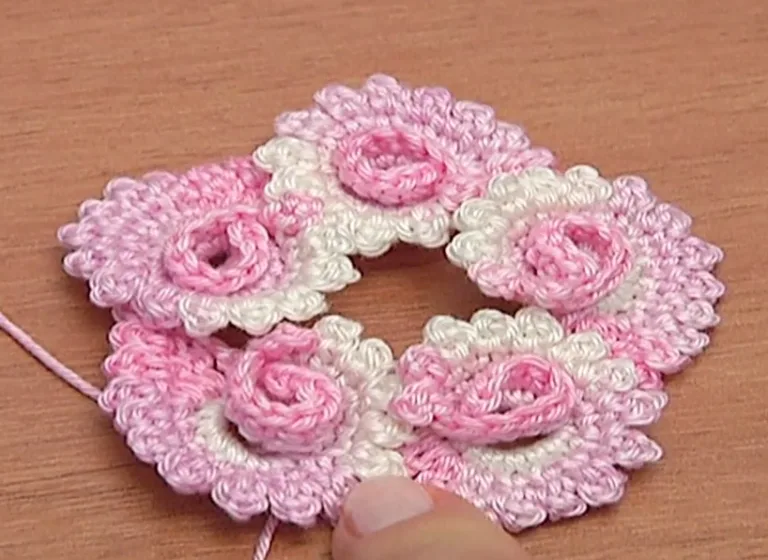
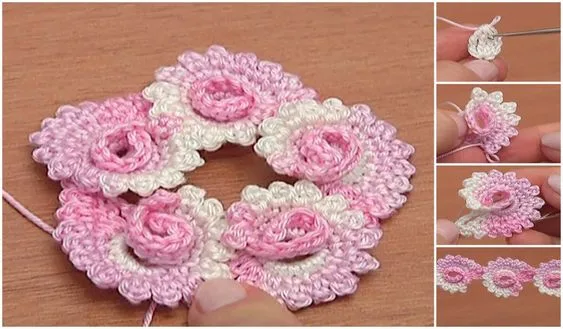
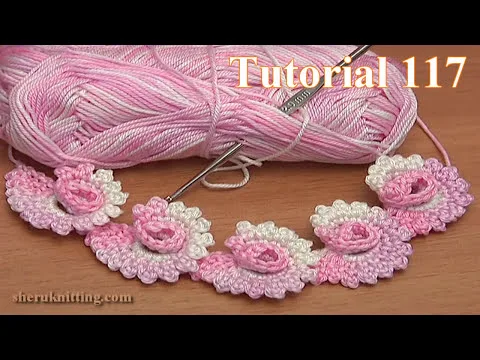
The Spiral Shell Cord is a mesmerizing little crochet project that transforms simple stitches into a rope-like trim with the graceful, twisting silhouette of a real seashell. What makes it so special is how much visual texture it packs into a compact, four-round pattern — every curve catches the light and draws the eye. It's perfect for crocheters who love nautical themes and want a versatile embellishment that elevates handmade garments, bags, and home goods without a huge time investment.

This pattern leans on rhythmic shell stitches worked in a repeating sequence that naturally coils into its signature spiral shape. You'll want a steady, even tension and a little patience as the curves build round by round, but the technique itself is approachable — most confident beginners and intermediate crocheters will pick it up quickly. Expect to spend somewhere between one and a few hours per cord, depending on your desired length and how many you're making for a project.

The finished cord has a dimensional, lightweight feel with beautifully defined stitches that really pop once blocked. It works up as a slim, flexible trim you can curve around necklines, weave through hat bands, or stitch along a cushion edge for instant textural interest. Because it's quick to whip up in multiples, it also makes a thoughtful handmade addition to gifted accessories, home decor pieces, or even a boxed set of nautical-themed hair ties.
Variations

There's something so satisfying about watching a flat row of stitches twist itself into a spiral right before your eyes — that's the magic of this pattern. I love how the shell stitches build on each other round after round, creating that rhythmic, wave-like motion that feels almost meditative to crochet. It's a small project, but it packs a big visual punch, and I find myself reaching for it whenever I want a quick, gratifying win between bigger projects. The natural curl means you don't need any fancy shaping tricks — the stitch pattern does all the work for you. I especially love experimenting with lightweight yarns here because they let every shell edge and curve show off crisp stitch definition, especially after a good block. Whether I'm adding it as a trim to a sweater sleeve or knotting it into a bag strap, it always earns compliments. Plus, because it only takes a handful of rounds to complete, it's the perfect portable project for using up pretty leftover skeins while making something genuinely useful and pretty.

Common mistakes

  • Inconsistent tension between shellPractice keeping your yarn tension even by resting the working yarn over the same finger each round, and check your gauge every few repeats to catch drift early.
  • Working stitches too tightlyLoosen your grip slightly and use a hook one size larger if your stitches feel stiff — the spiral relies on a bit of give to twist properly.
  • Losing track of which round you'reUse a scrap of contrasting yarn or a stitch marker at the start of each round so you always know exactly where you left off.
  • Choosing a heavy or nubby yarnStick with a smooth, lightweight yarn as recommended so each shell curve stays crisp and visible rather than getting lost in fuzzy fibers.
  • Skipping the blocking step, leavingWet block or steam block your finished cord over a curved surface (like a rolling pin) to coax the spiral into its fullest, most defined shape.
  • Leaving yarn tails too short to weaveLeave at least a 6-inch tail at both ends so you have plenty of length to weave in neatly without the stitches unraveling.

The pattern

Written out round by round

Materials

  • To create your own spiral shell cord, you will need:

Yarn

  • Opt for a lightweight yarn that showcases the stitch definition.

Crochet Hook

  • Choose a hook size suitable for your yarn.

Scissors

  • For cutting the yarn.

Tapestry Needle

  • For weaving in the ends.

Abbreviations

  • sc = single crochet
  • hdc = half double crochet
  • dc = double crochet
  • tr = treble crochet

Step-by-Step Crochet Spiral Shell Cord

Foundation Chain : Start with a foundation chain of your desired length.

  1. Row 1Single crochet (sc) in the second chain from the hook and in each chain across. Turn your work.
  2. Row 2Chain 3 (counts as the first double crochet), double crochet (dc) in the next stitch, and in each stitch across. Turn your work.
  3. Row 3Begin the spiral shell pattern: Chain 5, skip 2 stitches, slip stitch in the next stitch. Repeat from * to * across the row. Turn your work.
  4. Row 4Work into the chains created in Row 3: Single crochet (sc), half double crochet (hdc), double crochet (dc), treble crochet (tr), double crochet (dc), half double crochet (hdc), single crochet (sc) in each chain-5 space. Repeat from * to * across the row. Turn your work.Continue repeating Rows 3 and 4 to maintain the spiral shell pattern along the length of your cord.

Important notes

💡 "The magic of a spiral shell cord lies in its rhythmic pattern and graceful curves. Patience and precision are key to achieving a flawless design."

💡 Tension: Keep an even tension throughout to ensure uniform shells.

💡 Blocking: Block your finished cord to enhance the stitch definition and shape.

💡 Color Choices: Experiment with different colors to mimic natural shell patterns or create vibrant, artistic designs.

More photos

Spiral Shell Cord Crochet Pattern: Easy Step-by-Step Guide — photo 2
Spiral Shell Cord Crochet Pattern: Easy Step-by-Step Guide — photo 3
Spiral Shell Cord Crochet Pattern: Easy Step-by-Step Guide — photo 4
FAQs

Frequently asked questions

What yarn weight works best for the Spiral Shell Cord?

A lightweight yarn, like a fingering or light DK weight, works best because it shows off the shell stitch definition clearly. Heavier yarns can obscure the delicate spiral texture, so stick with something smooth and thin for the crispest results.

How long does one Spiral Shell Cord take to make?

Since the pattern is just four rows repeated to length, most crocheters can finish one cord in an hour or two depending on desired length. It's a great quick project for using up small amounts of leftover yarn.

Can I make the cord longer or shorter than the pattern suggests?

Yes, you can adjust the length by repeating Rows 3 and 4 for more or fewer repeats until you reach your desired size. Just keep your tension consistent throughout so the spiral stays uniform.

Do I need to block the finished cord?

Blocking is highly recommended because it enhances the stitch definition and helps the spiral hold its graceful curved shape. A quick steam or wet block works beautifully.

What can I use a Spiral Shell Cord for?

This versatile cord works wonderfully as a trim on clothing, an accent on bags, hats, and scarves, or a decorative border for cushions, curtains, and table runners. It also makes a cute base for hair accessories, jewelry, gift wrapping, or picture frame and garland embellishments.

One at a time —

Get the next pattern

Tested round by round before it is sent. No spam.