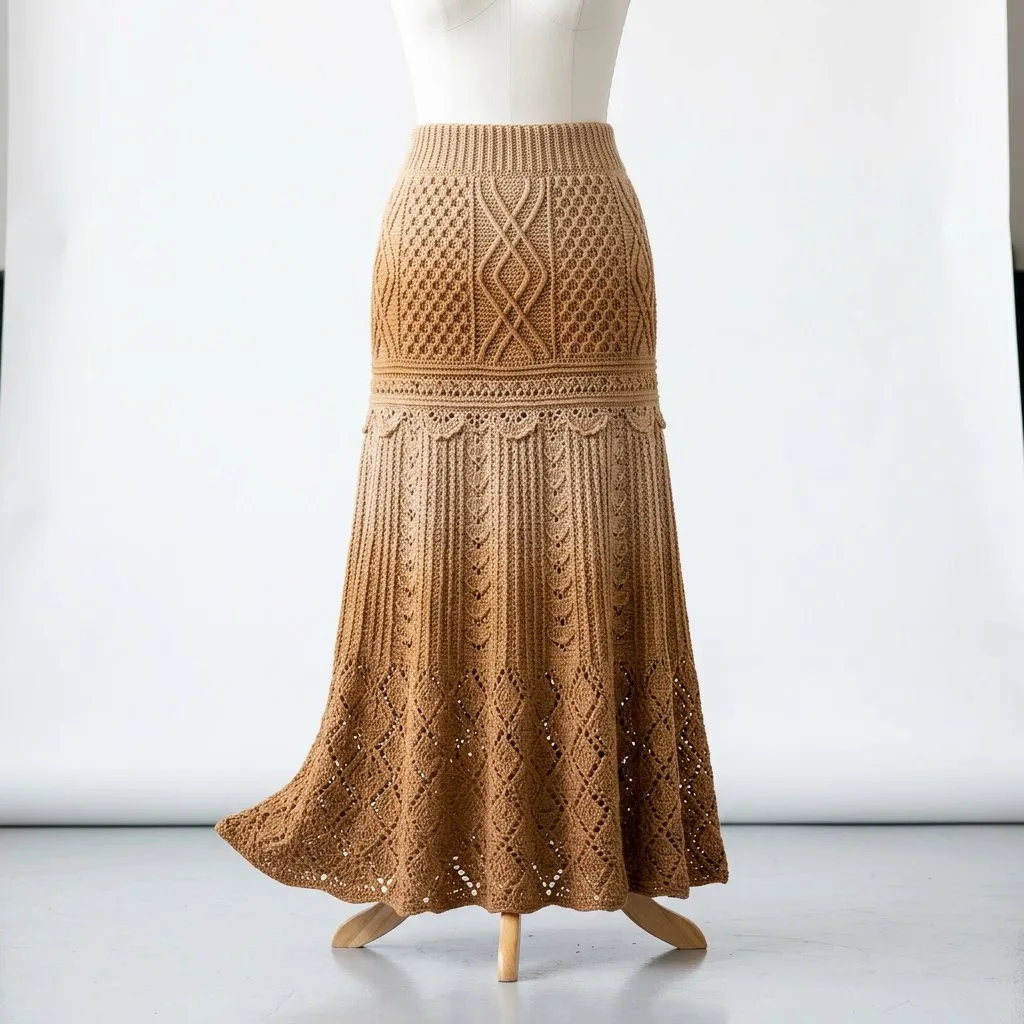
Made and counted by Wren —

Ribbed waistband crochet maxi skirt with cable diamonds

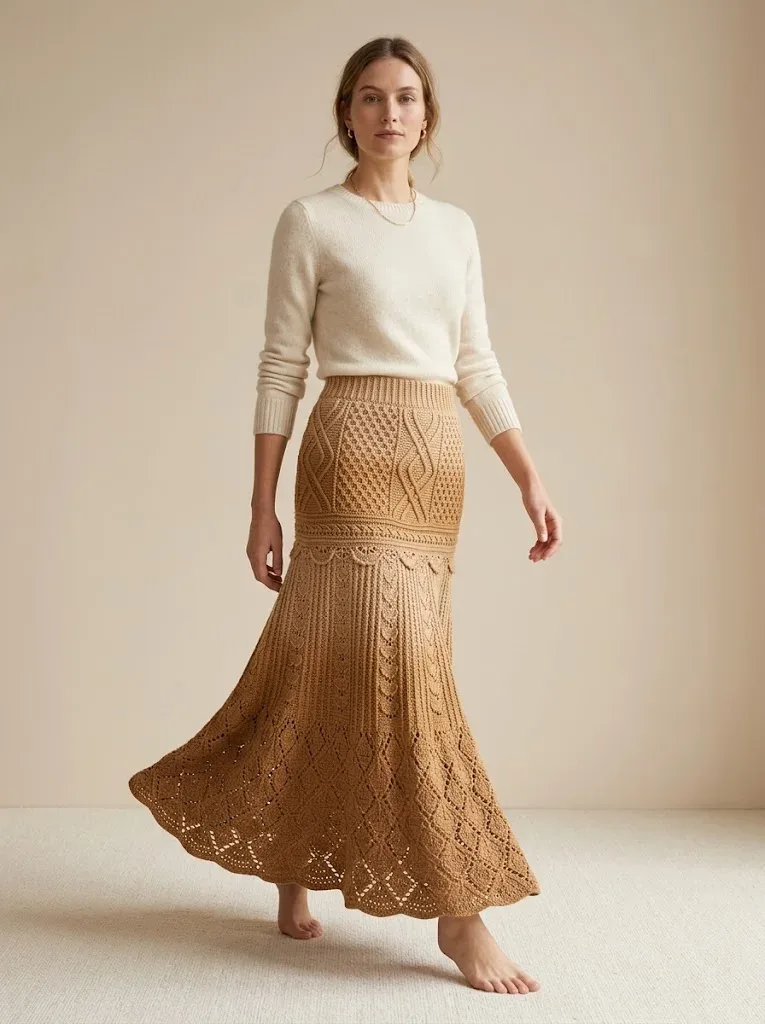
3.25mm hook, fingering weight yarn: a ribbed-waist crochet maxi skirt with cable diamond panels.

Ribbed waistband crochet maxi skirt with cable diamonds
IntermediateLevel
15-20 hoursTime
3.25 mmHook
FingeringYarn
Jump to the pattern

About this pattern

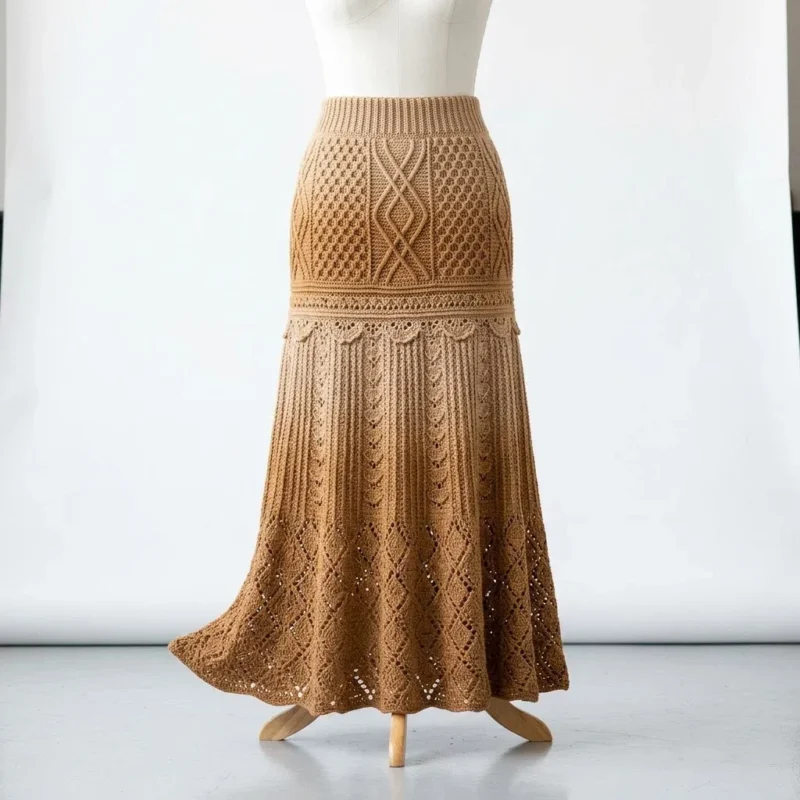
A fingering-weight crochet maxi skirt built from a back-loop-only single crochet ribbed waistband joined into rounds of FPdc/BPdc rib, with 6-stitch cable crosses forming a diamond motif every sixth round. Finished sizes run 26 (30, 34) inch waist and 36 (40, 44) inch hip, with a length of 38 to 40 inches. Gauge is 22 stitches and 26 rows per 4 inches in single crochet, worked on a 3.25mm hook.

This maxi skirt starts as a flat ribbing strip worked in back-loop-only single crochet, then joins into a round for the body. Rounds 3 through 6 repeat a front-post/back-post double crochet rib, and Round 7 introduces a 6-stitch cable cross worked every sixth round to build the diamond panel. Row count for the waistband ribbing runs to 144 (168, 192) rows depending on size, matched directly against a stretched elastic waist measurement. Finished length runs 38 to 40 inches from waist to hem.
The pattern

Written out round by round

Materials

Yarn

  • Approximately 1,200 to 1,500 yards of fingering weight yarn (Category 1)
  • The skirt shown uses a warm camel or tan neutral shade

Hook

  • 3.25mm (US D/3) crochet hook for the body
  • 3.0mm (US C/2) hook for the waistband (optional, for tighter ribbing)

Notions

  • Stitch markers (at least 8)
  • Tapestry needle for weaving ends
  • Measuring tape
  • 1 inch wide elastic for waistband (measure your waist and subtract 1 inch)
  • Gauge
  • 22 stitches and 26 rows = 4 inches in single crochet
  • Finished Measurements

Waist circumference

  • 26 (30, 34) inches

Hip circumference

  • 36 (40, 44) inches

Total length

  • Approximately 38 to 40 inches from waist to hem

Abbreviations

  • ch = chain
  • st = stitch
  • sts = stitches
  • sl st = slip stitch
  • sc = single crochet
  • dc = double crochet
  • blo = back loops only
  • FPdc = front post double crochet
  • BPdc = back post double crochet

Foundation

Round 1Sc in 2nd ch from hook and in each ch across. (12 sc)
Round 2Ch 1, turn. Working in back loops only (BLO), sc in each st across. (12 sc)Rows 3 through 144 (168, 192): Repeat Row 2. The number of rows depends on your size. Measure against your waist elastic as you go. The ribbing should match your elastic length when slightly stretched.

Setup Round

Round 1Ch 3 (counts as dc here and throughout), dc in each st around. Join with sl st to top of ch-3. (144, 168, 192 dc)
Round 2Ch 3, *FPdc around next st, BPdc around next st* repeat around. Join. (144, 168, 192 sts)
Round 3through 6: Repeat Round 2, maintaining the rib pattern (FPdc over FPdc, BPdc over BPdc).
Round 7Cable Setup Ch 3, *work 6 sts in established rib pattern, place marker, work Right Cross over next 6 sts, place marker, work 6 sts in rib, work 6 sts in seed texture (alternating FPdc and BPdc opposite of the row below)* repeat around, adjusting stitch counts as needed for your size. Join.Rounds 8 through 12: Continue in established patterns. Work cable crosses every 6th round, alternating between Right Cross and Left Cross to create the diamond motif.Rounds 13 through 36: Continue working the cable and texture pattern. The hip section should measure approximately 8 to 10 inches from the waistband.

If you need more or less length through the hips, add or subtract rounds here before beginning the lace transition.

Hook

3.25mm (US D/3) crochet hook for the body 3.0mm (US C/2) hook for the waistband (optional, for tighter ribbing)

Notions

Stitch markers (at least 8)

Tapestry needle for weaving ends Measuring tape 1 inch wide elastic for waistband (measure your waist and subtract 1 inch)

Total length

The lace panels create natural stretch, so the skirt will accommodate 2 to 3 inches of ease beyond these measurements.

Left Cross

Do not stress if this feels awkward at first. The cables become intuitive after 2 or 3 repeats.

Tester's notes

3.25mm hook handles the full body; reserve the 3.0mm hook only for a tighter waistband rib, not the whole skirt.

8 stitch markers mark both edges of each cable panel — place them at Round 7 before the first Right Cross or the diamond motif shifts out of alignment.

144 (168, 192) rows of waistband ribbing must be measured against the cut elastic as you go, not counted and trusted blind.

Rounds 3 through 6 require FPdc to land directly over FPdc and BPdc over BPdc; one miscounted stitch here throws off every rib column for the rest of the skirt.

1 inch wide elastic is cut to waist measurement minus 1 inch — cut and test-stretch it before working the final ribbing row so length isn't guessed.

Work in progress

Ribbed waistband crochet maxi skirt with cable diamonds — photo 2
Ribbed waistband crochet maxi skirt with cable diamonds — photo 3

At a glance

Rounds6
Parts6
LevelIntermediate
Time15-20 hours
Hook3.25 mm
YarnFingering

Gauge check

After 4 inches of single crochet ribbing, lay the swatch flat and count: expect 22 stitches and 26 rows across that span.

Stitch-count checkpoints

  • Foundation · Round 1: 12 sts
  • Foundation · Round 2: 12 sts

If something looks wrong

The waistband ribbing flares instead of hugging the waist.
Back loop only was missed on some rows, pulling in both loops and stiffening the rib. Rip back to Row 2 and confirm only the back loop is picked up across every row through Row 144 (168, 192).
The diamond cable pattern drifts sideways as rounds progress.
Stitch markers were not reset after the Round 7 cable setup. Replace all 8 markers at the start of each 6-round repeat so Right Cross and Left Cross always fall over the same stitches.
The body puckers right at the Round 1 join.
The dc stitch count doesn't match 144 (168, 192) because of a miscounted BLO ribbing row. Count the ribbing rows against the stated total before joining, then verify the dc count after Round 1.
The elastic waistband casing feels loose after insertion.
The elastic was cut longer than waist measurement minus 1 inch, or the ribbing didn't match the elastic length when stretched. Re-measure the elastic against the waist-minus-1-inch target and re-check the ribbing against it before resewing.

Yarn substitutions

100% cotton, fingering weightKeeps the FPdc/BPdc rib crisp but adds weight; expect finished length to sit at the lower end of the 38 to 40 inch range, and keep the 3.25mm hook.
Bamboo/cotton blend, fingering weightMatches the pattern's stated drape with no gauge change; the 3.25mm hook still holds 22 stitches and 26 rows per 4 inches.
Acrylic/cotton blend, sport weightA half-step heavier yarn reduces the rows needed to reach the 144 (168, 192) ribbing length; swatch first, size down to a 3.0mm hook to hold the stated gauge, and expect a stiffer drape before the elastic goes in.
FAQs

Questions

Why does the waistband ribbing go to 144, 168, or 192 rows instead of a fixed number?

Row count scales with the three sizes (26, 30, 34 inch waist) since each back-loop-only single crochet row adds a fixed amount of ribbing height. Measure the ribbing against the cut elastic as the rows build rather than relying on the row count alone.

Does the waistband need the 3.0mm hook, or can the 3.25mm hook do the whole skirt?

The 3.0mm hook is optional and only tightens the ribbing tension. The entire body and ribbing can be worked on the 3.25mm hook if a looser rib is acceptable, so swatch both before committing to the 144-plus ribbing rows.

How many stitch markers does the cable section actually need?

least 8 markers, placed at the Round 7 cable setup to flag both sides of the Right Cross and the adjacent rib and seed-texture sections. Move them up every 6 rounds so each Right Cross or Left Cross lands on the same stitches.

One at a time —

Get the next pattern

Tested round by round before it is sent. No spam.