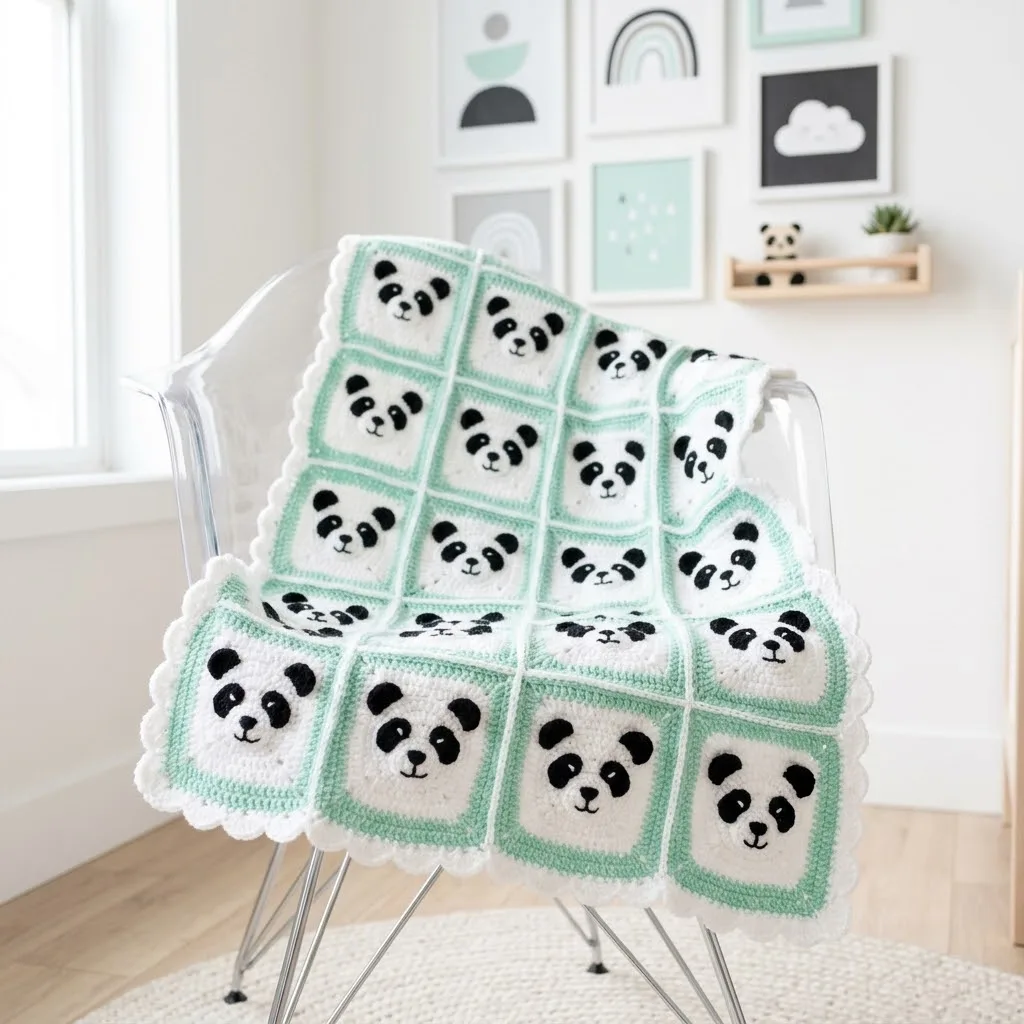
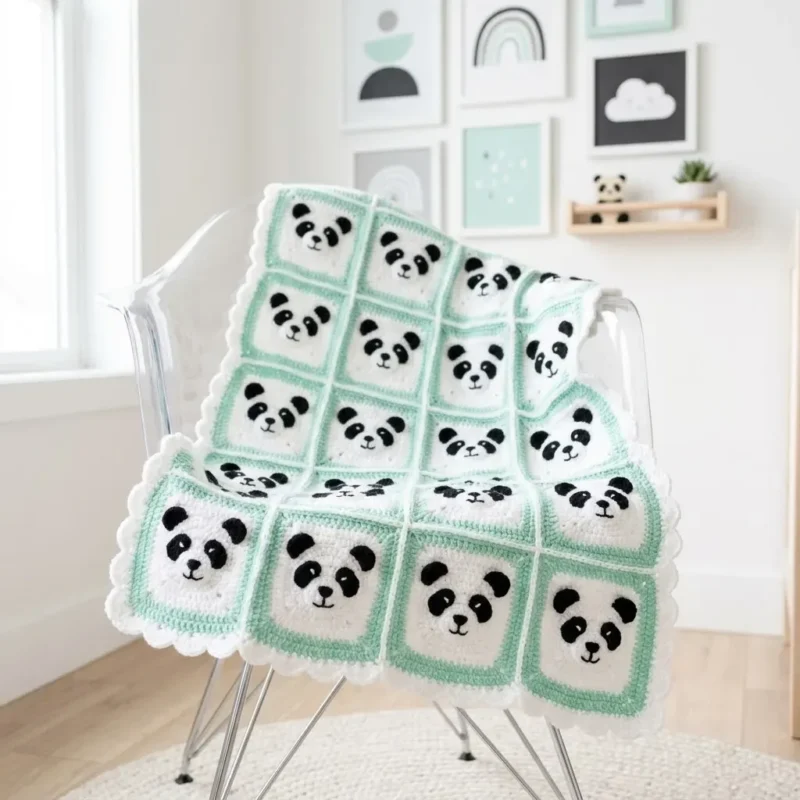
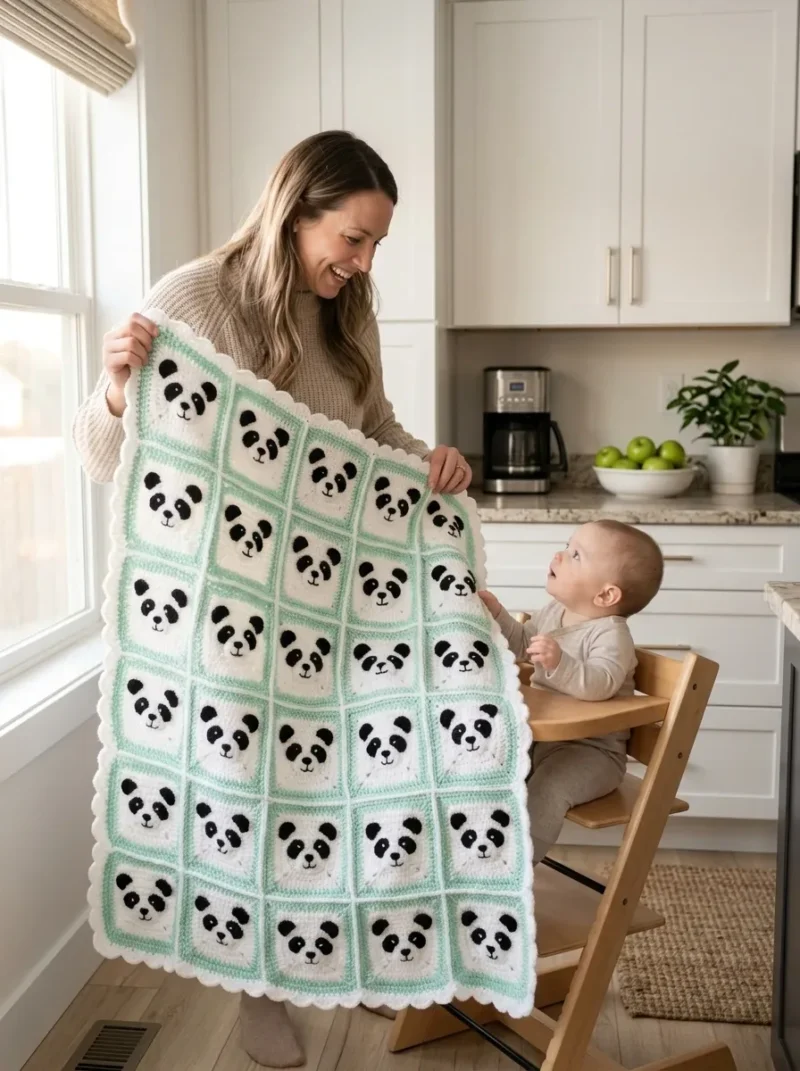
Finished Dimensions
Approximately 24 inches wide by 30 inches long (4 squares by 5 squares)
Skill Level
This step by step crochet pattern is beginner friendly with some intermediate elements. If you can work basic crochet stitches and are comfortable making small circles for appliqué pieces, you can absolutely make this blanket.
The squares themselves use only fundamental stitches. The panda faces are created separately and sewn on, which is much easier than colorwork or complicated stitch manipulation.
Abbreviations and Stitch Definitions
Let me walk you through every stitch you will need. Even if you already know these, a quick refresher never hurts.
Ch (chain): Yarn over, pull through the loop on your hook. This creates a foundation row or adds height at the beginning of rows.
Sl st (slip stitch): Insert hook into stitch, yarn over, pull through both the stitch and the loop on your hook in one motion. Used for joining and invisible movement.
Sc (single crochet): Insert hook into stitch, yarn over and pull up a loop (2 loops on hook), yarn over and pull through both loops. A short, tight stitch.
Hdc (half double crochet): Yarn over, insert hook into stitch, yarn over and pull up a loop (3 loops on hook), yarn over and pull through all 3 loops. Slightly taller than single crochet.
Dc (double crochet): Yarn over, insert hook into stitch, yarn over and pull up a loop (3 loops on hook), yarn over and pull through 2 loops (2 loops remain), yarn over and pull through remaining 2 loops. The workhorse stitch for granny squares.
Magic ring: An adjustable starting loop that closes completely when tightened. If you find this tricky, you can substitute ch 4 and sl st to form a ring instead.
Inc (increase): Work 2 stitches into the same stitch to add width.
How to Crochet the Panda Granny Square
You will make 20 identical squares for this blanket. Each square has a white center with a mint green border.
Base Square (Make 20)
Using white yarn:
Round 1Create a magic ring. Ch 3 (counts as first dc), 2 dc into ring, ch 2, *3 dc into ring, ch 2* three times. Sl st to top of beginning ch 3 to join. Pull magic ring closed. (12 dc, 4 ch-2 corner spaces)
Round 2Sl st into next 2 dc and into the corner ch-2 space. Ch 3, 2 dc in same space, ch 1, *3 dc, ch 2, 3 dc* in corner space, ch 1. Repeat from * around, ending with 3 dc, ch 2 in starting corner. Sl st to top of beginning ch 3. (24 dc, 4 ch-2 corners, 4 ch-1 spaces)
Round 3Sl st to corner space. Ch 3, 2 dc in same space, ch 1, 3 dc in ch-1 space, ch 1, *3 dc, ch 2, 3 dc* in corner, ch 1, 3 dc in ch-1 space, ch 1. Repeat from * around. Sl st to join. (36 dc)
Round 4Sl st to corner. Ch 3, 2 dc in same space, ch 1, 3 dc in each ch-1 space along side with ch 1 between clusters, *3 dc, ch 2, 3 dc* in each corner. Continue around. Sl st to join. (48 dc)
Round 5Repeat the pattern from Round 4, adding one more 3 dc cluster per side. Sl st to join. Fasten off white. (60 dc)
Round 6Join mint green in any corner space. Ch 3, 2 dc, ch 2, 3 dc in same corner. Ch 1, 3 dc in each ch-1 space along sides, ch 1 between clusters. Work corner clusters as established. Sl st to join. (72 dc)
Round 7Repeat Round 6 pattern. Sl st to join. Fasten off and weave in ends. (84 dc) Your finished square should measure approximately 6 inches.
How to Crochet the Panda Face Appliqués
Each panda face needs five separate pieces: two ears, two eye patches, and one nose. These get sewn onto the finished white square before the blanket is assembled.
Nose (Make 20, black yarn)
Round 1Magic ring, ch 1, 6 sc into ring. Do not join. Pull ring closed. Fasten off, leaving tail. (6 sc)
This creates a tiny solid circle perfect for a little panda nose.
Assembling the Panda Faces
This is where your blanket really comes to life. Take your time positioning the features before sewing them down.
Step 1: Lay one white and mint square flat, right side facing up.
Step 2: Position two ears at the top corners of the white center section, just inside the mint border. The ears should peek up and slightly outward, just like real panda ears. Pin in place.
Step 3: Position the two eye patches in the center of the square, spaced about 1.5 inches apart. They should sit at a slight diagonal angle, tilting downward toward the center. This gives the panda its characteristic sweet expression.
Step 4: Place the nose centered below the eye patches, about half an inch down.
Step 5: Using your yarn needle and black yarn tails, whip stitch each piece securely to the square. For extra security, stitch around each piece twice.
Tip: I found it helpful to complete all the features for 4 or 5 squares at a time. Assembly line style keeps things moving and helps ensure all your panda faces look consistent.
Joining the Granny Squares Once all 20 squares have their panda faces attached, it is time to join them into a blanket.
Arrange your squares in a 4 by 5 grid. Make sure all the panda faces are oriented the same direction.
Joining Method (whip stitch):
Hold two squares with wrong sides together. Using mint green yarn and your yarn needle, whip stitch through the back loops only along one edge. This creates a neat, slightly raised seam on the right side.
Join all squares in rows first (4 squares per row, 5 rows total). Then join the rows together.
Alternative: You can also use a slip stitch join or single crochet join if you prefer. The whip stitch method shown creates the cleanest look with this pattern.
Round 1Join white yarn in any corner. Ch 1, sc evenly around entire blanket, working 3 sc in each corner. Sl st to join.
Round 2Ch 1, sc in first st. *Skip 2 sts, 5 dc in next st (this creates the scallop), skip 2 sts, sc in next st.* Repeat from * around entire blanket, adjusting slightly at corners to keep the scallops even. Sl st to join. Fasten off.Weave in all remaining ends. Block lightly if desired, though this is optional for a baby blanket that will be washed frequently.
Care Instructions
This panda baby blanket is designed for real life use. Machine wash on a gentle cycle with cold water. Tumble dry on low or lay flat to dry. Avoid high heat, which can cause acrylic yarn to lose its softness over time.
Final Thoughts on This Panda Bear Crochet Pattern
I cannot tell you how many compliments this blanket received at my friend’s baby shower. People genuinely could not believe it was handmade. The combination of the classic granny square construction with those irresistible panda faces creates something that feels both timeless and modern.
This crochet pattern is perfect for baby shower gifts, nursery decor, or even as a special keepsake for your own little one. The modular construction means you can easily adjust the size by adding or removing squares. Want a larger throw? Make 30 squares and arrange them in a 5 by 6 grid. Need a quick lovey? A single square with the panda face makes an adorable mini security blanket.
Thank you so much for choosing this pattern for your next project. I genuinely hope you love making it as much as I did. If you finish your own panda blanket, I would absolutely love to see it. Tag me on Instagram or share a photo in our Facebook group. Seeing your creations honestly makes my whole week.
If this pattern caught your eye, go ahead and pin it to your crochet board so you can find it whenever you are ready to start. And if you do make one, drop a comment below. I love hearing which color combinations you choose and who the lucky baby recipient will be.