Made and counted by Wren —

How to Crochet a Rose: Easy Step-by-Step Flower Pattern

Learn how to crochet a rose with this easy step-by-step pattern. Perfect for home decor, accessories, and handmade gifts crocheters of all levels will love.

Beginner-FriendlyLevel
1-2 HoursTime
WorstedYarn
Jump to the pattern

At a glance

Begin by working the center rounds to form the small spiral base that the petals will build from.

Keep your tension relaxed here so the fabric stays flexible enough to shape later on.

Move into the petal round, working stitches around the center to create the ruffled petal edge.

Watch your stitch count carefully so the petals stay even and evenly spaced around the base.

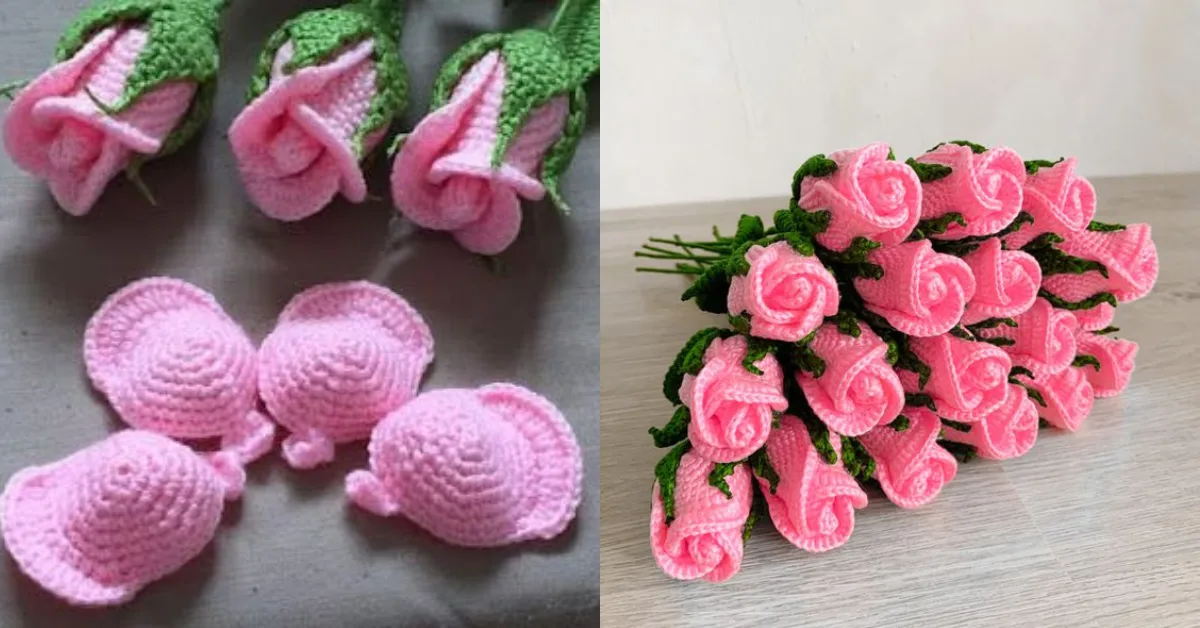
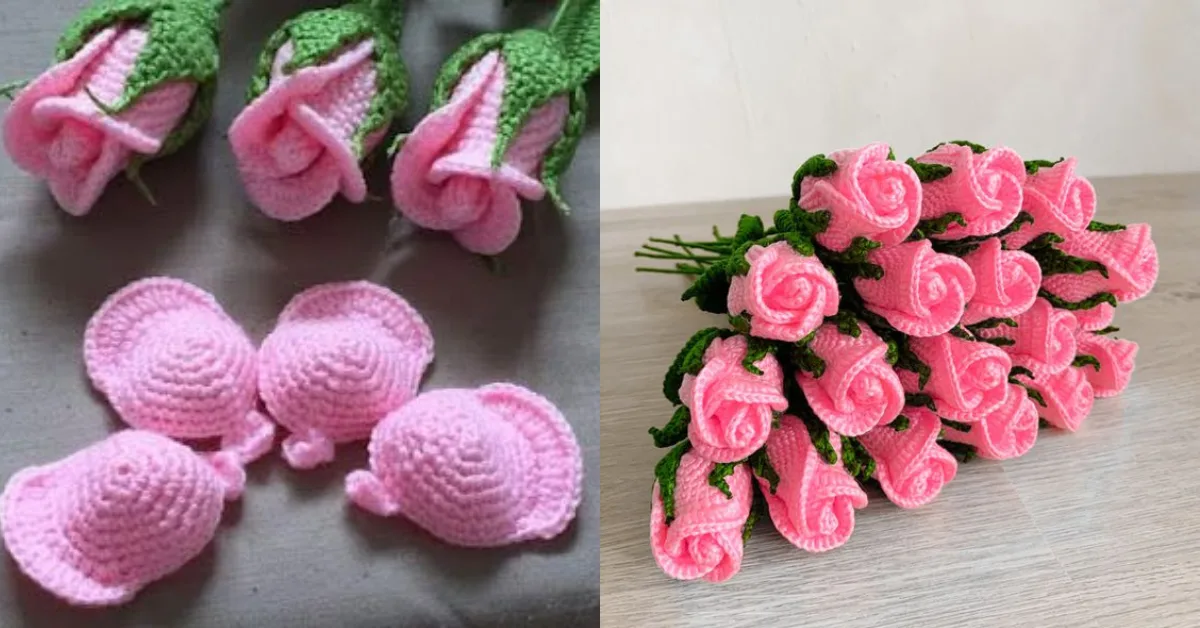
Once both rounds are complete, lay the piece flat and begin rolling it gently from one end.

Pinch and curl the strip by hand, letting the petals fold naturally into a rounded bloom shape.

Adjust the tightness of the roll to control how open or compact your finished rose looks.

Secure the base with your tail end and weave in the ends to finish rose.

About this pattern

This crochet rose pattern turns a small ball of yarn into a stunningly realistic flower using nothing more than a hook and a bit of patience. What makes it so special is its versatility — the same little bloom can become a brooch, a hair clip topper, a coaster embellishment, or a bouquet centerpiece for your shelf. It's perfect for crocheters who love quick, satisfying projects that deliver a beautiful payoff without a huge time commitment, and it's an excellent stash-buster for leftover worsted weight yarn in reds, pinks, or any color you love.

The rose comes together in three clear stages: building the center, creating the petals, and finally shaping the whole flower into its signature rounded bloom. You'll practice foundational skills like working in the round and building layered stitches to mimic natural petal curves, all while shaping fabric with your fingers as you go. This is a friendly project for beginners who've mastered basic stitches and chains, and most crocheters can complete one rose in about an hour, making it ideal for an evening on the couch.

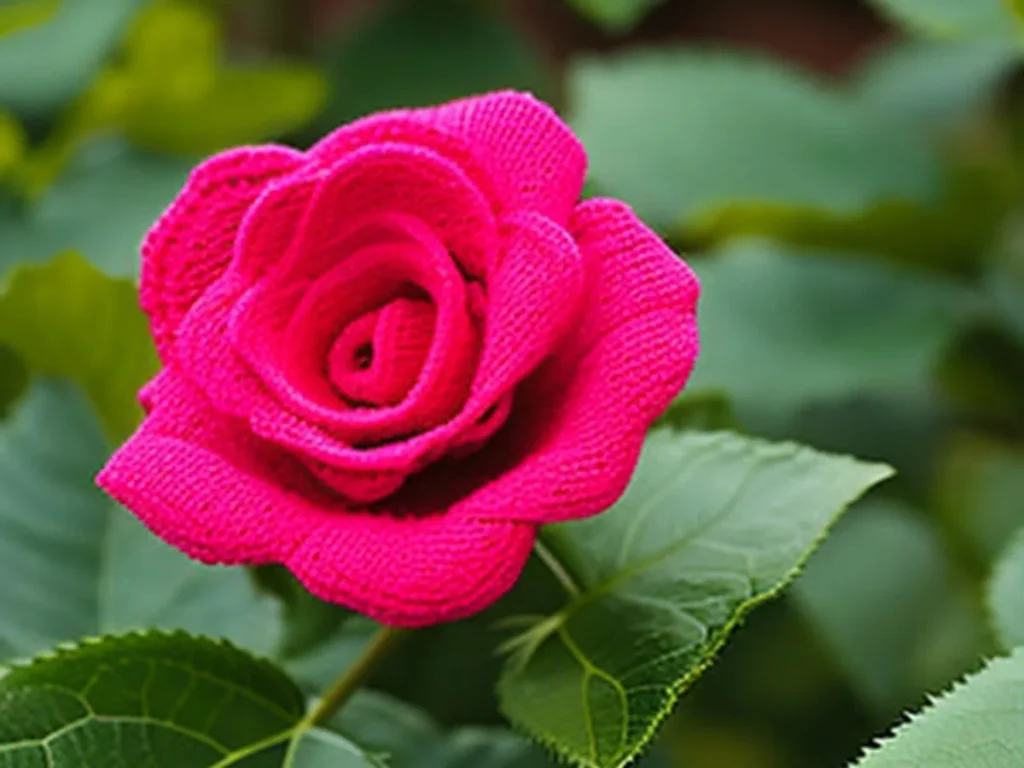
The finished rose is compact, roughly palm-sized, with a soft spiral center and gently curled outer petals that catch the light beautifully. It has real dimension and movement, looking far more intricate than the simple process required to make it. Because it's small, quick, and endlessly customizable in color, it makes a heartfelt handmade gift on its own or as the finishing touch on a scarf, bag, or bouquet you're already planning to give someone special.

Variations

One of my favorite things about this rose pattern is how much you can play with it. For a classic look, stick with a rich red or burgundy worsted weight yarn like Super Saver in Cherry Red or Vanna's Choice in Ruby — it reads as a true romantic rose. For something softer, try blush pink, cream, or lavender for a shabby-chic vibe perfect for nursery decor or bridal accessories. Want a rustic wildflower feel instead? Use a mustard yellow, terracotta, or sage green for the petals paired with a brown center. Size is easy to adjust too — work with a smaller hook (like a C or D) and a thinner yarn such as sport or DK weight to create a miniature rose perfect for earrings or brooches, or size up to a bulky yarn and larger hook for a statement flower that anchors a wreath or wall hanging. If you're making a batch, try ombre effects by using a gradient or self-striping yarn like Mandala so each petal naturally shifts in shade as you work the rounds. For themed projects, consider deep red and green for a classic rose-and-leaf combo, or soft pastels in pink, yellow, and white for a spring bouquet of mixed blooms. You can also experiment with fiber choice — a cotton yarn like Lily Sugar'n Cream gives the petals more structure and a crisp, fresh look, while acrylic keeps things soft and pliable for wearable pieces. Once you've made a few roses, try clustering three or five together at different sizes for a lush corsage, or attach a simple crocheted stem and leaf for a long-stemmed single rose that stands beautifully in a bud vase.

I adore this rose pattern because it feels like a little bit of crochet magic — you start with a simple round center and by the time you shape the petals, you've got a flower that looks like it took hours of fussy work. The way the petals build up and curl during the shaping step is genuinely satisfying; there's a real 'aha' moment when the flat spiral suddenly pops into a rounded bloom. I love that it only takes one skein sample's worth of yarn, so you can make a whole garden of roses in different colors without dipping into your good stash. It's also endlessly useful — I've pinned these onto hats, stitched them onto pillow corners, and glued a finished one to a hair clip for my niece. Whether you're using it as a quick gift topper or building a bouquet for a vase, this pattern rewards you fast, which is exactly what I want after a long day. If you've been wanting to try flower crochet but felt intimidated, this is the perfect low-stakes place to start.
Common mistakes

  • Pulling the center rounds too tightKeep your tension relaxed on the first couple of rounds so there's enough fabric to shape into a soft, dimensional spiral later — a too-tight center will make the whole rose look flat and stiff.
  • Not counting stitches carefully while creating the petalsSince the petal round builds directly on the center round, miscounting here throws off spacing and petal size — place a stitch marker at the start of the round so you always know where you began.
  • Rushing the shaping step and skippingThe final shaping is done by hand, rolling and pinching the strip into a bloom — take your time here, as this step is what transforms a flat piece into a realistic-looking rose.
  • Using yarn that's too slippery or thinStick with a worsted weight cotton or acrylic yarn with a bit of grip, since slick yarns can cause the shaped petals to loosen or unroll over time.
  • Cutting the yarn tail too short after finishing the roundsLeave a generous 6-8 inch tail at the end since you'll need it to secure the shaped rose with a few discreet stitches through the base.
  • Forgetting to secure the base firmly once the rose is shapedAfter rolling the petals into their final form, stitch through the base layers a few times with the tail to lock in the shape permanently before weaving in ends.

The pattern

Written out round by round

Materials

  • Crochet hook
  • Yarn (worsted weight, color of your choice)
  • Yarn needle (for weaving in ends)

Abbreviations

  • ch = chain
  • st = stitch
  • sl st = slip stitch
  • sc = single crochet
  • dc = double crochet

Step 1: Start with the Center of the Rose

Create a Magic Ring : This method allows you to crochet in the round without a hole in the center.

To create a magic ring, wrap the yarn around your fingers, forming a loop, and hold it with your thumb.

Magic Ring Instructions: - Insert your hook into the ring, yarn over, and pull up a loop.

  1. Round 1Work 6 single crochets (sc) into the magic ring. Pull the ring tight to close it.Join with a slip stitch (sl st) to the first sc.
  2. Round 2Ch 1, and work 2 sc in each stitch around . You should have 12 sc at the end of this round.Join with a sl st to the first sc.

Step 2: Create the Petals

  1. Round 3Ch 1, then sc in the first stitch, 2 sc in the next stitch . Repeat around. You should have 18 stitches now.Join with a sl st to the first sc.
  2. Round 4Ch 1, sc in the first 2 stitches, 2 sc in the next stitch . Repeat around. You should have 24 stitches now.Join with a sl st to the first sc.

Step 3: Shape the Rose

Creating the Petals : Switch to a double crochet (dc) for the petals.

For each petal, do the following:

Ch 3 (counts as your first dc), then work 1 dc in the same stitch, ch 2, and sl st into the same stitch . This forms the petal.

Repeat this for each stitch around, spacing the petals evenly.

Final Rounds :

Continue with additional rounds to add more petals, or adjust the number of dc based on how full you want your rose to be.

Assembly

Step 1

Forming the Flower :

Step 2

After finishing the petals, gently roll the flower towards the center to create a rose shape.

Step 3

Use the tail of your yarn to secure the base by stitching it together at the bottom.

Step 4

Weave in Ends :

Step 5

Use a yarn needle to weave in any loose ends for a polished look.

Step 6

Adding Details (Optional) :

Step 7

You can add small leaves by crocheting simple leaf shapes and attaching them to the base of the rose.

Step 8

Experiment with beads or buttons in the center for added detail.

Important notes

💡 Use a hook one size smaller than you'd normally choose for the yarn weight — a tighter gauge helps the petals hold their curled shape once you finish shaping the rose.

💡 Work your center rounds a little loosely so you have enough ease in the fabric to roll and pinch the petals into shape during the final step.

💡 Keep a stitch marker on hand to mark the beginning of each round, especially during the petal-making step where miscounting can throw off your spacing.

💡 Choose a yarn with some body, like a basic worsted weight acrylic or cotton, since fuzzy or very slippery yarns make the hand-shaping step trickier.

💡 Leave a long tail of at least 6-8 inches at the end of your last round so you have plenty of yarn to stitch the shaped rose closed securely.

💡 Practice rolling the petal strip loosely first before tightening it, so you can adjust the size of your rose's center and get the bloom look you want.

More photos

How to Crochet a Rose: Easy Step-by-Step Flower Pattern — photo 2
How to Crochet a Rose: Easy Step-by-Step Flower Pattern — photo 3
FAQs

Frequently asked questions

What yarn weight works best for this crochet rose?

Worsted weight yarn is ideal since it gives the petals enough structure to hold their shape without being too bulky. Cotton yarn adds extra crispness to the petal edges if you want a more defined look.

How long does it take to crochet one rose?

Most crocheters finish a single rose in about an hour once they understand the shaping technique. The first one may take a bit longer as you get a feel for rolling and securing the petals.

What can I use a finished crochet rose for?

These roses are great as brooches, hair accessories, gift toppers, coaster or pillow embellishments, or clustered together for a bouquet display. They also make a lovely addition to scarves, bags, or headbands.

Do I need any special stitches to make this rose?

No special stitches are required — just basic rounds and simple stitch combinations that create the petal texture. The real skill comes in the hand-shaping step where you roll and secure the finished piece into a bloom.

One at a time —

Get the next pattern

Tested round by round before it is sent. No spam.