Made and counted by Wren —

Crochet Can Cozy Pattern: A Cozy, Seamless Cover for Your Favorite Can

Crochet a simple can cozy that fits a standard 12 fl oz can, worked in continuous rounds with an easy back-loop and front-loop stitch texture.

Crochet Can Cozy Pattern: A Cozy, Seamless Cover for Your Favorite Can
IntermediateLevel
4-6 HoursTime
WorstedYarn
Jump to the pattern

At a glance

Chain 2, then work 6 single crochets into the second chain from the hook to start your base ring.

Work steady increase rounds (Rounds 2-6) to grow evenly from 6 stitches up to 36 stitches without joining between rounds.

Place a stitch marker in the first stitch of every round so you always know where each new round begins.

Work one round of single crochet in the back loop only to set up the ribbed texture.

Alternate back-loop and front-loop single crochets (Rounds 8 and 9) and repeat this pair of rounds until you reach a total of 21 rounds, or stop earlier for a shorter cozy.

Work a final round of single crochet in each stitch around.

Slip stitch into the first two stitches of the next round to finish neatly, then fasten off.

Weave in any loose ends to complete your can cozy.

About this pattern

This crochet can cozy is a delightful and straightforward project that comes together quickly, making it an excellent choice for anyone looking to add a personal touch to their favorite beverage cans. Not only is it functional, but it also showcases your crafting skills in a fun and practical way, perfect for warm sunny days or cozy evenings at home.

The cozy design not only looks appealing but also serves a practical purpose. It effectively absorbs condensation, preventing any unwanted drips from running down your fingers, which can be quite bothersome. Moreover, it provides a soft cushion that protects your hands from the chill of your cold drinks while you sip away, allowing you to enjoy your beverage without discomfort.

Whether you are lounging on your patio during a sunny afternoon or preparing a cooler for a day out, this handy crochet cozy is an item you will find yourself reaching for time after time. Its simple design makes it versatile for various occasions, enhancing your overall experience.

Variations

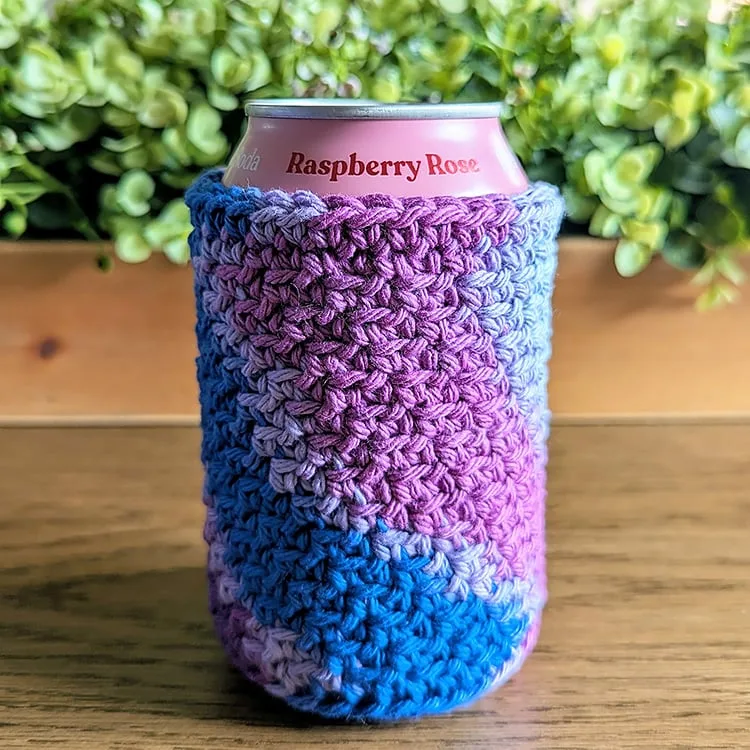
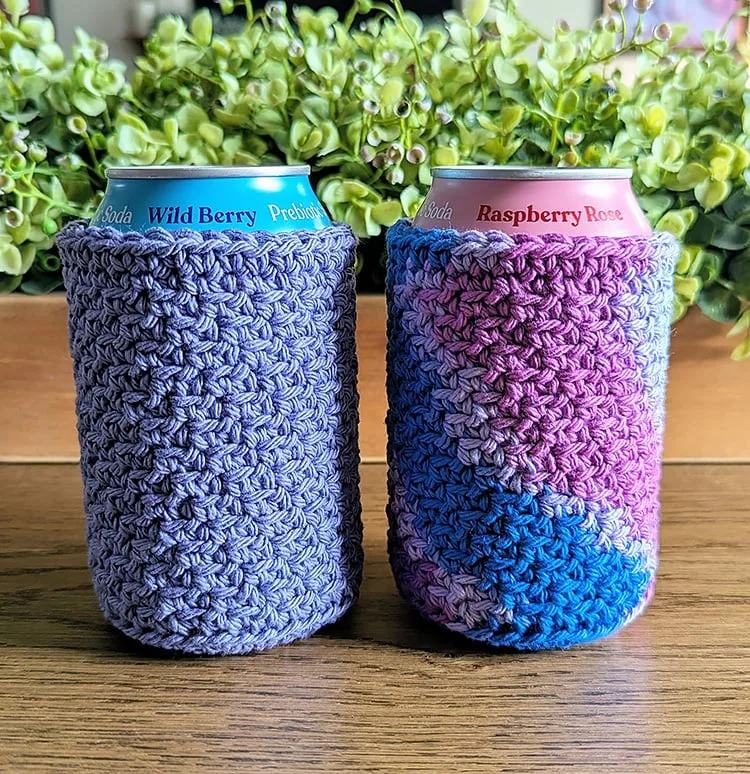
The pattern already builds in one clear way to customize: if you'd like a shorter cozy, you can stop repeating Rounds 8 and 9 earlier and move directly to the final round whenever you reach the length you want — there's no need to complete all 21 rounds before finishing off. Beyond that, feel free to pick whatever color yarn suits your taste, since the stitch pattern stays exactly the same no matter what color you choose.

I love this can cozy because it's such a quick, practical project that makes a real difference every time you reach for a cold drink — it soaks up condensation so you're not stuck with a dripping can, and it cushions your hand from the cold so you can actually enjoy your beverage in comfort. Working it in continuous rounds without joining keeps the whole thing seamless, and the back-loop/front-loop texture in the upper rounds gives it a lovely ribbed look without any extra fuss. It stitches up fast enough for an evening project, and once you've made one, you'll want a matching cozy for every can in the fridge.
Common mistakes

  • Joining at the end of each round outRemember this pattern is worked in continuous rounds — do not slip stitch to join at the end of each round; simply keep spiraling into the next round's first stitch, using a stitch marker in the first stitch of each round so you always know where a new round begins.
  • Losing count of increases in Rounds 2Count your stitches at the end of every increase round and compare it to the pattern's target (12, 18, 24, 30, then 36 stitches) before moving on, so mistakes get caught immediately rather than several rounds later.
  • Mixing up back loop only and front loopSlow down and check each stitch's loops before you insert your hook — Round 8 starts back loop then front loop, and Round 9 reverses the pattern to front loop then back loop, so it's easy to drift into working every stitch the same way by mistake.
  • Losing track of which round you'reJot down a simple tally or use a row counter as you work, checking off each repeat of Rounds 8 and 9 so you know exactly how many you've completed toward the total of 21 rounds.
  • Working the wrong number of singleAfter chaining 2, be sure to work all 6 single crochets into the second chain from the hook (not into the first chain or a later stitch) so Round 1 begins with the correct 6 stitches.

The pattern

Written out round by round

Materials

  • Yarn (weight of your choice)
  • Crochet hook (size to match your yarn)
  • Stitch marker (to mark the first stitch of each round)
  • Yarn needle (for weaving in ends)
  • Scissors

Abbreviations

  • ch = chain
  • st(s) = stitch(es)
  • sc = single crochet
  • sc blo = single crochet back loop only
  • sc flo = single crochet front loop only
  • sl st = slip stitch

Main Pattern

Pattern Notes We will be working in continuous rounds, which means you should not join at the end of each round to maintain a seamless finish.

Getting Started To get started, make a chain of 2 (Ch 2).

  1. Round 1Begin by working 6 single crochets into the second chain from the hook. This will give you a total of 6 stitches.

It is essential to place a stitch marker in the first stitch of each round. This small step will help you keep track of when you start a new round, ensuring a neat and organized creation.

  1. Round 2Increase in each stitch around, resulting in a total of 12 stitches.
  2. Round 3*Increase, followed by a single crochet in the next stitch.* Repeat this sequence around to end up with 18 stitches.
  3. Round 4*Increase, followed by single crochets in the next 2 stitches.* Repeat this pattern around, bringing the total to 24 stitches.
  4. Round 5*Increase, followed by single crochets in the next 3 stitches.* Continue this sequence around, which will yield 30 stitches.
  5. Round 6*Increase, followed by single crochets in the next 4 stitches.* Complete this round to have a total of 36 stitches.
  6. Round 7Work a single crochet in the back loop only for each stitch around, maintaining 36 stitches.
  7. Round 8*Work one single crochet in the back loop only for one stitch, then one in the front loop only for the next stitch.* Continue this pattern around.
  8. Round 9*Work one single crochet in the front loop only for one stitch, then one in the back loop only for the next stitch.* Repeat this around.Continue repeating Rounds 8 and 9 in that order until you have completed a total of 21 rounds. Should you desire a shorter cozy, you have the flexibility to shorten the number of rounds as needed.
  9. Round 22Place one single crochet in each stitch around. Slip stitch into the first two stitches of the following round, fasten off your yarn, and weave in any loose ends to finish your cozy.

Important notes

💡 This pattern is worked in continuous rounds — do not join or slip stitch at the end of each round (except where the pattern specifically says to) so the finish stays smooth and seamless.

💡 Place a stitch marker in the first stitch of every round; with 22 rounds it's easy to lose track of where a new round starts.

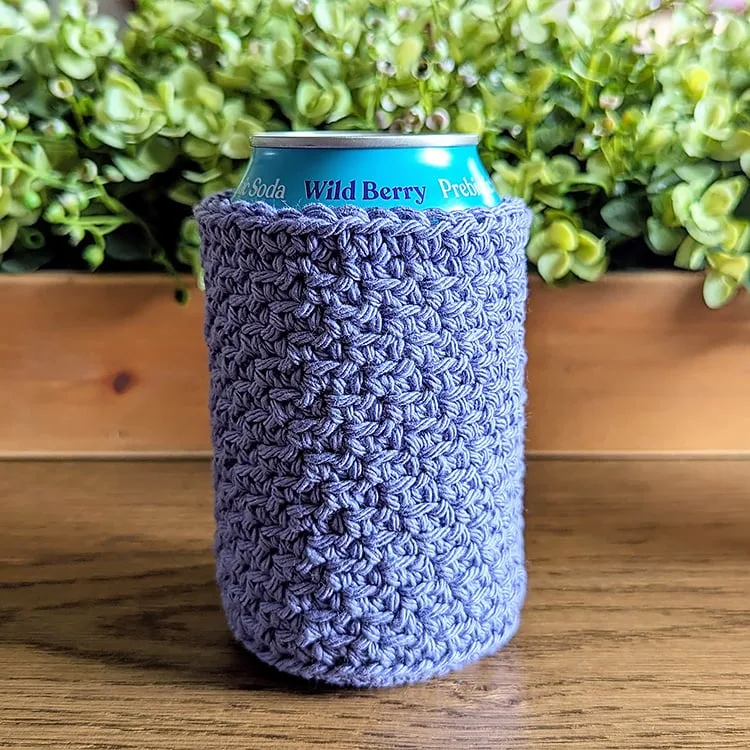
💡 The finished cozy measures approximately 4.25 inches by 4 inches, sized to fit a standard 12 fl oz can.

💡 Want a shorter cozy? Simply reduce how many times you repeat Rounds 8 and 9 before moving on to the final round — there's no need to complete all 21 rounds.

More photos

Crochet Can Cozy Pattern: A Cozy, Seamless Cover for Your Favorite Can — photo 2
Crochet Can Cozy Pattern: A Cozy, Seamless Cover for Your Favorite Can — photo 3
FAQs

Frequently asked questions

What size can does this cozy fit?

The finished cozy measures approximately 4.25 inches by 4 inches, which is sized to perfectly fit a standard 12 fl oz can.

Can I make the cozy shorter or taller?

Yes — this pattern repeats Rounds 8 and 9 until you reach a total of 21 rounds, so you can shorten the cozy by repeating those two rounds fewer times before moving on to the final round.

Why don't I join at the end of each round?

This pattern is worked in continuous rounds rather than joined rounds, which keeps the finish seamless. Use a stitch marker in the first stitch of each round so you can still tell where each new round starts.

What do sc blo and sc flo mean?

Sc blo means single crochet through the back loop only, and sc flo means single crochet through the front loop only. Alternating between the two in Rounds 8 and 9 creates the ribbed texture on the upper part of the cozy.

Do I need to use a stitch marker for this pattern?

Yes — place a stitch marker in the first stitch of every round. Since the rounds aren't joined, the marker is the only way to reliably track where each round begins and ends.

One at a time —

Get the next pattern

Tested round by round before it is sent. No spam.